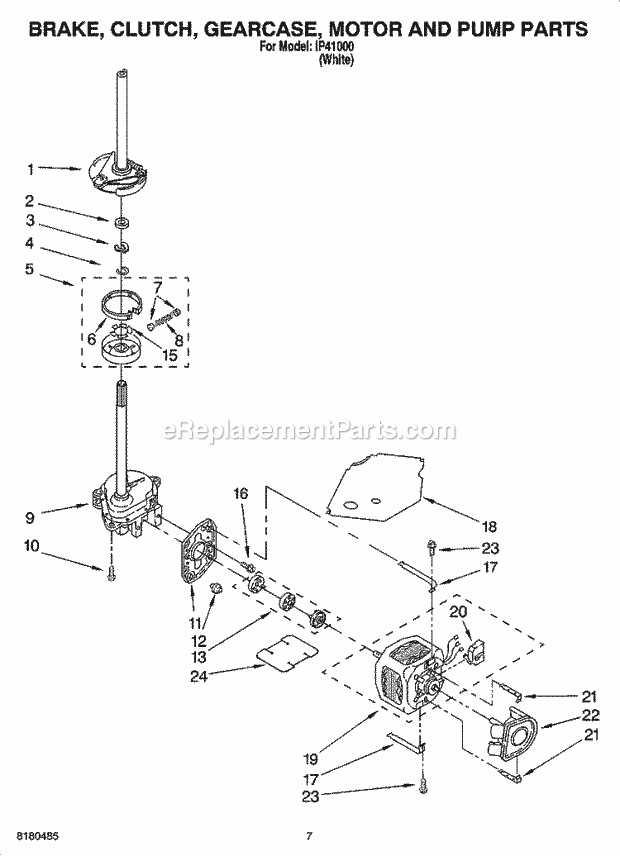
This section aims to provide essential insights into the maintenance and restoration of vital home equipment. By following these guidelines, users can enhance the longevity and efficiency of their devices, ensuring they function optimally for years to come.
Understanding the Basics: Familiarizing oneself with the fundamental components and operations of the equipment is crucial. Recognizing common issues can significantly simplify the troubleshooting process, empowering individuals to address minor challenges without professional assistance.
Step-by-Step Solutions: The forthcoming sections will outline various problems that may arise and offer straightforward solutions. Each guide is designed to be accessible, catering to those with varying levels of expertise. With the right information at hand, managing these household essentials becomes a less daunting task.
Common Issues with Inglis Washers
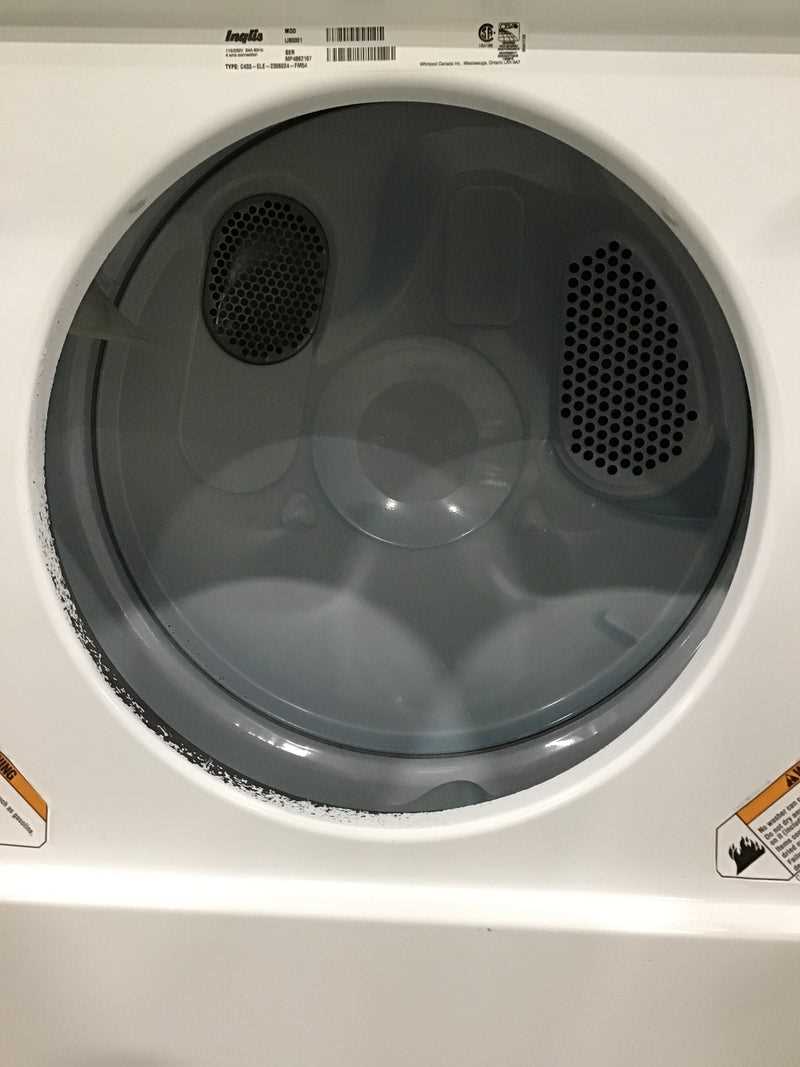
Understanding frequent challenges faced by household laundry appliances is essential for maintaining optimal performance. Identifying these problems early can lead to effective troubleshooting and solutions, ensuring smooth operation over time.
Frequent Problems
- Failure to Start: Units may not power on due to electrical issues or faulty controls.
- No Water Supply: This can occur from blocked hoses or faulty inlet valves.
- Draining Issues: Clogs in the drainage system can prevent proper water removal.
- Unusual Noises: Sounds such as banging or grinding may indicate loose components.
Troubleshooting Tips
- Check power supply connections and ensure the unit is plugged in.
- Inspect hoses for kinks or blockages that may restrict water flow.
- Examine the drain filter for debris that could impede drainage.
- Listen for abnormal sounds and ensure all parts are secured properly.
Troubleshooting Water Drain Problems
Effective water drainage is crucial for optimal performance in household appliances. When issues arise, identifying the root cause can help restore proper functionality.
1. Check for Clogs: The first step is to inspect the drainage pathway for any obstructions. Debris can accumulate over time, leading to inefficient water removal. Clear any visible blockages to ensure smooth flow.
2. Examine Hoses: Inspect the hoses connected to the unit for kinks or damage. A compromised hose can restrict water movement, causing drainage problems. Replace any damaged components as necessary.
3. Review the Pump: The drainage pump plays a vital role in expelling water. Listen for unusual noises during operation, which may indicate a malfunction. Cleaning or replacing the pump may be required to resolve the issue.
4. Assess Filters: Filters can become dirty, impacting water expulsion. Regular maintenance of filters is essential to prevent build-up that can hinder performance.
5. Monitor Cycle Settings: Ensure that the selected cycles are appropriate for the load. Incorrect settings can lead to inadequate drainage. Refer to the guidelines for proper cycle selection.
By systematically addressing these areas, resolving drainage issues becomes a manageable task, restoring efficiency and convenience to your household routine.
Understanding Error Codes and Meanings
Interpreting indicators that arise during operation is crucial for effective troubleshooting. These signals provide insights into potential issues, allowing users to address concerns promptly and maintain optimal functionality.
Common Indicators
Familiarizing oneself with prevalent alerts can streamline the process of identifying underlying problems. Below is a summary of some typical indicators and their implications:
| Error Code | Meaning |
|---|---|
| E1 | Water supply issue detected |
| E2 | Drainage problem encountered |
| E3 | Overheating detected |
| E4 | Unbalanced load identified |
Addressing Alerts
Once an indicator appears, it is essential to assess the situation. Following the suggested steps based on the error signals can enhance performance and longevity, ensuring a seamless experience.
Step-by-Step Door Lock Repair
This section provides a comprehensive guide to addressing issues with a door locking mechanism. Following these instructions will help ensure that the unit operates smoothly and securely, restoring its functionality effectively.
Identifying the Problem
Before initiating any work, it is essential to diagnose the specific issue. Common problems may include difficulty in locking or unlocking, unusual noises, or visible damage. Careful examination can reveal whether adjustments, lubrication, or part replacements are necessary.
Disassembling the Lock
To begin, disconnect the power source to ensure safety. Use appropriate tools to carefully remove any cover or panel concealing the locking system. Take note of the arrangement of components to facilitate reassembly. Inspect all parts for wear or damage and replace any faulty elements as needed.
Replacing the Agitator Assembly
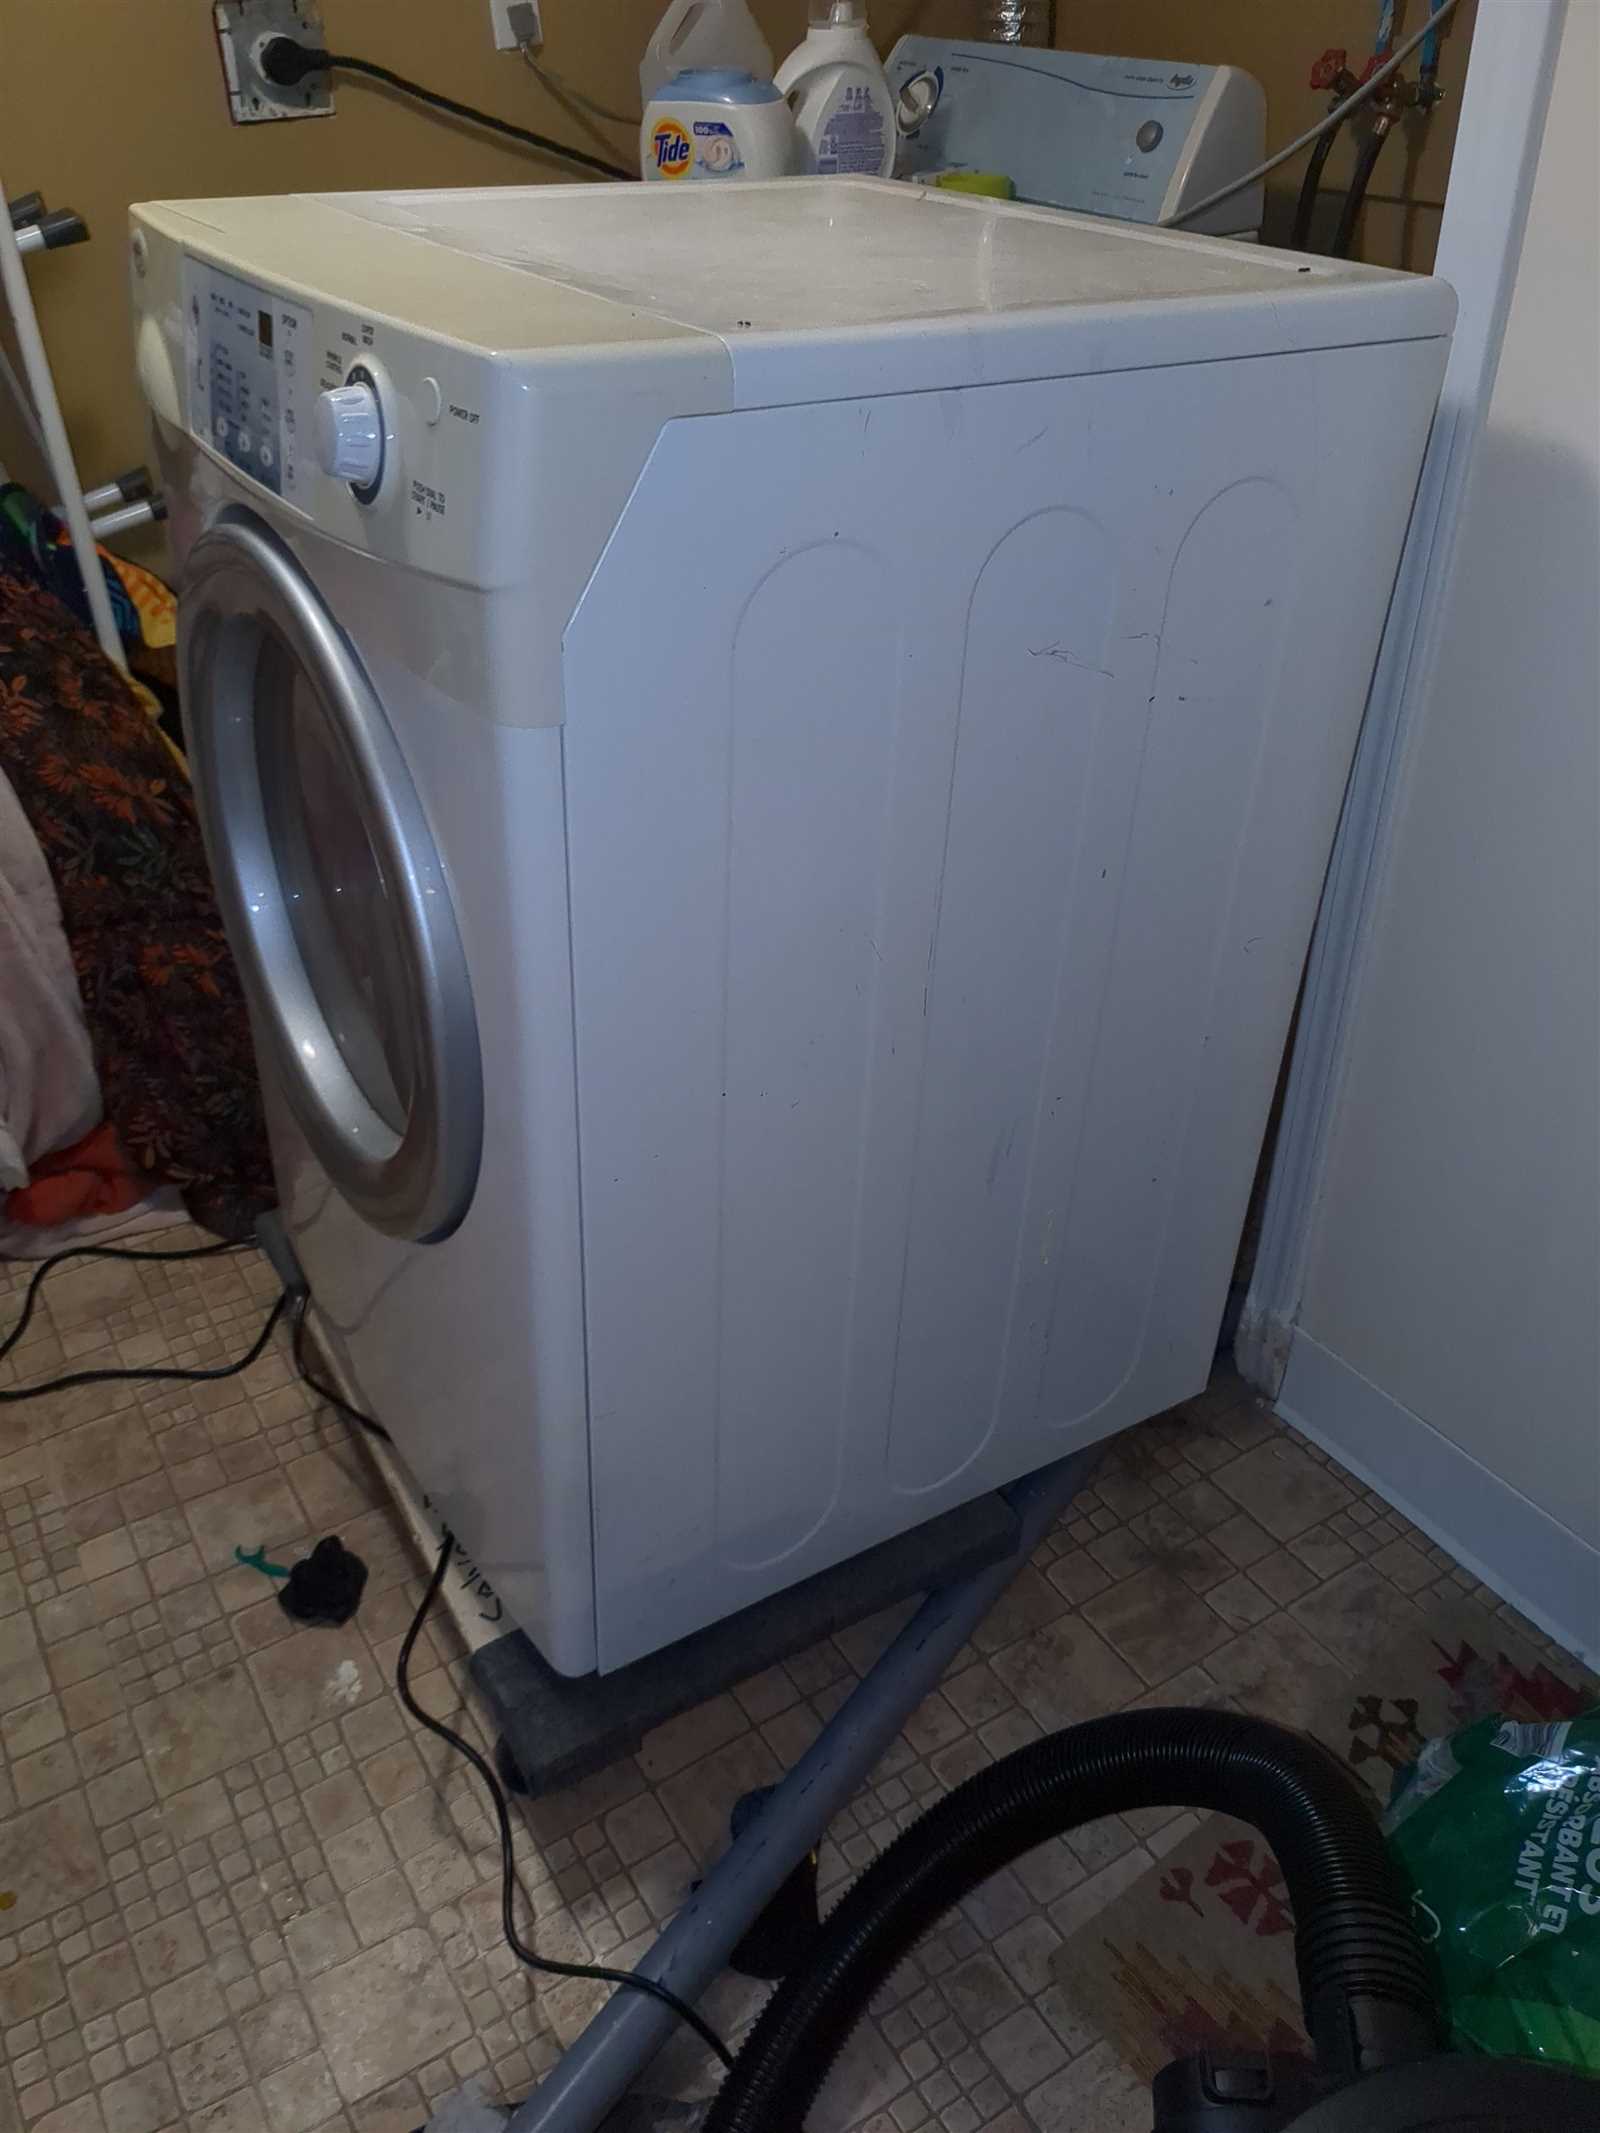
This section outlines the process of substituting the component responsible for mixing and moving the load within the appliance. Proper handling and installation of this part are essential for restoring optimal performance and efficiency.
Preparation Steps
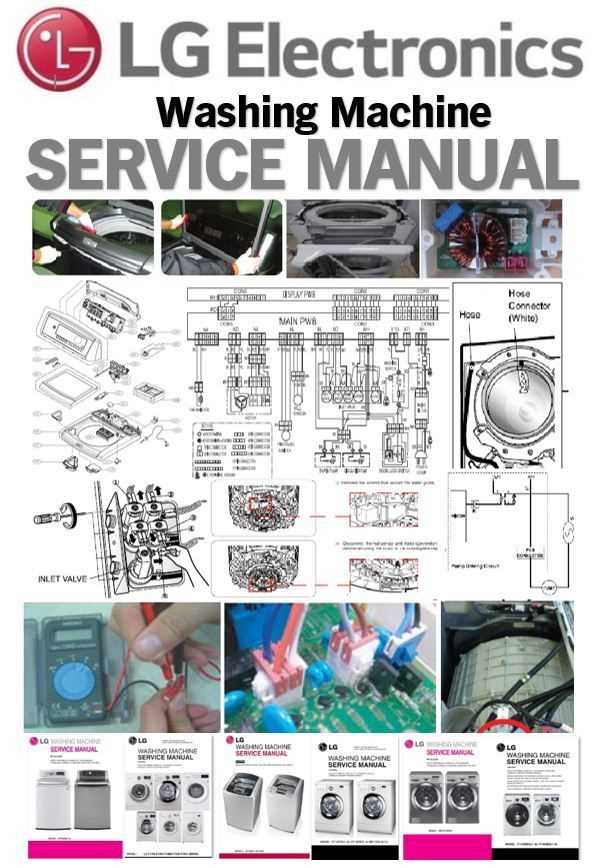
Before commencing the replacement, ensure the unit is unplugged to prevent electrical hazards. Gather necessary tools, including a socket set and a flathead screwdriver. It is advisable to consult the specific guidelines for disassembly to avoid damaging surrounding components.
Installation Process
Begin by removing the top section of the unit, carefully detaching any clips or screws. Once accessible, take out the existing component by unscrewing it from the base. Align the new assembly correctly and secure it firmly in place. Reassemble the top section and reconnect the power supply, ensuring everything is properly secured before testing the functionality.
How to Fix Leaking Hoses
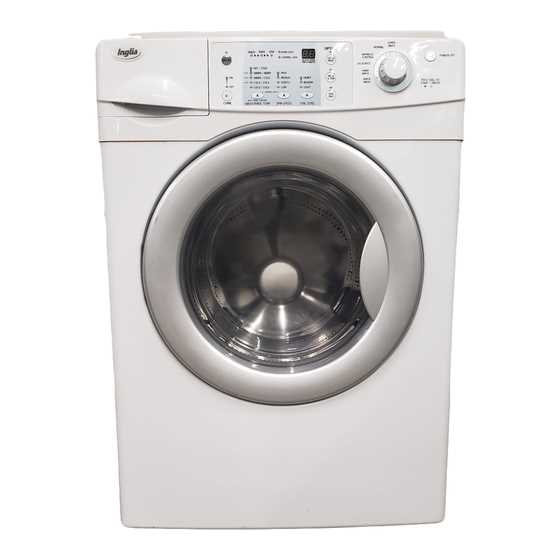
Dealing with fluid leakage from flexible conduits can be a common issue, but it’s often manageable with the right approach. Addressing this problem promptly can prevent further complications and ensure efficient functionality. Here are steps to help you resolve leaks effectively.
Identifying the Source of the Leak
The first step is to determine where the fluid is escaping. This can be done by following these guidelines:
- Inspect all connections and joints for any visible signs of dampness.
- Check for cracks or wear on the hoses themselves.
- Look for signs of corrosion or rust around fittings.
Fixing the Leak
Once the source is identified, you can proceed with the repair:
- If a connection is loose, tighten it carefully using an appropriate tool.
- For small cracks, consider using a durable sealant to cover the damaged area.
- If the hose is significantly damaged, replacing it with a new one is the best option.
- After repairs, run a test to ensure there are no more leaks.
Maintaining the Drum and Tub
Proper upkeep of the internal components is essential for ensuring optimal performance and longevity of your appliance. Regular attention to these areas can prevent buildup of residues and enhance efficiency.
Cleaning Procedures
- Use a damp cloth to wipe the interior surfaces, removing any lint or debris.
- Consider running a hot water cycle with a suitable cleaning agent to eliminate odors and residue.
- Inspect and clean the drainage areas to prevent clogs and maintain proper water flow.
Periodic Inspections

- Check for any visible signs of wear or damage to the drum and tub.
- Ensure that all seals and gaskets are intact and functioning correctly.
- Monitor for unusual noises during operation, which may indicate underlying issues.
Adjusting Water Temperature Settings
Modifying the temperature settings is essential for optimizing the performance of your appliance. Proper adjustment allows for effective cleaning and enhances fabric care, ensuring garments are treated appropriately based on their specific requirements.
Understanding Temperature Options
Most devices come equipped with a variety of temperature selections, each designed for specific types of fabrics and levels of soil. Familiarizing yourself with these options can greatly improve washing outcomes.
Steps to Adjust Temperature
Follow these simple steps to change the temperature settings effectively:
| Step | Description |
|---|---|
| 1 | Locate the temperature control dial or digital display on the front panel. |
| 2 | Select the desired temperature based on fabric type: cold for delicate items, warm for everyday fabrics, and hot for heavily soiled materials. |
| 3 | Confirm the selection by pressing the start button or turning the dial to the appropriate setting. |
Cleaning the Filter and Pump
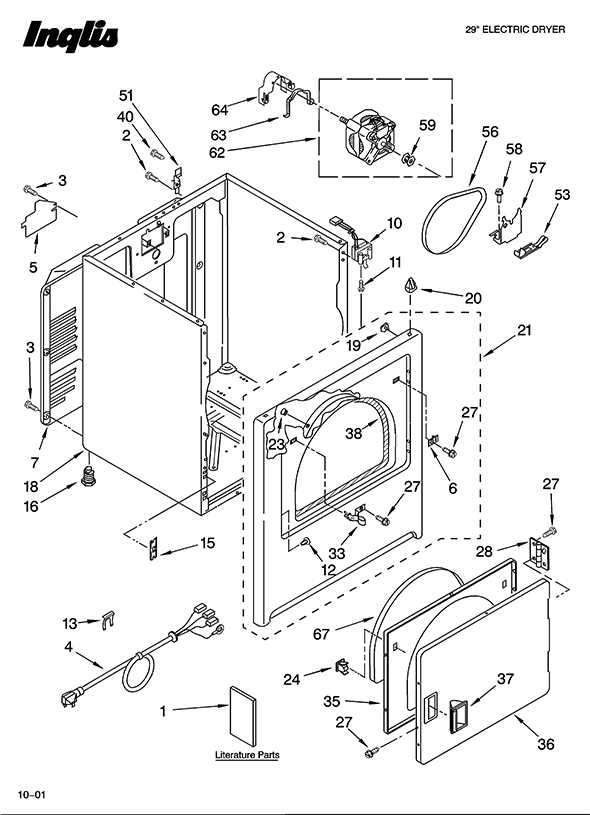
Maintaining optimal performance requires regular attention to critical components that can accumulate debris and blockages. This section outlines the necessary steps to ensure these parts function efficiently, preventing potential issues.
Tools Needed
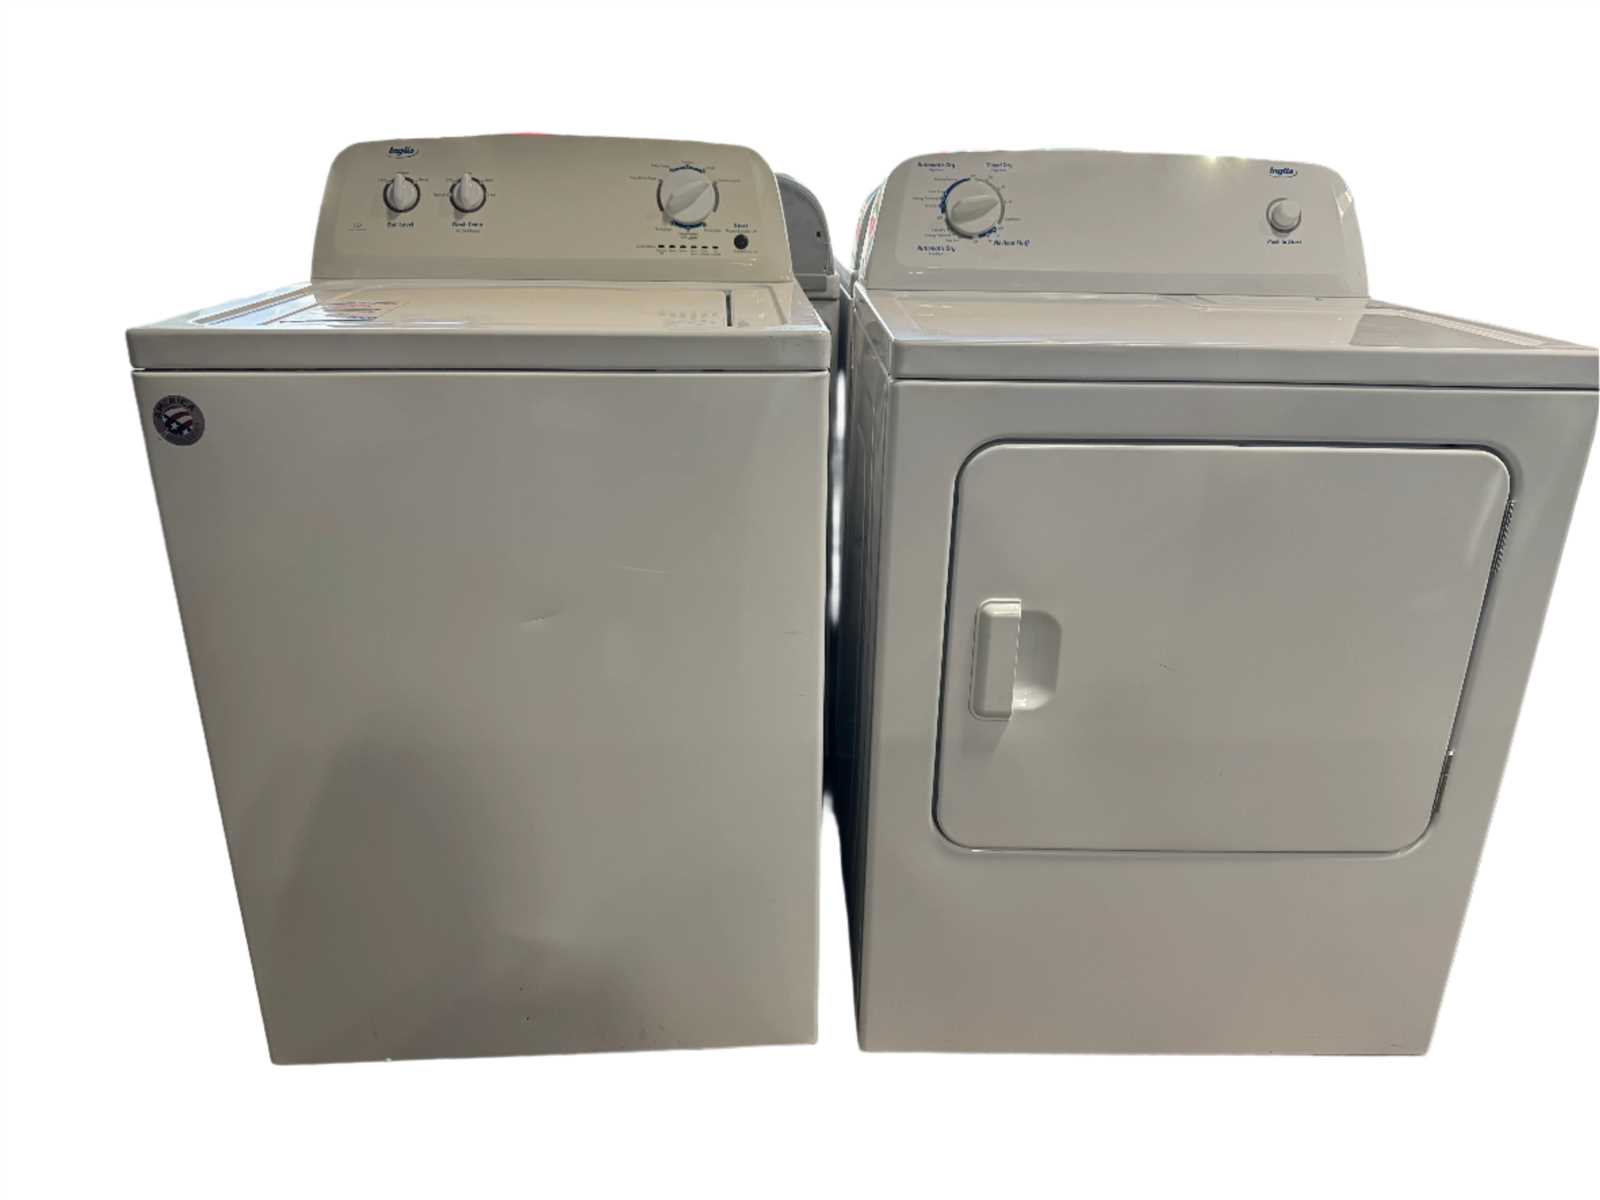
- Soft cloth or sponge
- Bucket or container
- Small brush
- Water
Step-by-Step Process
- Turn off the power supply to the unit for safety.
- Locate the filter, usually found at the front or back, depending on the design.
- Gently remove the filter and check for any debris or buildup.
- Rinse the filter under running water, using a brush if necessary to dislodge stubborn particles.
- Inspect the pump area for any blockages, ensuring free flow.
- After cleaning, reinsert the filter and secure it in place.
- Restore power and run a short cycle to check for proper operation.
Testing Electrical Components Effectively
Ensuring the functionality of various electrical parts is crucial for maintaining optimal performance. This section outlines practical approaches to evaluate and diagnose the integrity of these components, enabling users to pinpoint issues and enhance overall reliability.
Before beginning the assessment, it is essential to gather the necessary tools, such as a multimeter, and to understand the specifications of the components involved. This preparation aids in conducting precise measurements and interpreting results accurately.
| Component | Test Method | Expected Value |
|---|---|---|
| Resistor | Measure resistance with a multimeter | Value specified on the component |
| Capacitor | Check capacitance with a multimeter | Value specified on the component |
| Diode | Test for forward and reverse bias | Conducts in one direction only |
| Fuse | Check continuity with a multimeter | No resistance (closed circuit) |
By following these methods, users can efficiently identify faulty elements, ensuring that all components function harmoniously to achieve peak performance. Regular testing also helps in preventing future malfunctions, ultimately extending the lifespan of the system.
Upgrading Your Machine’s Features
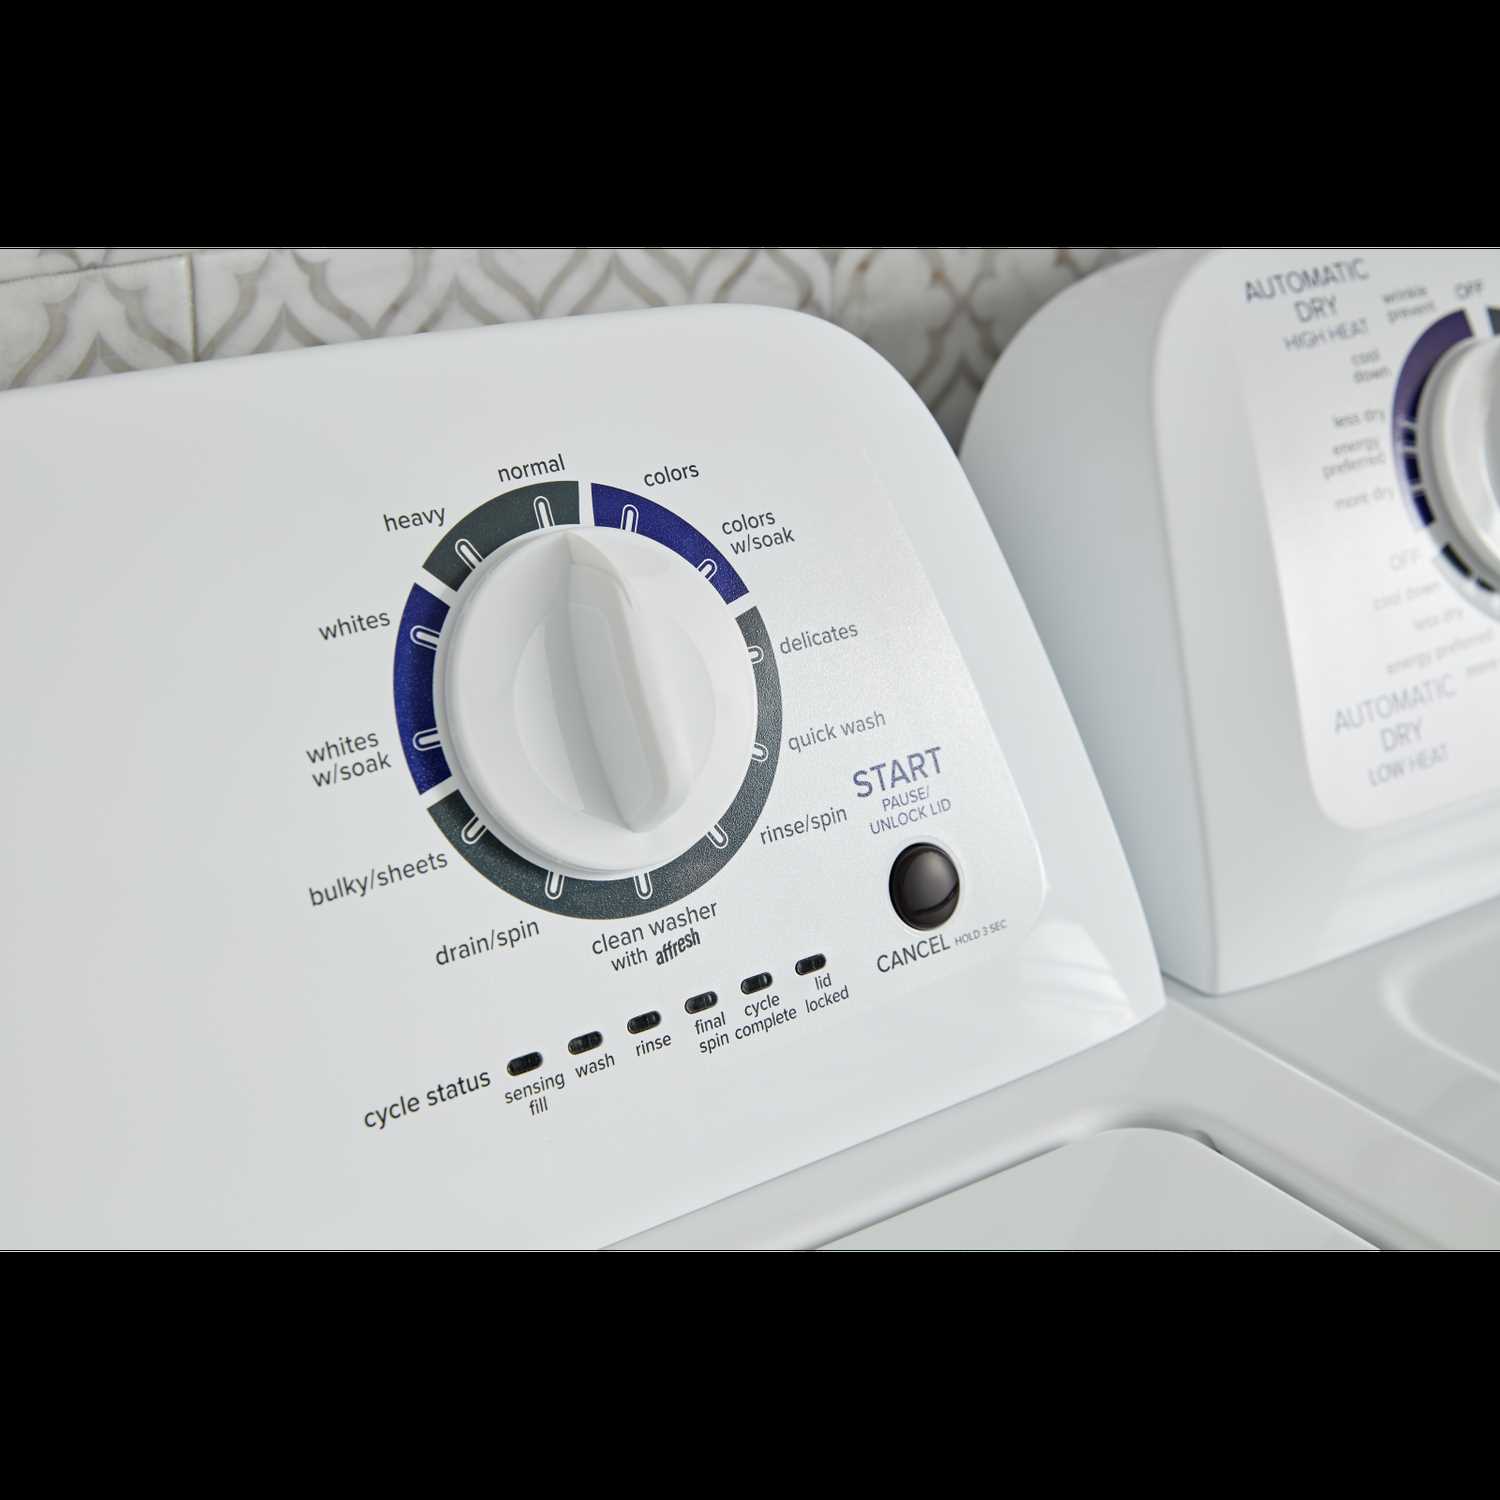
Enhancing the capabilities of your appliance can significantly improve its efficiency and usability. By integrating advanced functionalities, you can tailor your device to better meet your needs, ensuring a more convenient experience in your daily tasks.
Consideration of Components: Before initiating any upgrades, evaluate the existing components and their compatibility with new enhancements. It’s essential to choose features that align well with your current setup.
Installation Options: Various upgrades may require professional installation, while others can be easily implemented by the user. Researching the best methods for integration will ensure that you achieve optimal performance.
Benefits of Upgrades: Implementing new features can lead to improved energy efficiency, advanced settings for better results, and even connectivity options for smart technology integration. These advancements not only enhance functionality but can also contribute to cost savings over time.
When to Call a Professional Service
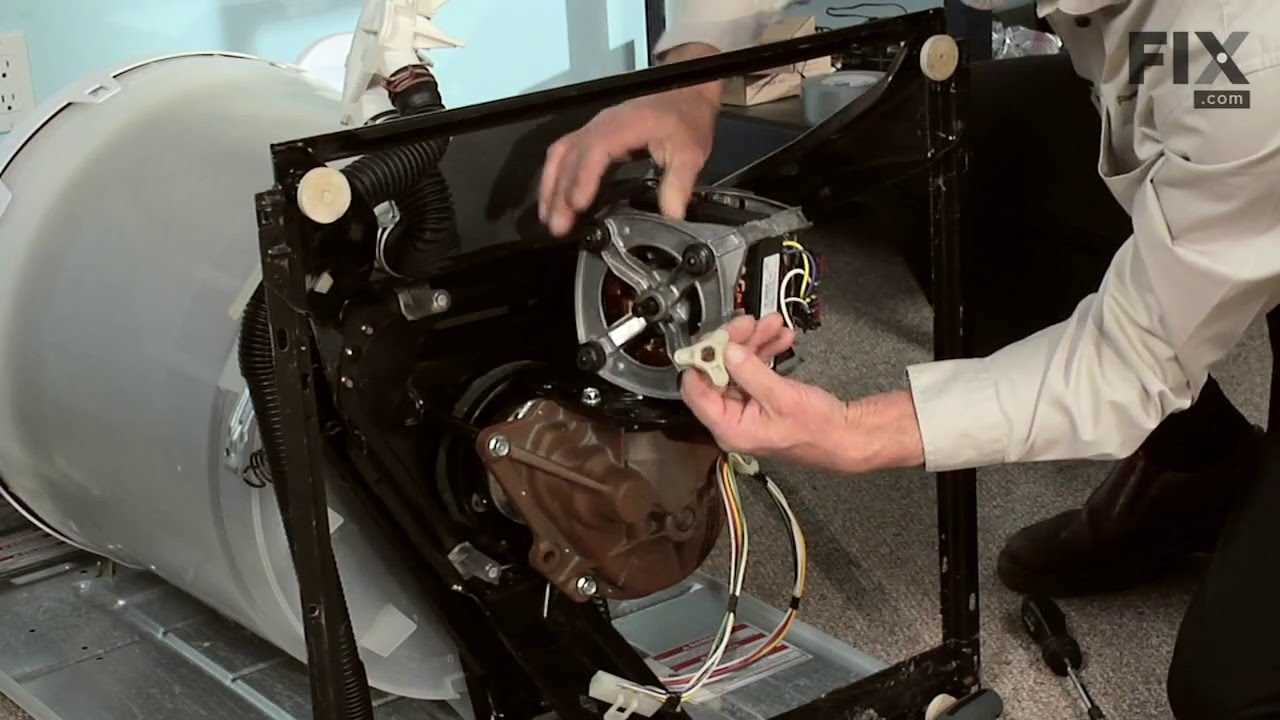
Determining the right moment to seek assistance from an expert can be crucial for effective resolution of issues. Certain signs may indicate that a task is beyond the scope of DIY efforts and requires specialized knowledge and tools.
Here are some scenarios where it’s advisable to contact a professional:
- Persistent Problems: If issues persist despite troubleshooting attempts, it may signal a deeper underlying fault.
- Unusual Noises: Loud or strange sounds during operation can indicate significant mechanical failures.
- Electrical Issues: Any signs of electrical malfunctions, such as sparks or burned components, warrant immediate professional evaluation.
- Water Leaks: Frequent leaks or pooling around the unit can lead to further damage and should be addressed by a specialist.
- Complex Repairs: Tasks requiring intricate disassembly or specialized parts are best left to trained technicians.
Seeking expert help not only ensures safety but also can save time and resources in the long run.