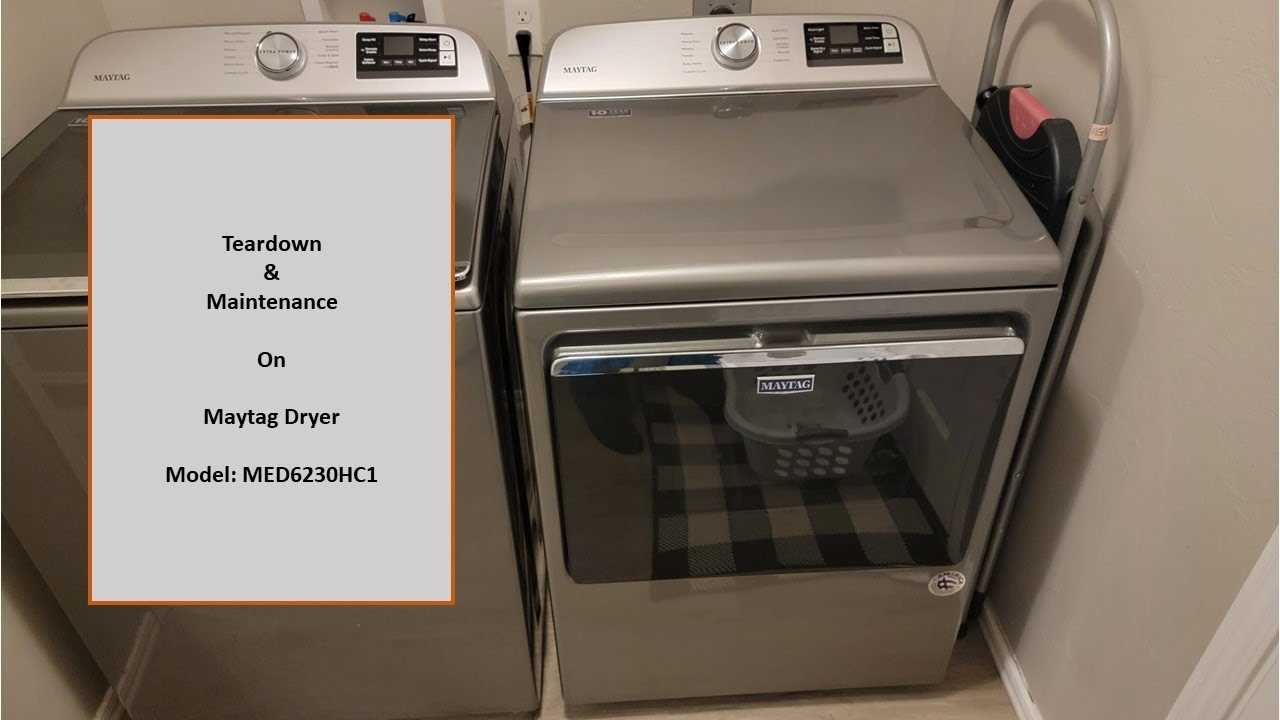
When faced with issues related to laundry equipment, understanding the intricacies of functionality and common complications is essential. This section aims to provide insights into typical challenges and solutions, empowering users to maintain their devices effectively.
Equipped with practical tips and step-by-step instructions, the following information serves as a valuable resource for individuals seeking to enhance their knowledge and skills in handling appliance-related concerns. By following these guidelines, users can navigate through various situations with confidence and efficiency.
Emphasizing the importance of regular maintenance and awareness of operational signs can prevent minor inconveniences from escalating into major dilemmas. Embracing a proactive approach not only prolongs the lifespan of your equipment but also enhances its performance.
This section addresses prevalent challenges encountered with household laundry appliances, focusing on common malfunctions and solutions. Understanding these issues can aid users in troubleshooting effectively and maintaining their equipment.
Frequent Problems
- Unusual Noises: Rattling or grinding sounds often indicate loose components or foreign objects in the drum.
- Water Leakage: Signs of leaking may point to worn-out seals or faulty hoses that need immediate attention.
- Failure to Start: If the unit does not initiate cycles, it could be due to electrical issues or door latch problems.
- Inconsistent Spin Cycles: Inadequate spinning may result from an unbalanced load or malfunctioning drive components.
Troubleshooting Tips

- Check for obstructions in the drum that might cause noise.
- Inspect hoses and seals for signs of wear or damage.
- Ensure the power supply is stable and connections are secure.
- Balance loads properly to prevent spinning issues.
Preventive Maintenance
- Regularly clean the drum and seals to prevent mold buildup.
- Inspect hoses periodically for cracks or leaks.
- Run maintenance cycles as recommended by the manufacturer.
Steps for Basic Troubleshooting
This section outlines essential procedures for diagnosing common issues with your laundry appliance. By following these straightforward steps, you can identify problems and possibly resolve them without needing professional assistance.
- Check Power Supply:
- Ensure the appliance is plugged in securely.
- Inspect the circuit breaker to confirm it hasn’t tripped.
- Examine the outlet for proper functionality.
- Inspect Water Supply:
- Verify that both water valves are turned on.
- Look for kinks or blockages in the hoses.
- Check the filter screens for debris.
- Examine Load Balance:
- Ensure the load is evenly distributed within the drum.
- Remove excess items if the appliance is overloaded.
- Try running a smaller load to see if the issue persists.
- Review Control Settings:
- Confirm that the correct cycle is selected.
- Make sure all buttons are functioning properly.
- Reset the appliance by turning it off and on again.
- Listen for Unusual Noises:
- Pay attention to any abnormal sounds during operation.
- Identify if the noises are coming from the motor, drum, or pump.
- Investigate any foreign objects that may be causing disruptions.
Following these steps can help you determine the cause of the malfunction and may lead to a quick resolution.
How to Replace the Belt
Replacing the drive component in your appliance is a straightforward process that can enhance its performance. This essential part connects the motor to the drum, enabling effective operation. Proper handling and steps are crucial to ensure a successful replacement.
Begin by unplugging the unit to ensure safety. Next, access the back panel to locate the belt. You may need to remove screws or clips to gain entry. Once exposed, carefully detach the old belt from the pulleys, taking note of its routing for reference.
Before installing the new belt, inspect surrounding components for any wear. Position the new belt around the motor pulley first, then loop it around the drum. Make sure it is aligned correctly and tensioned properly to avoid slipping during operation.
After securing the belt, reassemble the back panel and reconnect the power. Run a test cycle to verify that the unit operates smoothly. Regular maintenance checks will help prolong the lifespan of your appliance.
Cleaning the Filter: A Guide
Maintaining optimal performance of your appliance involves regular upkeep, including the essential task of cleaning the filter. This process ensures efficient operation and helps prevent potential issues caused by debris accumulation.
Why Cleaning the Filter is Important
Regularly cleaning the filter can provide several benefits:
- Improved efficiency: A clean filter allows for better water flow and energy use.
- Extended lifespan: Reducing strain on components can prolong the device’s operational life.
- Enhanced performance: Clean filters contribute to better cleaning results and overall functionality.
Steps to Clean the Filter
Follow these steps to effectively clean the filter:
- Locate the filter: Refer to the user guide to find the filter’s location.
- Remove the filter: Carefully detach it from its housing, taking care to avoid any damage.
- Clean the filter: Rinse it under warm water to remove debris. Use a soft brush for stubborn buildup.
- Reinstall the filter: Once dry, securely place it back in its original position.
- Run a test cycle: Check for proper function to ensure everything is in order.
Regular maintenance of the filter is key to ensuring long-term efficiency and performance of your appliance.
Diagnosing Electrical Problems
Identifying electrical issues in household appliances requires a systematic approach. Recognizing signs of malfunction can help pinpoint the underlying causes and facilitate effective troubleshooting.
Common Symptoms of Electrical Failures
- No power or operation
- Intermittent functionality
- Unusual noises during operation
- Burning smells or visible smoke
- Tripped circuit breakers or blown fuses
Steps for Diagnosis
- Check the Power Supply: Ensure that the appliance is properly plugged in and that the outlet is functioning.
- Inspect the Power Cord: Look for signs of damage, fraying, or loose connections.
- Test Circuit Breakers: Reset any tripped breakers and replace blown fuses as necessary.
- Examine Internal Components: If comfortable, open the access panel to check wiring connections and components for damage.
- Use a Multimeter: Measure voltage at the outlet and check continuity in circuits to identify potential faults.
Understanding Error Codes Explained
Error codes serve as essential indicators of issues that may arise during the operation of household appliances. These codes simplify the troubleshooting process by providing users with specific information regarding malfunctions. By interpreting these signals accurately, users can address problems more effectively, ensuring optimal performance and longevity of the device.
Each code corresponds to a distinct issue, ranging from minor concerns to significant malfunctions. For instance, certain codes may indicate a need for routine maintenance, while others could signal a malfunctioning component that requires immediate attention. Familiarity with these codes empowers users to take informed actions, whether that means performing simple fixes or seeking professional assistance.
To effectively interpret these indicators, users should refer to the accompanying documentation or online resources specific to their appliance model. This information typically includes detailed explanations of each code, potential causes, and suggested solutions. Understanding these codes not only enhances the user experience but also promotes proactive care of the appliance.
Maintenance Tips for Longevity
Regular upkeep is essential for ensuring the durability and efficient performance of your appliance. By following a few simple practices, you can significantly extend its lifespan and maintain optimal functionality.
Consider the following recommendations:
- Regular Cleaning: Remove lint and debris from filters and drums to prevent clogs and buildup.
- Inspect Hoses: Check hoses for wear and tear. Replace them if you notice any cracks or leaks.
- Level the Appliance: Ensure the unit is properly leveled to reduce vibrations and wear on components.
- Use Appropriate Detergents: Choose the right cleaning products to avoid damage to internal parts and maintain efficiency.
- Check for Proper Load Size: Avoid overloading to ensure that the device operates effectively and does not strain its components.
Implementing these tips will help ensure that your appliance operates smoothly for years to come.
Parts Replacement: What You Need
When it comes to maintaining a home appliance, understanding the essential components and their replacement is crucial for optimal performance. Whether addressing minor issues or undertaking significant repairs, knowing what parts are required can streamline the process and enhance longevity.
Common Components for Replacement
Several parts are frequently replaced due to wear and tear or malfunction. Here’s a list of commonly needed components:
- Belts
- Hoses
- Filters
- Seals
- Motors
Essential Tools for the Job
To effectively replace parts, having the right tools at your disposal is vital. Here are some recommended tools:
- Screwdriver set
- Wrench set
- Pliers
- Multimeter for electrical checks
- Flashlight for visibility
Being equipped with the necessary parts and tools will ensure that any maintenance task is completed efficiently and effectively.
Dealing with Water Drainage Issues

Water drainage problems can significantly impact the efficiency of your appliance. Understanding the common causes and solutions can help restore proper functionality. Addressing these concerns promptly is crucial to prevent further complications.
Common Causes of Drainage Problems
Several factors can lead to drainage issues, including:
- Clogged hoses or filters
- Pump malfunction
- Improper installation
- Blockages in the drainage system
Troubleshooting Steps
To effectively resolve drainage problems, follow these steps:
- Inspect hoses for kinks or obstructions.
- Check filters for debris buildup and clean them.
- Examine the drainage pump for signs of failure.
- Ensure the appliance is level to allow proper drainage.
| Issue | Possible Solution |
|---|---|
| Clogged hoses | Clear blockages or replace hoses if damaged. |
| Faulty pump | Test pump functionality and replace if necessary. |
| Leveling issues | Adjust the appliance feet to achieve balance. |
Using the Control Panel Effectively
The control interface of your appliance plays a crucial role in optimizing its functionality. Understanding how to navigate and utilize the various features can significantly enhance your experience and efficiency during operation.
Familiarizing with the Settings
Begin by examining the available options on the control panel. Each button and dial is designed for specific tasks. Here are some common settings to look for:
- Power Button: Activates the appliance.
- Cycle Selection: Choose the appropriate mode for different fabric types.
- Temperature Control: Adjusts the water temperature for optimal cleaning.
- Delay Start: Sets a timer for when the cycle begins.
Utilizing Additional Features
Many modern interfaces include extra functionalities to enhance convenience:
- Soil Level Adjustment: Modifies cleaning intensity based on load dirtiness.
- Extra Rinse Option: Ensures thorough removal of detergent.
- Cycle Customization: Allows for tailoring specific parameters to your needs.
Taking the time to familiarize yourself with these elements will lead to more efficient use of your appliance, ensuring optimal performance and longevity.
Customer Support and Resources
This section aims to provide essential assistance and information for users seeking help with their appliance. Access to reliable support and resources can enhance the overall experience and ensure efficient functioning of the device.
Contact Information: For personalized assistance, reach out to customer service through various channels. Phone support, email inquiries, and online chat options are typically available, ensuring that users can receive timely help based on their preferences.
Online Resources: A wealth of information can be found on official websites, including troubleshooting guides, frequently asked questions, and instructional videos. These resources empower users to resolve common issues independently and maximize the appliance’s performance.
Community Forums: Engaging with user communities can be beneficial for sharing experiences and solutions. Forums allow individuals to connect with others who have faced similar challenges, fostering a sense of community and collaboration.
Warranty and Service Plans: Understanding warranty coverage and available service plans can provide peace of mind. Users should familiarize themselves with the terms to ensure they are aware of their rights and options in case of malfunctions.