| Problem |
Potential Cause |
Solution |
Identifying and Fixing Drainage Problems
When issues with water removal arise, they often signal that there’s a blockage or malfunction within the appliance’s drainage system. Efficient drainage ensures the appliance runs smoothly, preventing excess water from damaging internal components and impacting overall performance. Addressing these issues early can avoid further complications and costly repairs.
Common Causes of Drainage Blockages
Drainage blockages are frequently caused by accumulated debris, like lint, small items of clothing, or even excess detergent residue. This buildup can obstruct the filter or clog hoses, slowing down or completely halting water flow. Additionally, a malfunctioning pump can contribute to drainage issues, as it may struggle to push out water efficiently.
Step-by-Step Solutions
Inspect the Filter: Begin by examining the drainage filter, which is often located near the base of the machine. Clean it carefully, removing any visible particles. Regular maintenance of the filter helps prevent blockage-related drainage issues.
Check the Hoses: Verify that the hoses connecting to the appliance and drainage system are clear of any obstructions. Kinks, bends, or lodged items within the hose can significantly impact water flow. Straighten or
How to Reset the Washer System
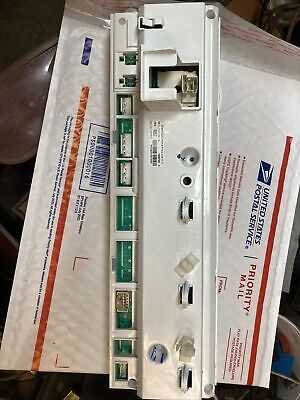
Resetting the system can often resolve minor issues and restore optimal performance. This process is straightforward and can be done quickly at home without special tools. Follow the steps below to refresh the settings and ensure that the unit operates correctly.
- First, disconnect the power by unplugging the machine from the electrical outlet. Wait for at least one minute to allow the system to fully power down.
- Once the machine is disconnected, press and hold the “Start/Pause” button for about five seconds. This will help discharge any remaining power in the circuits.
- After the waiting period, plug the machine back into the outlet. Ensure the connection is secure and that there are no obstructions in the power source.
- Now, press the “Power” button to turn on the system. You may need to select a cycle briefly to confirm the reset was successful.
- If the reset was done correctly, any previous errors or irregularities should be cleared, and the system will return to default settings.
If issues persist after performing these steps, consider seeking further assistance or checking for other potential troubleshooting options specific to your model.
Repairing a Leaking Door Seal
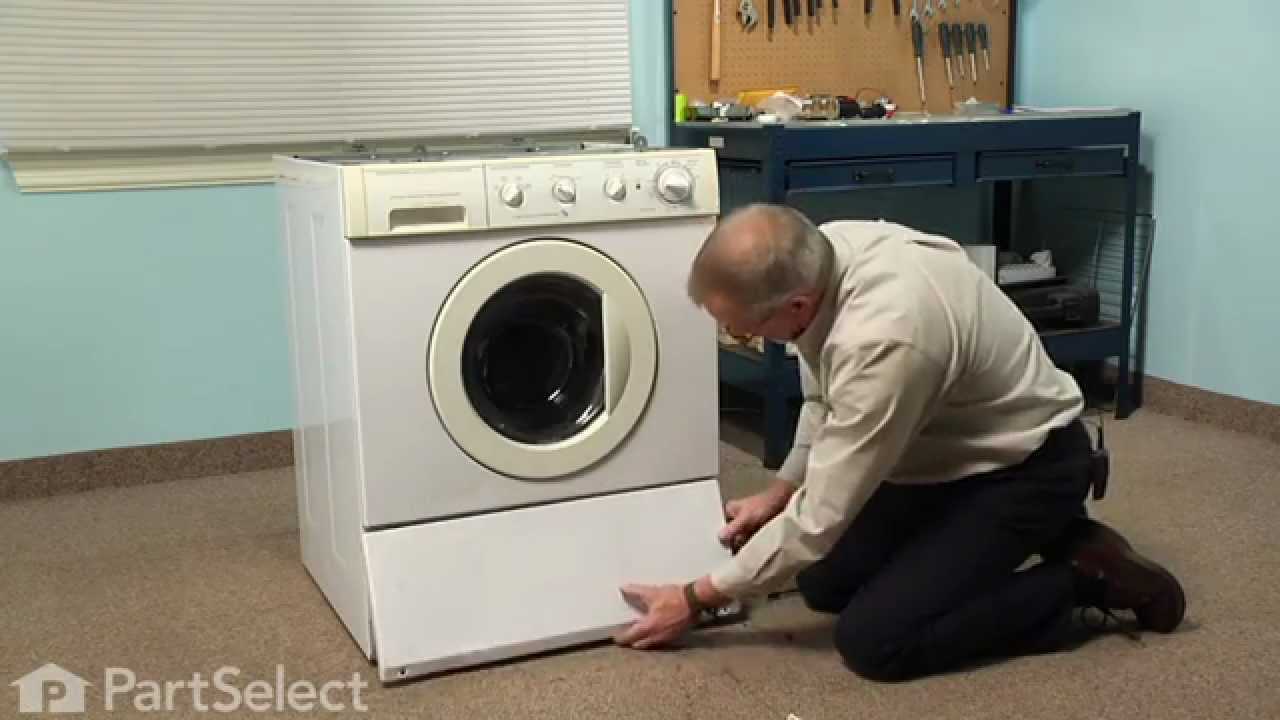
When dealing with a door seal that no longer prevents water from escaping, addressing the issue quickly can help avoid further complications. The seal, commonly made from flexible material, is essential for maintaining the efficiency of your machine and ensuring that water remains where it should.
Begin by carefully examining the seal for signs of wear, such as cracks, tears, or mold. Over time, residues from detergents and other particles can collect around the gasket, affecting its ability to maintain a tight seal. Cleaning these areas thoroughly before attempting a repair can help restore some sealing capability.
If damage to the seal is evident, replacing it may be the best option. Ensure that the power supply is disconnected before you start, and remove the outer ring that holds the seal in place. Once the old seal is removed, carefully fit the new gasket, ensuring it aligns
Dealing with Drum Vibration
Persistent vibration issues in the drum can lead to various operational challenges, impacting both performance and noise levels. Addressing these vibrations promptly ensures smoother cycles and extends the lifespan of internal components. Minor adjustments and checks can often resolve common causes without the need for extensive maintenance.
Leveling the Unit: Uneven surfaces can intensify vibration, causing the drum to shake more than usual. Confirm the unit’s balance by adjusting the leveling feet to make sure it sits flush against the floor. A stable foundation reduces unwanted movement and enhances overall stability.
Inspecting Drum Bearings: Worn or loose bearings contribute significantly to vibration issues. Over time, bearings may weaken, causing the drum to shift irregularly. Routine checks on these parts allow early detection of wear, which can prevent further complications and improve operation.
Balancing the Load: Overloading or placing heavy items in
Cleaning the Pump Filter Properly
Maintaining the pump filter is essential for optimal performance and longevity of your appliance. Regularly checking and cleaning this component prevents clogs and ensures efficient water drainage. A clean filter contributes to better washing results and reduces the risk of damage to the machine.
Here’s how to properly clean the pump filter:
- Prepare your equipment: Gather towels, a small bucket, and a flat-head screwdriver.
- Locate the pump filter access door, usually found at the bottom front of the unit.
- Open the access door and place the bucket underneath to catch any water that may spill out.
- Carefully unscrew the filter by turning it counterclockwise. Be cautious, as residual water may escape.
- Remove any debris, lint, or foreign objects from the filter. Rinse it thoroughly under running water.
- Inspect the filter housing for any blockages and clean as necessary.
- Reinsert the filter and securely screw it back in place, ensuring a tight seal to prevent leaks.
- Close the access door and check that everything is in order.
By following these steps, you can maintain the efficiency of your appliance and avoid unnecessary issues. Regular maintenance of the pump filter is key to ensuring a smooth operation and enhancing the lifespan of your unit.
Steps to Replace a Broken Belt
When dealing with a malfunctioning appliance, one common issue that can arise is a broken belt. This component is crucial for the functioning of the device, as it connects various mechanical parts and ensures smooth operation. If you find yourself facing this problem, replacing the belt can restore your appliance to its full potential.
1. Gather Your Tools: Before starting, make sure you have all necessary tools ready. You’ll typically need a screwdriver, a replacement belt, and possibly pliers. Having everything at hand will streamline the process.
2. Disconnect the Power Source: Safety should always be a priority. Unplug the appliance from the electrical outlet to prevent any risk of electric shock while working on it.
3. Access the Interior: To replace the belt, you will need to open the appliance. This often involves removing the back or front panel. Use your screwdriver to carefully take off the screws and set the panel aside.
4. Remove the Old Belt: Once you have access to the interior, locate the broken belt. It may be frayed or completely detached. Gently remove it from the pulleys and any attached components.
5. Install the New Belt: Take the new belt and place it over the pulleys, ensuring it is properly aligned. It should fit snugly without being overly tight. Follow the same routing as the old belt for proper functionality.
6. Reassemble the Appliance: After installing the new belt, replace the panel you removed earlier. Secure it with screws, ensuring everything is tightly fastened to avoid any vibrations during operation.
7. Test the Appliance: Plug the appliance back into the power source and run a test cycle. Listen for any unusual noises and ensure the device operates smoothly with the new belt in place.
Replacing a broken belt is a manageable task that can significantly improve the performance of your appliance. By following these steps, you can extend the life of your device and avoid costly repairs.
Fixing Temperature Control Errors
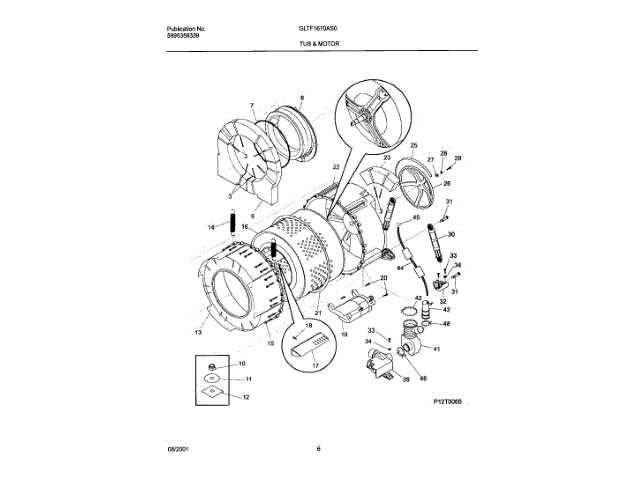
Temperature regulation issues can significantly affect the efficiency of your appliance, leading to improper washing results. Understanding the common causes of these errors and how to address them is essential for maintaining optimal performance.
Common Causes of Temperature Control Problems
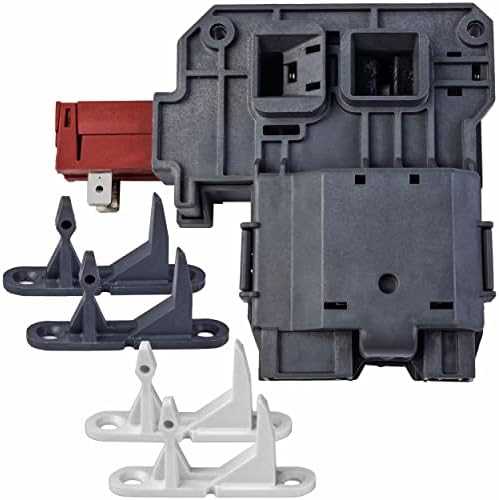
- Faulty temperature sensor: A malfunctioning sensor may provide incorrect readings.
- Wiring issues: Damaged or loose connections can disrupt the communication between components.
- Control board failure: Problems with the main control unit may lead to incorrect temperature settings.
- Incorrect cycle selection: Choosing the wrong washing cycle can lead to unexpected temperature settings.
Troubleshooting Steps

- Check the temperature sensor for damage or disconnection.
- Inspect wiring for any signs of wear or loose connections.
- Reset the appliance by unplugging it for a few minutes and then plugging it back in.
- Refer to the user guide to ensure the correct cycle is selected for your needs.
- If issues persist, consider consulting a professional technician for further diagnosis.
When to Replace the Water Inlet Valve
The water inlet valve is a crucial component in many appliances, regulating the flow of water into the system. Over time, this part can wear out or malfunction, leading to various issues that may hinder performance. Recognizing the signs that indicate it’s time for a replacement can save you from further complications and potential damage.
Signs of Failure: If you notice water leaking from the appliance, this may be a clear indication that the valve is not functioning properly. Additionally, if the machine fails to fill with water during a cycle or takes significantly longer than usual, the valve may be clogged or defective.
Age and Usage: Consider the age of the appliance and how frequently it has been used. Components can deteriorate over time, and a valve that has served for many years might not perform as efficiently as before. Regular maintenance can help prolong its life, but eventually, a replacement may be necessary.
Unusual Noises: If you hear strange sounds coming from the appliance during operation, such as buzzing or humming, it could indicate that the valve is struggling to open or close properly. These noises often signal that it’s time to inspect or replace the valve.
In summary, being vigilant about the performance of the water inlet valve can help ensure optimal operation of your appliance. If you observe any of the aforementioned signs, it’s advisable to take action promptly to avoid further issues.
Understanding Error Codes and Solutions
Error codes are essential indicators that help diagnose issues in various appliances. Recognizing these codes allows users to pinpoint malfunctions effectively, making troubleshooting easier. Each code corresponds to a specific problem, and understanding them can lead to quicker resolutions and improved appliance performance.
Common Error Codes and Their Meanings
| Error Code |
Meaning |
Suggested Action |
| F01 |
Control board failure |
Reset the appliance. If the issue persists, contact a technician. |
| F02 |
Drainage issue |
Check for clogs in the drain hose or pump. |
| F03 |
Water temperature sensor failure |
Inspect the sensor connections and replace if necessary. |
| F04 |
Door lock malfunction |
Examine the door latch for obstructions or damage. |
Troubleshooting Steps
When encountering an error code, follow these troubleshooting steps for effective resolution. First, note the displayed code and refer to the corresponding meaning. Next, carry out the suggested actions, ensuring all connections are secure and components are functioning properly. If problems continue, consulting a qualified technician may be necessary to perform more extensive repairs.
Maintaining Optimal Washer Performance

To ensure longevity and efficiency of your appliance, regular maintenance is essential. By adhering to a few straightforward practices, you can enhance its functionality and prevent common issues that arise over time.
Regular Cleaning: Keeping the interior and exterior clean is crucial. After each use, wipe down the drum and door seal to eliminate any residue or moisture. Additionally, run a cleaning cycle monthly with a specialized solution to maintain freshness and hygiene.
Check Hoses and Connections: Periodically inspect the water supply hoses for any signs of wear or leaks. Ensure that all connections are tight and free from debris to facilitate proper water flow, which is vital for optimal performance.
Monitor Detergent Use: Using the correct amount of detergent is vital. Overloading with detergent can lead to excess suds, which may hinder cleaning efficiency and cause buildup. Follow the manufacturer’s recommendations for dosage based on the load size.
Run Maintenance Cycles: Many appliances come equipped with self-diagnosis programs. Running these cycles can help identify and troubleshoot minor problems before they escalate, ensuring your machine operates smoothly.
Professional Servicing: Consider scheduling a professional inspection at least once a year. Experts can address any underlying issues, ensuring your machine runs optimally and extends its lifespan.
