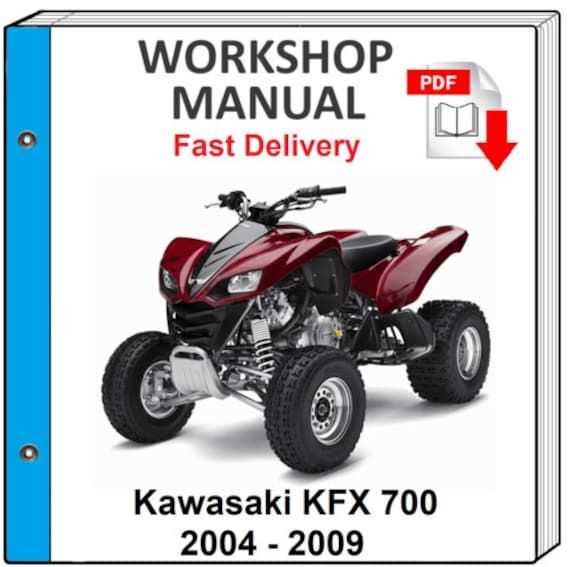
Maintaining your all-terrain vehicle in peak condition requires regular attention to detail and a solid understanding of its components. This guide provides a systematic approach to ensuring the longevity and performance of your vehicle, helping to keep it ready for all types of trails and terrains. Following a clear process not only extends the life of the machine but also enhances safety and reliability.
Understanding the essentials of upkeep means knowing when to inspect, clean, and replace parts, as well as recognizing any early signs of wear. From basic tune-ups to more detailed inspections, this resource covers everything you need to know. By prioritizing each step, ATV owners can keep their rides smooth and reduce unexpected issues, saving both time and cost in the long run.
In this guide, you’ll find clear instructions and expert advice designed to empower riders with the knowledge to handle regular service needs. With the right tools and a bit of preparation, tackling maintenance tasks can be a straightforward and rewarding experience, ensuring your vehicle is always ready for the next adventure.
Regular Upkeep for Optimal Performance
Consistent care ensures your off-road vehicle remains in prime condition, ready for every adventure. Routine inspections, timely adjustments, and basic upkeep tasks not only extend the lifespan of essential parts but also enhance safety. By dedicating time to each aspect of maintenance, riders can experience smoother, more reliable rides while reducing the likelihood of unexpected breakdowns.
Begin with frequent checks on fluid levels, especially focusing on engine oil and coolant, as they are key to keeping the engine cool and properly lubricated. Regularly inspect the air filter, which protects internal components from debris, to make sure it remains clean and functions optimally. Dirty or clogged filters can impact performance and cause overheating, so clean or replace as needed.
Moving to the tires, assess their tread and pressure before each ride. Adequate tire traction is crucial for maintaining control on various terrains. Worn or underinflated tires can reduce stability and increase risks, so make sure they are in good condition and inflated to the recommended level.
For a smooth and responsive ride, lubricate the chain periodically to prevent wear and ensure efficient power transfer. Check the chain tension, adjusting if it becomes too loose or too tight, as improper tension may affect handling and lead to premature wear.
Lastly, brakes play a critical role in safety, so inspect pads for wear and make sure the braking system is responsive. Replace any components that show
Essential Tools for KFX 400 Repair
When maintaining an all-terrain vehicle, having the right tools on hand is crucial to ensure a smooth process. Equipped with the appropriate items, you can handle a range of tasks more efficiently, minimizing the risk of damage and saving time. Here’s a guide to the primary tools that support essential maintenance and adjustments.
Basic Tool Kit
A general tool kit forms the foundation of any successful service task. This should include common hand tools like adjustable wrenches, screwdrivers, and socket sets of various sizes. Each of these plays a key role in safely disassembling and reassembling parts, allowing for more accurate repairs.
Specialized Equipment
Certain operations require specific tools designed for tasks unique to off-road vehicles. These may include chain breakers, torque wrenches, and specific gauge tools to assess and adjust alignment or tension. Investing in these specialized items ensures precision during servicing, particularly when handling sensitive components.
| Tool | Description | |||||||||||||||||||||||||||||||||||||
|---|---|---|---|---|---|---|---|---|---|---|---|---|---|---|---|---|---|---|---|---|---|---|---|---|---|---|---|---|---|---|---|---|---|---|---|---|---|---|
| Socket Set | Helps in removing and securing bolts of various sizes. | |||||||||||||||||||||||||||||||||||||
| Torque Wrench | Ensures bolts are tightened to the correct tension, preventing overtightening. | |||||||||||||||||||||||||||||||||||||
| Step | Action |
|---|---|
| 1 | Turn off the vehicle and remove the key. |
| 2 | Disconnect the negative terminal first, followed by the positive terminal. |
| 3 | Remove the old battery from its compartment. |
| 4 | Place the new battery in the same position. |
| 5 | Connect the positive terminal first, then the negative terminal. |
| 6 | Secure the battery and check that all connections are tight. |
Troubleshooting Electrical System Issues

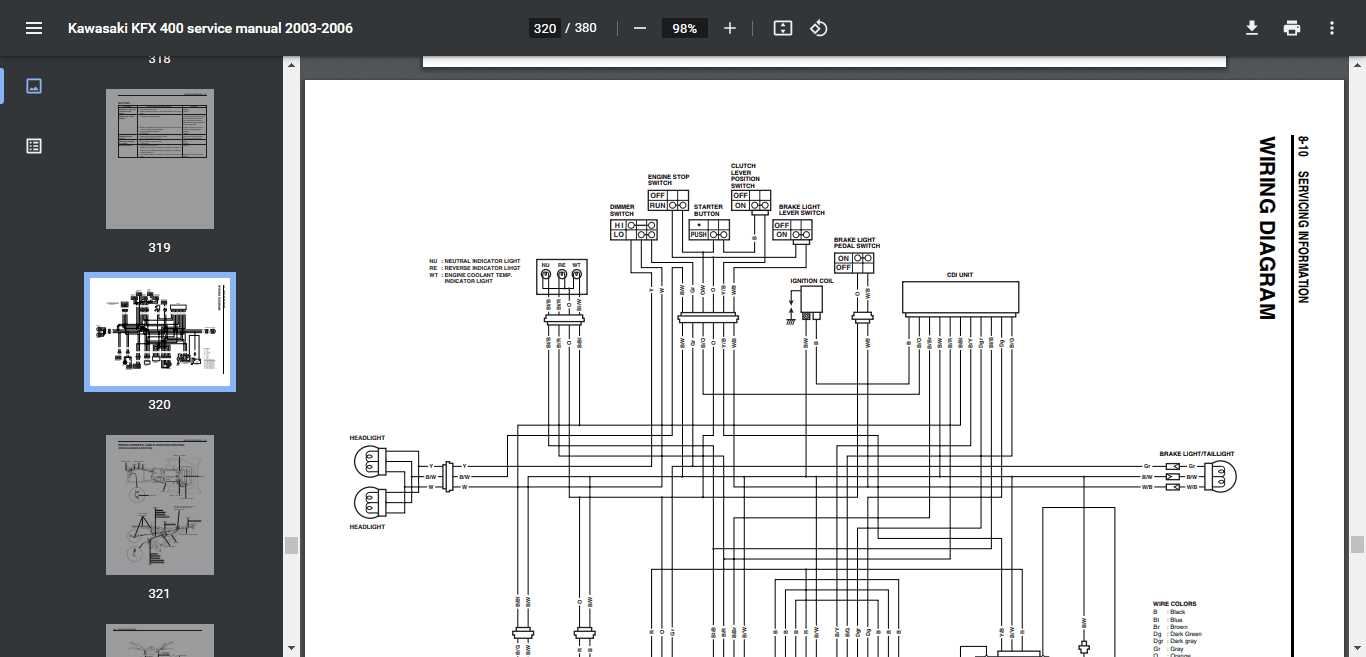
Addressing problems within the electrical system of a vehicle can be challenging yet essential for maintaining optimal performance. Common symptoms of electrical failures may include malfunctioning lights, inconsistent starting, or faulty indicators. Understanding the fundamentals of the electrical components and their interactions is crucial for effective diagnostics.
Identifying Common Symptoms
Start by observing the behavior of the electrical system. If the lights flicker or do not illuminate, this may indicate a problem with the battery or wiring connections. Additionally, difficulty in starting the engine often points to issues with the ignition system or starter motor. Documenting these symptoms will aid in isolating the root cause of the malfunction.
Testing Components
To further diagnose the problem, use a multimeter to check the voltage levels across various components. Begin with the battery, ensuring it holds a charge. Next, examine the fuses and relays for any signs of damage or failure. Continuity tests can also help verify the integrity of the wiring harness. By systematically testing each component, you can pinpoint where the issue resides and take the necessary corrective actions.
Maintaining the Suspension System
The suspension system is crucial for ensuring a smooth and controlled ride. Proper maintenance not only enhances performance but also extends the lifespan of the components. Regular checks and timely interventions can prevent more serious issues and improve overall handling.
To effectively maintain the suspension system, it is essential to follow a routine inspection process. This includes checking for signs of wear, ensuring all components are securely fastened, and replacing any damaged parts promptly. Below is a table outlining key maintenance tasks and their recommended frequencies:
| Maintenance Task | Frequency |
|---|---|
| Inspect shock absorbers for leaks | Every 30 hours of use |
| Check and tighten all suspension bolts | Every 50 hours of use |
| Lubricate suspension linkage | Every 100 hours of use |
| Replace worn bushings | As needed |
Adhering to this maintenance schedule will ensure optimal performance and safety, allowing for a more enjoyable riding experience.
Cleaning and Replacing Air Filters
Maintaining optimal engine performance requires regular attention to air filters. These components play a crucial role in ensuring that clean air reaches the engine, which is essential for efficient combustion. Over time, filters can become clogged with dirt and debris, leading to reduced airflow and potential engine issues. This section provides guidance on how to properly clean and replace air filters to keep your vehicle running smoothly.
Steps for Cleaning Air Filters
To clean air filters effectively, first remove them from their housing. Use a gentle stream of compressed air to blow out any accumulated dust and dirt, ensuring you clean from the inside out to avoid pushing contaminants further into the filter. If the filter is heavily soiled, it may be beneficial to wash it with mild soap and water, allowing it to dry completely before reinstalling.
Replacing Air Filters
If the air filter is damaged or excessively dirty after cleaning, replacement is necessary. Select a compatible filter that meets the specifications of your vehicle. Installation is typically straightforward: align the new filter in its designated slot and ensure it fits snugly. Regularly replacing air filters not only enhances performance but also prolongs the lifespan of your engine.
Tire and Wheel Maintenance Tips
Proper upkeep of tires and wheels is essential for optimal performance and safety. Regular maintenance not only prolongs the lifespan of your vehicle’s components but also ensures a smoother and safer ride. Here are some important practices to consider.
Regular Inspection
- Check tire pressure monthly to maintain optimal inflation levels.
- Inspect for any visible signs of wear, such as cracks, bulges, or uneven tread patterns.
- Look for any foreign objects lodged in the tires, which may cause damage.
Tread Maintenance
- Rotate tires every 5,000 to 7,000 miles to promote even wear.
- Ensure tread depth is sufficient; use a tread depth gauge to measure.
- Replace tires when tread depth falls below recommended levels to maintain grip.
Brake System Adjustment and Repair
Proper maintenance of the braking system is crucial for ensuring safe and effective operation of the vehicle. This section provides guidance on adjusting and maintaining the braking components, ensuring optimal performance and longevity. Regular checks can prevent issues and enhance the overall safety of the ride.
Adjustment Procedures
To achieve the best braking performance, it is essential to periodically check and adjust the brake settings. Begin by inspecting the brake pads and rotors for wear. If the pads are worn unevenly or are nearing their limit, replacement may be necessary. Additionally, ensure that the brake fluid is at the correct level and free of contaminants. Adjust the brake lever position to suit your preference, allowing for comfortable and responsive braking.
Common Issues and Solutions
Several issues may arise within the braking system, such as squeaking noises, reduced stopping power, or a spongy brake lever. If you notice any unusual sounds, it may indicate that the brake pads are worn or that there is debris in the system. Bleeding the brakes can help eliminate air bubbles that might cause a soft feel in the lever. Regular maintenance and prompt attention to any irregularities will keep the braking system functioning efficiently.
Chain Lubrication and Tensioning
Proper maintenance of the drive mechanism is essential for optimal performance and longevity of your all-terrain vehicle. This section emphasizes the significance of keeping the chain adequately lubricated and properly tensioned, ensuring smooth operation and preventing premature wear.
Importance of Chain Maintenance
Regular maintenance of the chain system not only enhances the efficiency of power transfer but also reduces the risk of damage to other components. A well-lubricated and correctly tensioned chain minimizes friction, which leads to better fuel efficiency and overall performance.
Steps for Lubrication and Tensioning
Follow these straightforward steps to maintain the chain effectively:
| Step | Action | Notes |
|---|---|---|
| 1 | Clean the Chain | Use a suitable cleaner to remove dirt and debris. |
| 2 | Apply Lubricant | Choose a high-quality chain lubricant and apply evenly. |
| 3 | Check Tension | Adjust the tension according to the manufacturer’s specifications. |
| 4 | Inspect for Wear | Look for signs of wear or damage; replace if necessary. |
Regular Cooling System Maintenance
Proper upkeep of the cooling system is essential for the optimal performance and longevity of your all-terrain vehicle. Routine checks and maintenance ensure that the engine remains at a safe operating temperature, preventing overheating and potential damage. Below are some key practices for maintaining the cooling system effectively.
- Check Coolant Levels: Regularly inspect the coolant reservoir to ensure it is filled to the appropriate level. Low coolant can lead to inefficient cooling and engine overheating.
- Inspect for Leaks: Examine hoses and connections for any signs of leaks. Leaks can decrease coolant levels and impair the system’s effectiveness.
- Flush the System: Periodically flushing the cooling system removes contaminants and debris. This process helps maintain efficient heat transfer and prolongs the life of the components.
- Replace the Coolant: Follow the manufacturer’s recommendations for coolant replacement intervals. Fresh coolant contains necessary additives that protect against corrosion and freezing.
- Check the Radiator: Ensure that the radiator is free of debris and dirt. A clean radiator allows for better airflow and cooling efficiency.
By adhering to these maintenance tips, you can enhance the performance and reliability of your vehicle’s cooling system, ultimately extending its lifespan.

