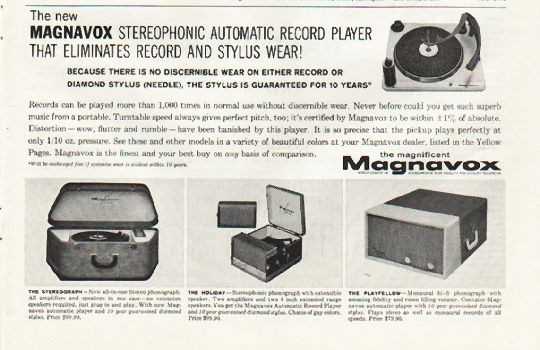
The allure of classic audio equipment lies not only in their aesthetic appeal but also in their ability to deliver an unparalleled listening experience. This guide aims to provide enthusiasts with essential insights into maintaining and rejuvenating these cherished items, ensuring they continue to function at their best for years to come.
Understanding the intricate components that make up these devices is crucial for anyone looking to preserve their functionality. From the delicate mechanics to the electronic elements, each part plays a vital role in producing that signature sound quality that defines vintage audio. With proper knowledge and techniques, restoring these pieces can be both a rewarding and educational endeavor.
This resource offers detailed instructions and tips, empowering individuals to take on the challenge of bringing their equipment back to life. Whether you’re a seasoned hobbyist or a newcomer to the world of audio restoration, the information provided here will equip you with the tools necessary to achieve successful outcomes and enhance your listening pleasure.
To effectively address issues with audio playback devices, having the right instruments is crucial. A well-equipped toolkit not only simplifies the process but also ensures precision and care during maintenance tasks. Below is a list of essential tools that will aid in the upkeep of these devices.
| Tool | Description |
|---|---|
| Screwdriver Set | Variety of sizes to accommodate different screws. |
| Multimeter | Used to test electrical components and connections. |
| Cleaning Brush | Helps remove dust and debris from delicate parts. |
| Lubricant | Ensures smooth operation of moving parts. |
| Calibration Tool | Used for adjusting settings to optimal levels. |
Step-by-Step Troubleshooting Guide
This guide provides a systematic approach to identify and resolve common issues associated with audio playback devices. By following the outlined steps, users can effectively diagnose problems and enhance the performance of their equipment.
| Issue | Possible Cause | Solution |
|---|---|---|
| No sound output | Disconnected cables | Check and reconnect all audio connections. |
| Distorted audio | Worn needle or cartridge | Inspect and replace the needle if necessary. |
| Device won’t power on | Faulty power supply | Test the power source and replace if needed. |
| Playback speed issues | Incorrect settings or belt malfunction | Adjust speed settings or inspect the drive belt for wear. |
Replacing the Stylus and Cartridge
When maintaining your audio playback system, changing the stylus and cartridge is essential for optimal sound quality. Over time, these components can wear out, affecting the performance of your equipment. This section outlines the steps necessary to perform this important task effectively.
Step 1: Begin by ensuring that the device is powered off and unplugged. Carefully remove the existing cartridge from the tonearm. This usually involves loosening the screws that hold it in place, allowing you to lift it off gently.
Step 2: Next, detach the stylus from the cartridge. Most models have a mechanism that enables easy removal. Consult the specific instructions for your cartridge type if necessary. Take your time to avoid damaging any parts during this process.
Step 3: Install the new stylus onto the cartridge. Make sure it is aligned properly and secured according to the manufacturer’s guidelines. Once the stylus is in place, attach the cartridge back to the tonearm, tightening the screws without over-torquing.
Step 4: Finally, check the alignment of the cartridge with a protractor to ensure accurate tracking. This adjustment is crucial for achieving the best possible sound reproduction.
By following these steps, you can successfully replace the stylus and cartridge, restoring your system’s audio performance and enhancing your listening experience.
Maintaining the Drive Belt System
Ensuring the longevity and optimal performance of your audio playback device requires regular attention to its drive mechanism. The belt system plays a crucial role in transferring motion from the motor to the platter, and proper maintenance can enhance both sound quality and durability.
Inspection and Cleaning
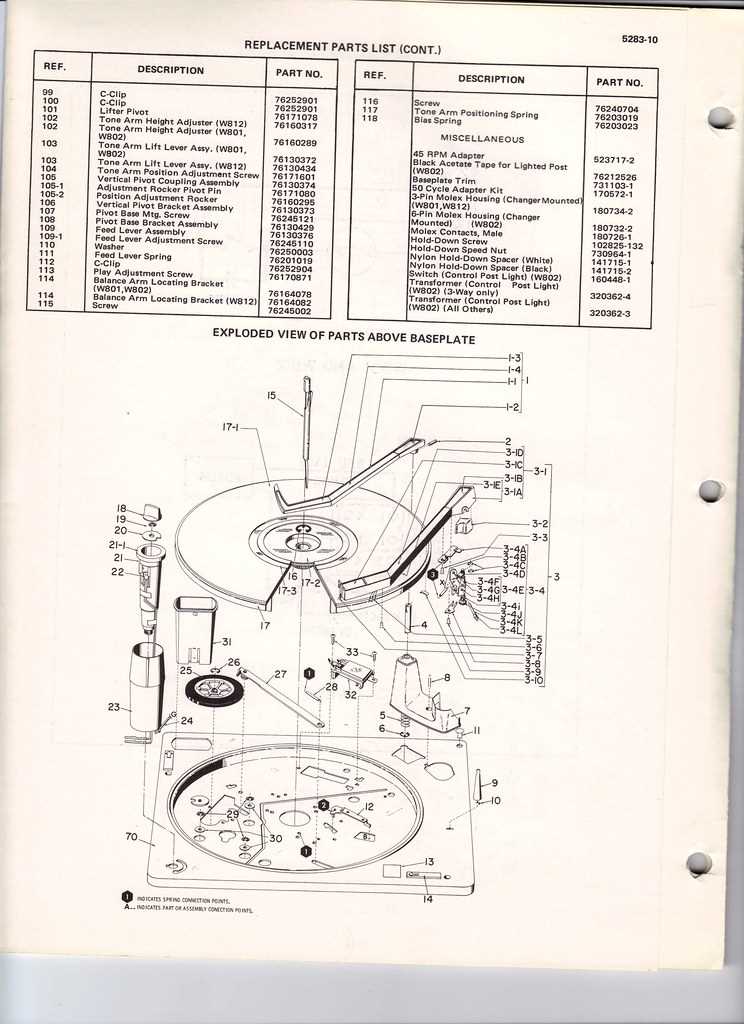
Routine checks are essential to identify any wear or contamination. Follow these steps:
- Examine the belt for signs of cracking or stretching.
- Clean the surface of the belt and the pulleys using a lint-free cloth.
- Ensure no dust or debris is obstructing the system.
Belt Replacement
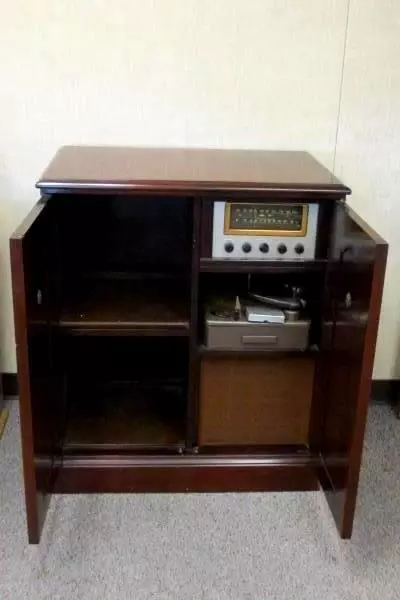
If wear is detected, timely replacement is necessary. Consider these points:
- Choose a high-quality replacement that fits specifications.
- Follow installation instructions carefully to avoid misalignment.
- Test the device post-installation to ensure proper functionality.
Cleaning the Turntable Properly
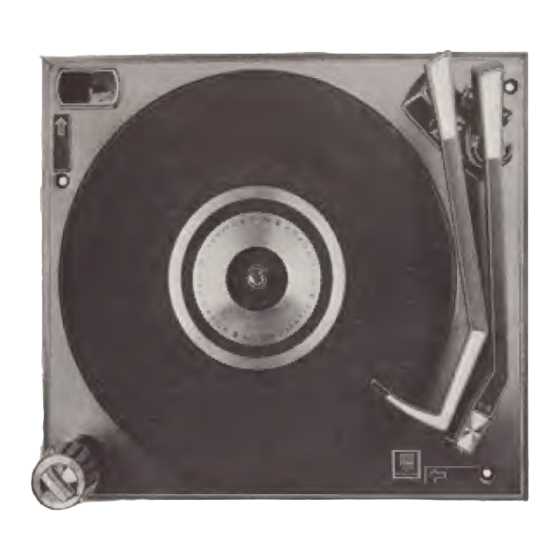
Maintaining your audio device in optimal condition is essential for ensuring high-quality sound reproduction. Regular cleaning not only enhances performance but also extends the lifespan of the equipment. This section provides guidance on effectively removing dust and debris to keep your device functioning smoothly.
Start by disconnecting the unit from the power source to ensure safety. Use a soft, lint-free cloth slightly dampened with a mild cleaning solution to gently wipe the exterior surfaces. Avoid harsh chemicals that could damage the finish.
For the platter, carefully lift it and clean underneath, as dust accumulation can affect sound quality. A soft brush or microfiber cloth can be used to remove any particles without scratching the surface. Additionally, pay attention to the area surrounding the stylus; a gentle touch is crucial to avoid any damage.
Finally, reassemble the components after ensuring everything is dry and free from debris. Regular upkeep will significantly improve your listening experience and keep your audio equipment in prime condition.
Adjusting Tonearm Settings Effectively
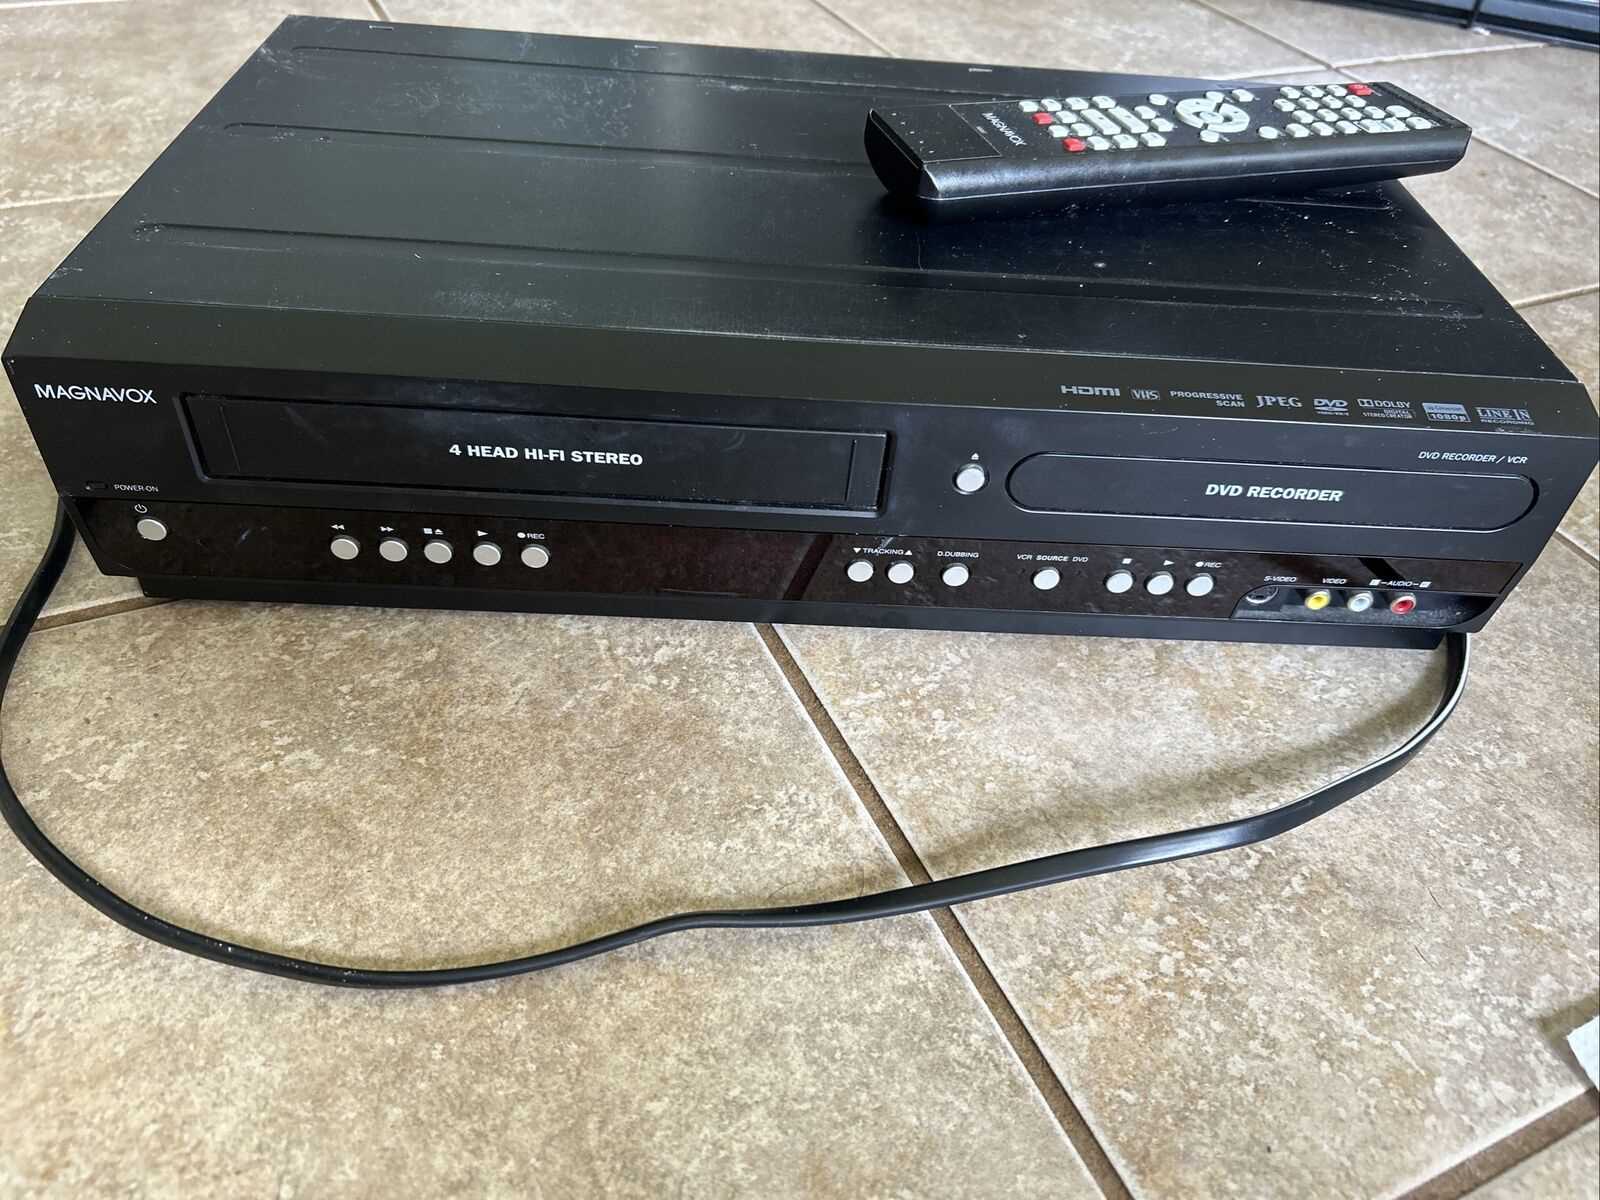
Achieving optimal audio performance requires precise adjustments to the arm that holds the cartridge. Fine-tuning these settings enhances sound quality and minimizes wear on both the stylus and the records. This section outlines essential techniques for making these adjustments accurately.
First, ensure that the tracking force is set correctly. This measurement influences how the needle interacts with the grooves of the vinyl. Using a reliable scale, adjust the weight applied to the arm until the recommended force is achieved, which typically ranges from 1.5 to 2.5 grams, depending on the cartridge type.
Next, consider the anti-skate setting, which helps maintain a balanced pressure on both sides of the record. Set this parameter to match the tracking force; for example, if the tracking force is set to 2 grams, the anti-skate should also be adjusted to 2. This helps to prevent the needle from drifting towards the center or edge of the disc.
Finally, the vertical tracking angle (VTA) should be checked. The arm should be parallel to the record surface when the needle is resting in the groove. Adjust the height of the tonearm as necessary to achieve this alignment. Proper VTA is crucial for ensuring accurate sound reproduction and reducing distortion.
Rewiring the Turntable for Better Sound
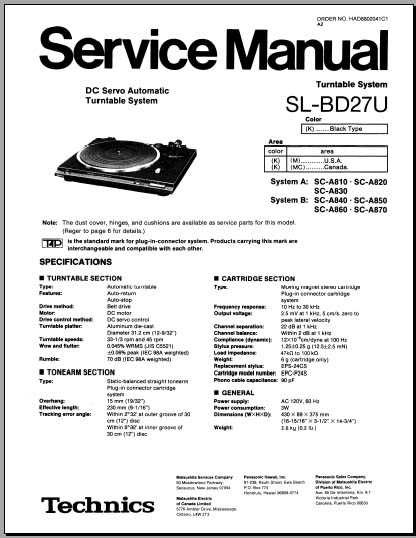
Enhancing audio quality often involves a thorough examination of the internal wiring. This process can significantly improve the clarity and depth of sound, allowing for a more immersive listening experience. Proper connections and high-quality components play a crucial role in achieving optimal performance.
Benefits of Upgrading Wiring

- Improved signal transmission, leading to clearer sound.
- Reduced interference from external sources.
- Enhanced durability and longevity of connections.
Steps to Reroute Connections
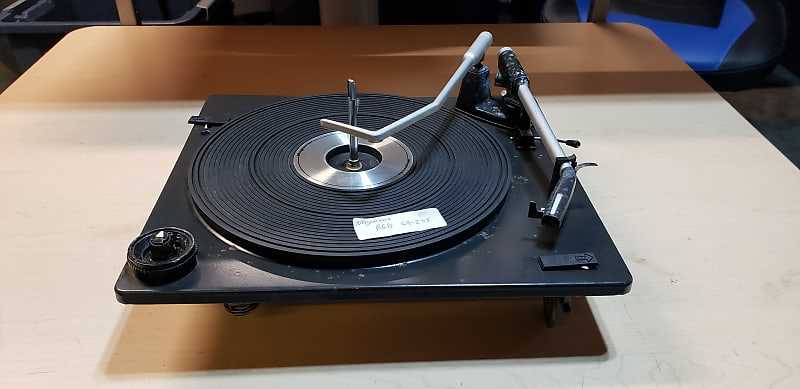
- Gather necessary tools and materials, including high-quality wire, soldering iron, and connectors.
- Carefully disassemble the device to access internal components.
- Identify existing connections and take note of their arrangement.
- Replace old wiring with upgraded materials, ensuring secure and clean connections.
- Reassemble the unit, double-checking all connections for stability.
Following these steps can lead to noticeable improvements in audio fidelity, making the listening experience much more enjoyable. Investing time in this process can yield long-lasting benefits for any music enthusiast.
Fixing Speed Issues in Turntables
Ensuring proper rotation speed is crucial for optimal audio playback. When the rhythm is inconsistent, it can lead to distorted sound quality and an unsatisfactory listening experience. Identifying the root causes of these speed fluctuations is essential for restoring functionality.
Common Causes of Speed Problems
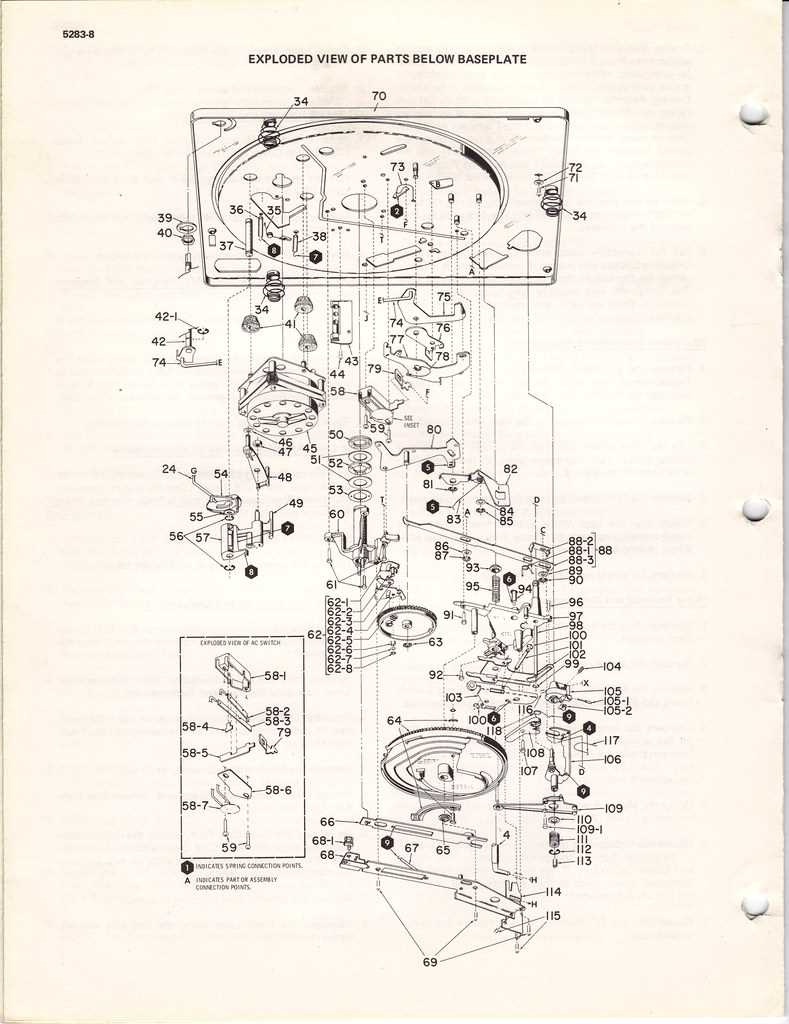
- Inconsistent power supply
- Worn or damaged drive belts
- Faulty speed control circuitry
- Dirty or malfunctioning components
Steps to Address Speed Issues
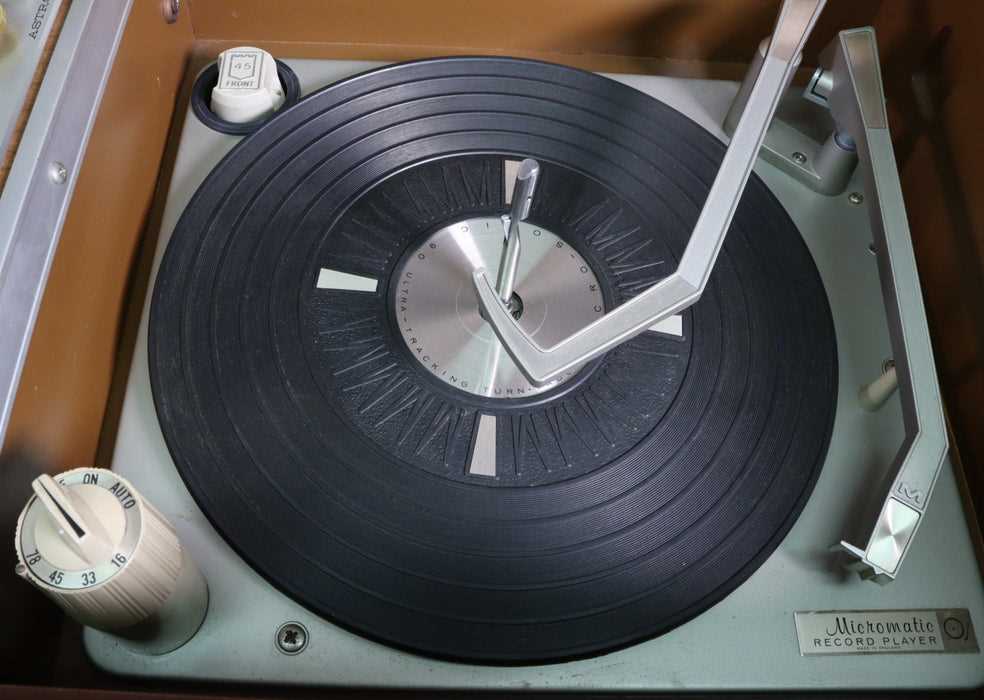
- Check the power source for any irregularities.
- Inspect and, if necessary, replace the drive belt.
- Clean any dust or debris from the internal mechanisms.
- Test the speed control settings and adjust as needed.
By following these guidelines, users can effectively troubleshoot and resolve speed-related issues, ensuring an enhanced auditory experience.
Identifying Electrical Problems Safely
Ensuring the safety of electrical devices is crucial when troubleshooting issues. Recognizing potential hazards and following proper procedures can prevent accidents and damage. This section outlines key practices for safely identifying electrical faults in audio equipment.
Safety Precautions
- Always unplug the device before inspecting any internal components.
- Use insulated tools to minimize the risk of electric shock.
- Wear safety goggles to protect your eyes from any potential debris.
Common Symptoms of Electrical Issues
- Unusual sounds or noises during operation.
- Inconsistent power supply or flickering lights.
- Overheating components or burning smells.
By adhering to these guidelines, users can effectively identify and address electrical problems while maintaining a safe working environment.
Resources for Further Assistance
When facing challenges with audio equipment, it is essential to have access to reliable support and information. Various resources can help users navigate issues and enhance their understanding of the device.
- Online Forums: Engaging in community discussions can provide valuable insights and solutions from fellow enthusiasts.
- Instructional Videos: Platforms like YouTube host a range of tutorials that visually guide users through troubleshooting and maintenance tasks.
- Technical Support Services: Many manufacturers offer customer service lines where experts can provide personalized guidance and assistance.
- Local Repair Shops: Professional technicians can offer hands-on help, ensuring the equipment is serviced correctly.
- User Manuals: Comprehensive guides often include troubleshooting sections that address common problems and their resolutions.
Utilizing these resources can significantly enhance the user’s experience and ensure the longevity of their audio systems.