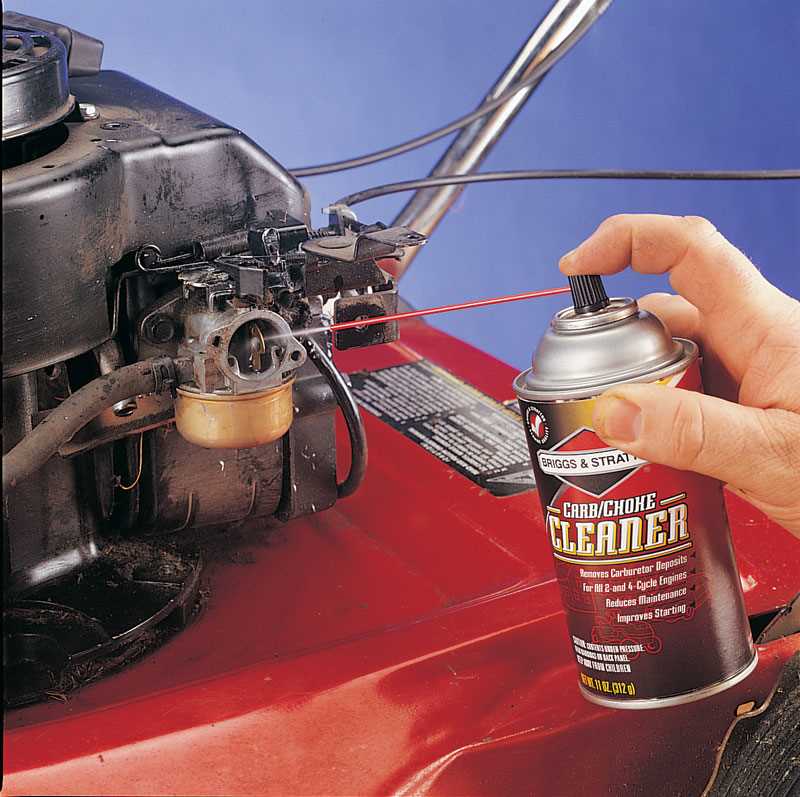
Maintaining the efficiency of your small power machinery can significantly enhance performance and extend its lifespan. Understanding the intricacies of fuel mixing and air flow is essential for ensuring optimal function. This section will delve into the essential processes that keep your equipment running smoothly, focusing on troubleshooting and adjustments.
Proper maintenance of these vital components can prevent common issues such as poor acceleration, excessive emissions, and fuel wastage. By familiarizing yourself with the inner workings of these systems, you can confidently address any challenges that arise, ensuring that your tools are always ready for action.
Throughout this guide, we will explore various techniques and practices that empower you to diagnose issues effectively and implement solutions. From cleaning to precise adjustments, mastering these skills will not only improve your equipment’s reliability but also enhance your overall experience in the field.
Understanding Small Engine Carburetors
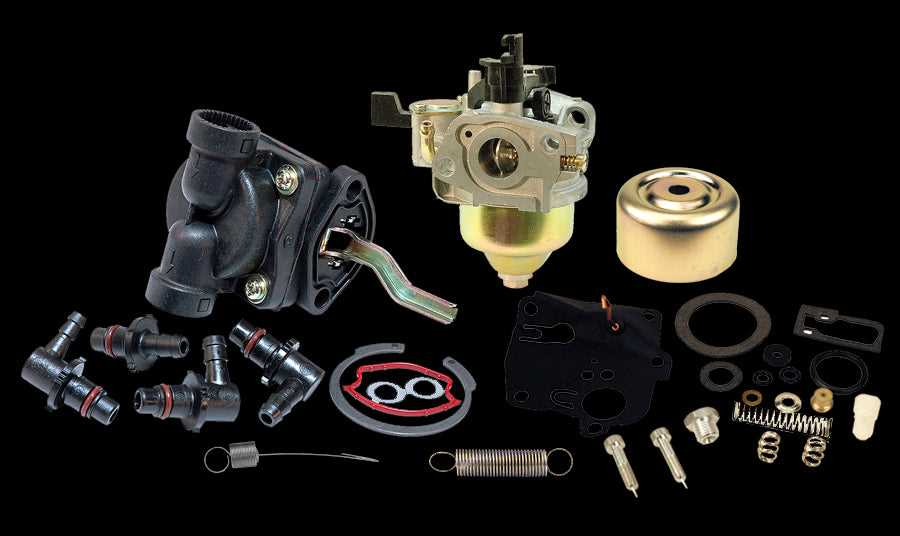
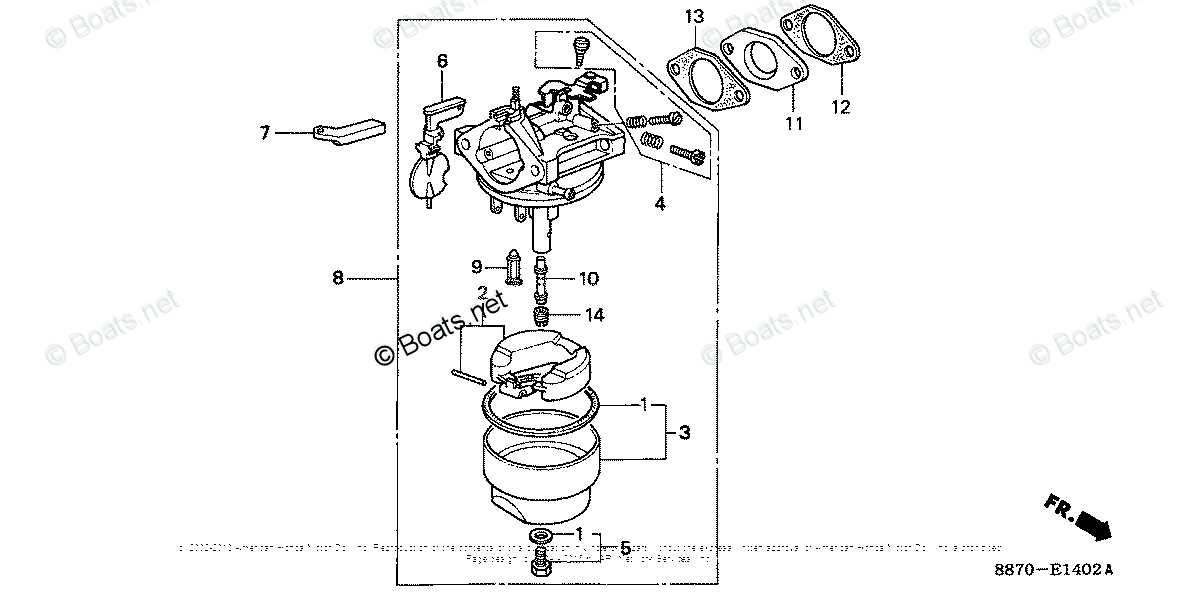
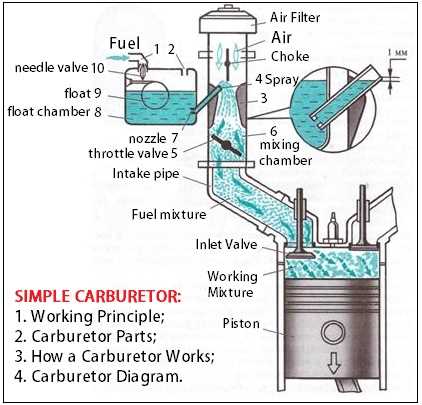
This section aims to provide a comprehensive overview of a crucial component responsible for mixing air and fuel in a combustion system. Its function is pivotal in ensuring optimal performance and efficiency. By delving into the mechanics and design, one can gain insights into how this vital element operates and contributes to the overall functionality of various machinery.
| Component | Function |
|---|---|
| Throttle Valve | Regulates air intake and controls power output. |
| Float Chamber | Maintains a consistent fuel level for proper mixture. |
| Jet | Allows precise fuel delivery into the air stream. |
| Choke | Restricts airflow during cold starts to enrich the mixture. |
Understanding these elements not only enhances the knowledge of how these systems function but also aids in diagnosing issues that may arise over time. Each part plays a significant role in achieving the ideal balance necessary for smooth operation.
Common Carburetor Issues
Various components responsible for fuel and air mixing can encounter a range of problems that affect performance. Recognizing these issues is essential for restoring optimal functionality. This section highlights frequent challenges that users may face, along with their potential causes and solutions.
Fuel Flow Problems
Inadequate or excessive fuel flow can lead to difficulties in starting or poor acceleration. Clogs in the fuel lines, filters, or jets are common culprits. Regular inspection and cleaning of these parts can help maintain proper flow and prevent disruptions in operation.
Air Mixture Imbalances
When the balance between air and fuel is off, it can cause rough idling, stalling, or excessive smoke. This imbalance may arise from dirty or damaged air filters, misadjusted screws, or leaks in the intake system. Addressing these factors promptly ensures smooth performance and efficient combustion.
Tools Required for Repairs
When undertaking the task of restoring and fine-tuning your equipment, having the right implements is crucial for achieving optimal results. The selection of tools can significantly influence the efficiency and effectiveness of the process, ensuring that each component is addressed with precision.
Essential Implements
First and foremost, a comprehensive set of wrenches is necessary. These allow for the loosening and tightening of various fasteners. Additionally, screwdrivers of varying sizes are vital for accessing hard-to-reach areas. A high-quality socket set will further enhance your ability to work on different parts seamlessly.
Specialized Equipment
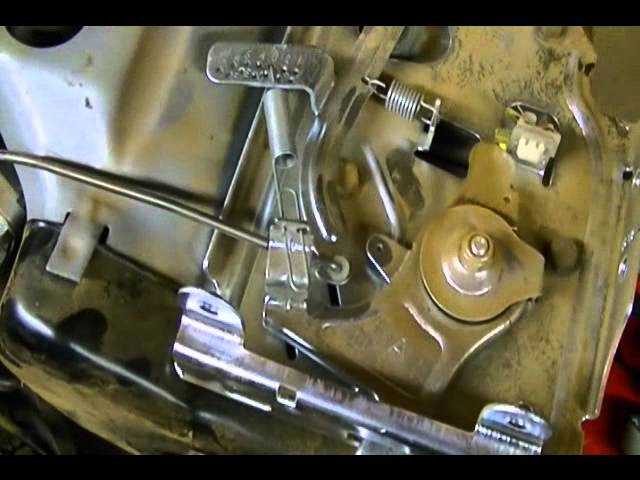
Incorporating specialized devices can elevate your work quality. A fuel pressure gauge is essential for diagnosing flow issues, while a digital multimeter aids in assessing electrical components. Finally, don’t forget safety gear such as gloves and goggles to protect yourself during the process.
Having the correct assortment of tools at your disposal not only simplifies the task but also contributes to a more enjoyable and efficient experience.
Disassembling the Carburetor Safely
Ensuring the proper separation of components in fuel delivery systems requires careful attention and adherence to safety protocols. A methodical approach can prevent damage to parts and reduce the risk of accidents during the process. Understanding the steps involved is crucial for anyone looking to maintain or troubleshoot these systems effectively.
Preparation and Safety Precautions
Before commencing the disassembly process, it is vital to prepare the workspace. Clear the area of any flammable materials and ensure proper ventilation. Always wear safety glasses and gloves to protect against fuel splashes and sharp edges. Disconnecting the power source is a critical first step to prevent accidental starts. Make sure to relieve any pressure within the system, which can help avoid spills.
Step-by-Step Disassembly Process
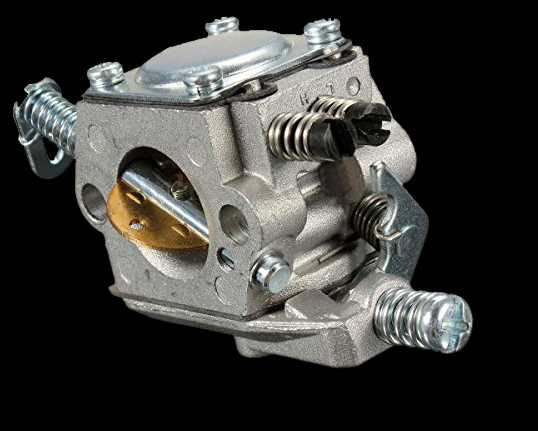
Begin by removing the external attachments, such as hoses and clamps. Keep track of each part and its orientation for easier reassembly. Use appropriate tools to gently loosen screws and fasteners, ensuring not to strip threads. Take note of the sequence in which parts are removed; this will aid in putting everything back together correctly. After separating the components, inspect each part for wear or damage, as this can inform future maintenance needs.
Cleaning Techniques for Carburetors
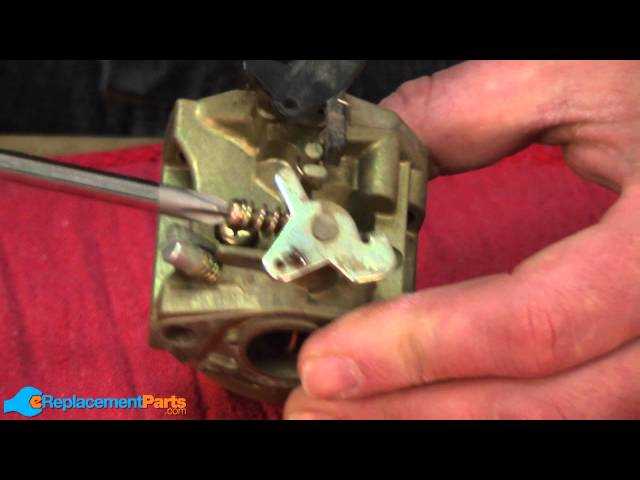
Maintaining optimal performance requires regular attention to the intricate components that facilitate fuel and air mixture. Effective cleaning methods play a crucial role in ensuring these parts function smoothly, ultimately enhancing overall efficiency.
1. Disassembly and Inspection
Begin by carefully disassembling the unit to access internal parts. Inspect each component for wear and damage. This step is vital as it allows for a thorough understanding of any potential issues that need addressing during the cleaning process.
2. Ultrasonic Cleaning
Utilizing ultrasonic cleaners can significantly enhance the cleaning process. These devices use high-frequency sound waves to create microscopic bubbles in a cleaning solution, effectively removing dirt and deposits from hard-to-reach areas without causing damage.
3. Soaking in Solvent
For stubborn deposits, soaking parts in a specialized solvent can be highly effective. Choose a solution designed for fuel systems, ensuring it can dissolve residues without harming sensitive materials. After soaking, rinse the components thoroughly with clean water.
4. Brushing and Scrubbing
Employ soft-bristled brushes or toothbrushes to gently scrub surfaces. This technique is particularly useful for areas that require more attention, such as jets and passages. Avoid using metal brushes, as they can scratch and damage delicate components.
5. Compressed Air Blowing
After cleaning, utilize compressed air to blow out any remaining debris from intricate areas. This method ensures that all cleaning agents and loose particles are removed, leaving surfaces pristine and ready for reassembly.
6. Reassembly and Testing
Once all parts are clean and dry, carefully reassemble the unit. After reassembly, it is essential to conduct thorough testing to confirm that the system operates as intended, ensuring reliability and efficiency in performance.
Identifying Worn Components
Recognizing the signs of deterioration in vital parts is crucial for maintaining optimal performance. Over time, various elements may experience wear and tear due to continuous use, leading to inefficiencies and operational issues. Understanding how to spot these worn components can save time and resources during the maintenance process.
Visual Inspection: Begin with a thorough visual examination. Look for cracks, discoloration, or deformation that might indicate damage. Pay close attention to areas subjected to high friction, as these are often the first to show signs of wear.
Functional Tests: Conducting functional tests can reveal hidden issues. Listen for unusual noises and observe performance inconsistencies. If parts fail to respond as expected, it may be time to consider their condition.
Measurement Techniques: Utilize tools like calipers or gauges to measure critical dimensions. Comparing these measurements against manufacturer specifications will help determine if components are still within acceptable tolerances.
Material Fatigue: Be aware of material fatigue, which can occur even in components that appear intact. Frequent usage may lead to microscopic cracks that can compromise functionality. Regular checks are essential to identify such issues before they escalate.
By staying vigilant and employing these methods, you can effectively pinpoint worn parts, ensuring longevity and reliability in performance.
Replacing Gaskets and Seals
Maintaining optimal performance in your machinery often requires attention to the integrity of various components. Among these, gaskets and seals play a crucial role in preventing leaks and ensuring airtight connections. Over time, these elements can degrade due to exposure to heat, fuel, and other environmental factors, leading to inefficiencies or operational failures.
To effectively substitute worn or damaged gaskets and seals, it is essential to follow a systematic approach. Begin by disassembling the relevant parts carefully, ensuring that all components are handled with care to avoid further damage. Once the area is accessible, inspect for any residues or debris that may hinder the new installations.
Choosing the Right Materials is vital. Always opt for high-quality replacements that are compatible with the specific application. Using the wrong type can lead to premature failure or ineffective sealing.
After selecting appropriate replacements, apply gasket maker or sealant as recommended, ensuring an even distribution. Carefully position the new gasket or seal, aligning it precisely with the mounting surfaces. Once in place, reassemble the parts, applying the necessary torque specifications to secure them properly.
Finally, perform a thorough check for any signs of leaks or irregularities after reassembly. Regular maintenance and timely replacement of these components will enhance the longevity and reliability of your machinery.
Adjusting Fuel Mixture Properly
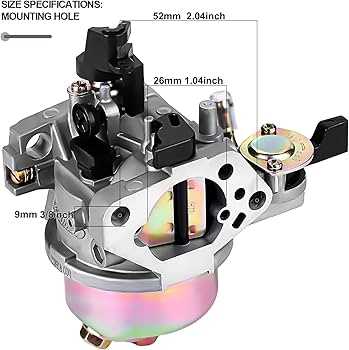
Achieving the right balance in fuel composition is crucial for optimal performance and efficiency. Proper adjustments can enhance functionality, reduce emissions, and prevent potential damage. This section provides insights into the methodology of fine-tuning this mixture to ensure peak operation.
Understanding the Importance
Correctly calibrating the fuel blend directly influences the combustion process, affecting power output and operational stability. A mixture that is too rich can lead to excessive carbon build-up, while a lean mixture may cause overheating and increased wear on components. Understanding the indicators of an imbalanced mixture is essential for making informed adjustments.
Adjustment Procedure
Follow these steps to effectively modify the fuel composition:
| Step | Action | Description |
|---|---|---|
| 1 | Preparation | Ensure the system is clean and accessible. Gather necessary tools for adjustments. |
| 2 | Warm-Up | Start the unit and allow it to reach operating temperature for accurate readings. |
| 3 | Initial Settings | Identify baseline settings and note current performance characteristics. |
| 4 | Make Adjustments | Gradually modify the mixture settings, observing changes in performance. |
| 5 | Test | Conduct tests to evaluate the effect of adjustments. Look for optimal performance indicators. |
| 6 | Final Calibration | Once optimal performance is achieved, finalize settings and secure adjustments. |
Regular monitoring and fine-tuning will ensure longevity and efficiency in operation. By adhering to these guidelines, users can maintain an effective balance that promotes reliable and efficient functionality.
Troubleshooting Starting Problems
When faced with challenges in initiating machinery, it’s essential to methodically assess various components that may hinder functionality. Identifying the root cause of these issues often requires a systematic approach, ensuring that all potential factors are considered and addressed appropriately.
Common Issues to Examine
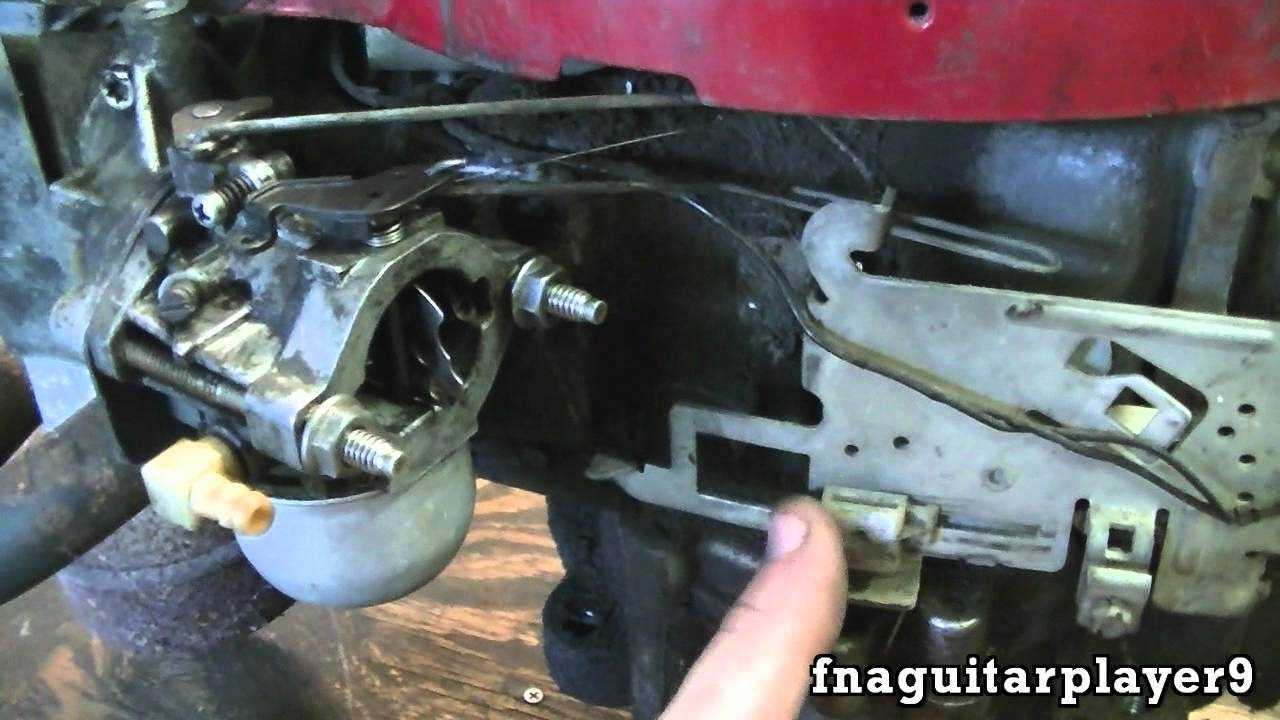
Start by checking the fuel supply; inadequate or contaminated fuel can lead to difficulties in ignition. Inspect the flow and ensure there are no blockages in the lines. Next, assess the ignition system, including the spark plug’s condition, as a weak or absent spark will prevent the unit from starting. Additionally, examine the battery, ensuring it is charged and in good condition, as electrical issues can significantly impact performance.
Diagnostic Steps
Begin your diagnosis by verifying fuel delivery. Remove the fuel line to confirm that fuel flows freely from the tank. If flow is restricted, clean or replace the fuel filter. After confirming fuel availability, inspect the ignition components. Test the spark plug with a spark tester to check for proper function. If all appears well but the unit still fails to start, consider the possibility of air intake issues, which may require cleaning the air filter or checking for blockages in the intake system.
Reassembling the Carburetor Correctly
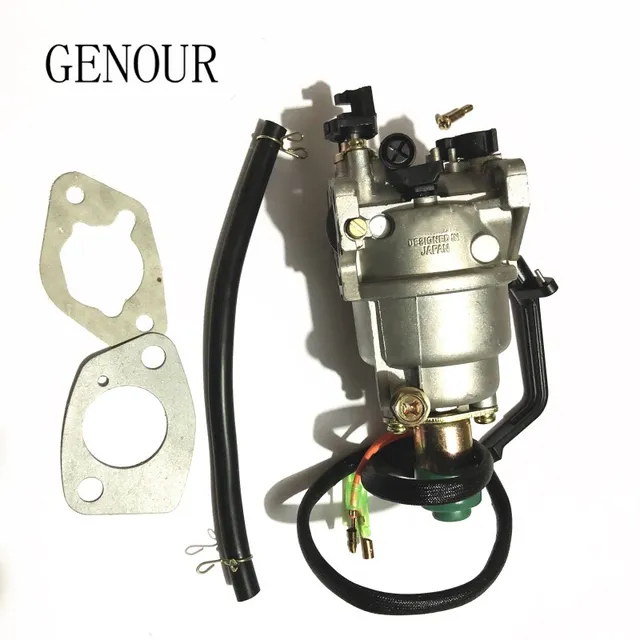
Putting components back together is a crucial phase that ensures optimal performance and longevity of the unit. This process requires attention to detail and a methodical approach to prevent potential issues that could arise from improper assembly.
Step-by-Step Process
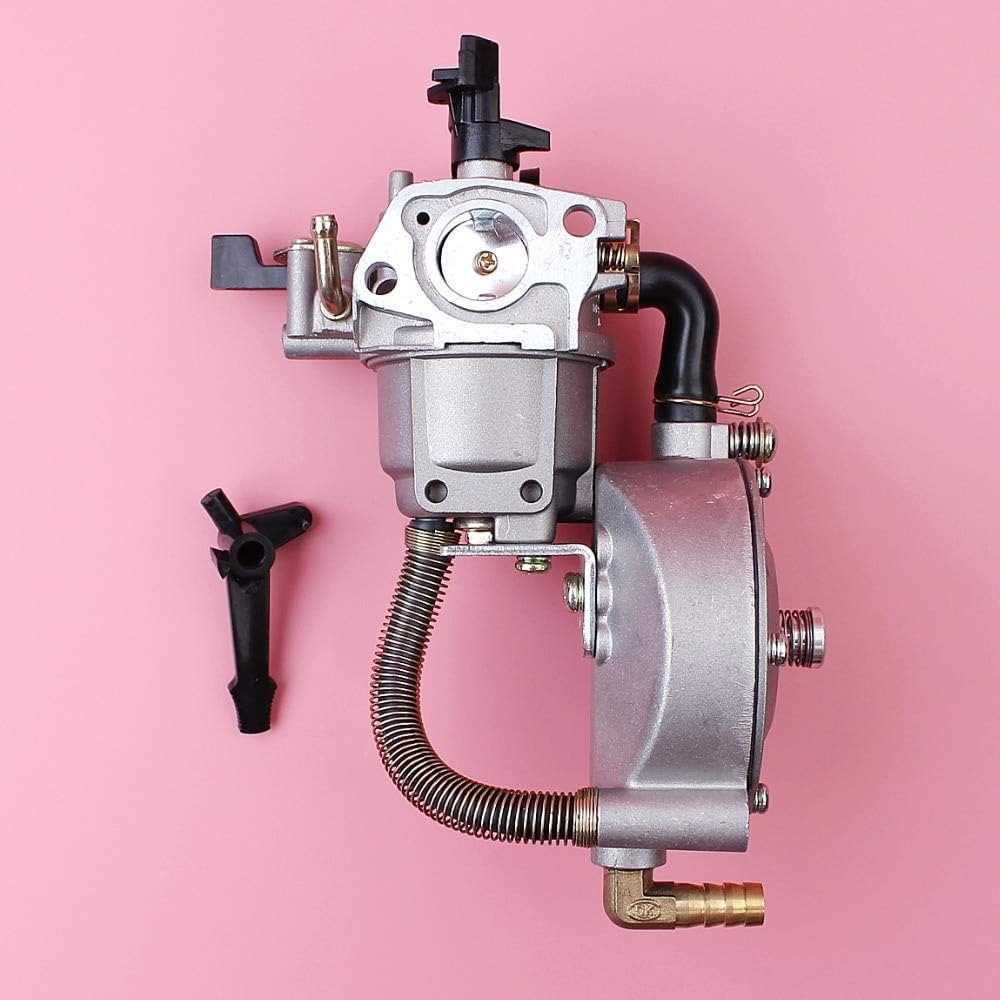
Follow these steps to ensure a seamless reassembly:
| Step | Action |
|---|---|
| 1 | Clean all parts thoroughly to remove debris and old seals. |
| 2 | Inspect each piece for wear or damage and replace as necessary. |
| 3 | Start with the base and attach the gaskets securely to prevent leaks. |
| 4 | Carefully position and align the internal mechanisms according to the specifications. |
| 5 | Fasten all screws and bolts uniformly, ensuring not to overtighten. |
| 6 | Check for any loose components and ensure everything is snugly fitted. |
Final Checks
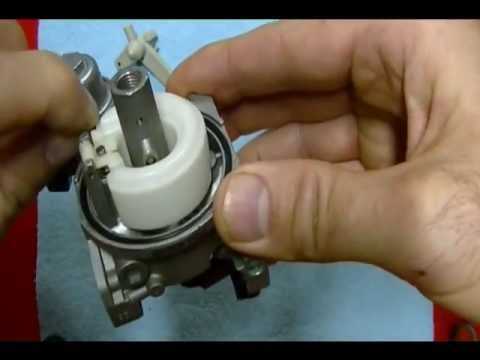
Once reassembly is complete, it is essential to conduct a thorough inspection. Ensure all connections are secure and look for any signs of misalignment. A careful review can prevent complications and ensure that the system functions efficiently once reinstalled.
Testing Engine Performance After Repair
After completing maintenance or adjustments on a power unit, it’s crucial to evaluate its functionality to ensure optimal performance. This phase involves a series of assessments that confirm whether the modifications made have achieved the desired results and that everything is operating smoothly.
Initial Observations
Begin by observing the behavior of the machine during its initial start-up. Pay attention to sounds, vibrations, and any unusual indicators on the dashboard. Ensure that the unit starts without excessive cranking and that the idle is stable. These preliminary checks can reveal immediate issues that may need further attention.
Performance Tests
Once initial observations are satisfactory, proceed to conduct performance tests. Engage the unit under varying loads to assess responsiveness and power delivery. Monitor the throttle response and ensure it is smooth across the RPM range. Additionally, measuring fuel consumption can provide insights into efficiency and highlight any lingering issues.
Always document the findings from these assessments. This information will be invaluable for future reference and will assist in maintaining peak functionality over time.
Preventive Maintenance Tips
Regular upkeep is essential for ensuring optimal performance and longevity of your machinery. By following a few simple practices, you can prevent common issues and enhance the efficiency of your equipment. This section outlines key strategies that will help maintain functionality and reduce the risk of unexpected breakdowns.
1. Regular Inspections: Make it a habit to conduct thorough checks on all components. Look for signs of wear, leaks, or corrosion. Early detection can save you from more significant problems later on.
2. Cleanliness Matters: Keep the area around the machinery clean and free of debris. Regularly cleaning components will prevent buildup that can hinder performance.
3. Use Quality Fuel: Always opt for high-grade fuel to avoid contaminants that can affect performance. Storing fuel properly and using additives can also enhance its quality.
4. Monitor Fluid Levels: Regularly check and top up oil, coolant, and other vital fluids. Maintaining proper levels ensures smooth operation and can prevent overheating or friction issues.
5. Follow Manufacturer Recommendations: Adhering to the guidelines provided by the manufacturer regarding maintenance schedules and procedures is crucial for the longevity of your equipment.
6. Store Properly: When not in use, store your machinery in a dry, covered area to protect it from environmental damage. This simple step can significantly extend its lifespan.
7. Use the Right Tools: Always utilize appropriate tools for any adjustments or maintenance tasks. Using the wrong tools can lead to further damage or inefficiencies.
Implementing these preventive measures can lead to smoother operations and a longer service life for your equipment. Make maintenance a priority, and your machinery will reward you with reliable performance.
Resources for Further Learning
Expanding your knowledge in the field of mechanical components is essential for both enthusiasts and professionals. A variety of materials and tools are available that can enhance your understanding and skills, allowing for improved maintenance and troubleshooting techniques. Below are some valuable resources to consider.
Online Courses and Tutorials
Platforms such as Coursera and Udemy offer comprehensive courses focusing on mechanical systems and maintenance practices. These courses often include video lectures, interactive quizzes, and community forums where you can engage with instructors and peers. Additionally, YouTube hosts countless tutorials from experts who demonstrate hands-on techniques and provide insights into common issues.
Books and Publications
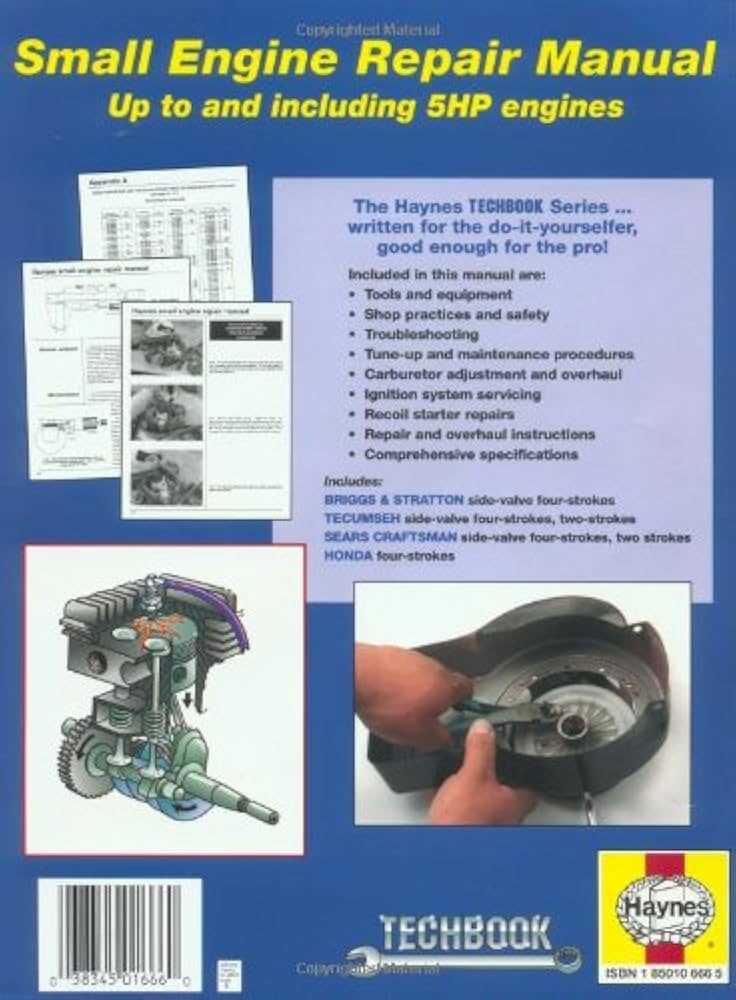
Numerous books provide in-depth knowledge about mechanical systems. Look for titles that cover basic principles, advanced diagnostics, and practical applications. Publications such as Motor Trend and Popular Mechanics frequently feature articles that delve into recent advancements and best practices, keeping you updated on industry trends.