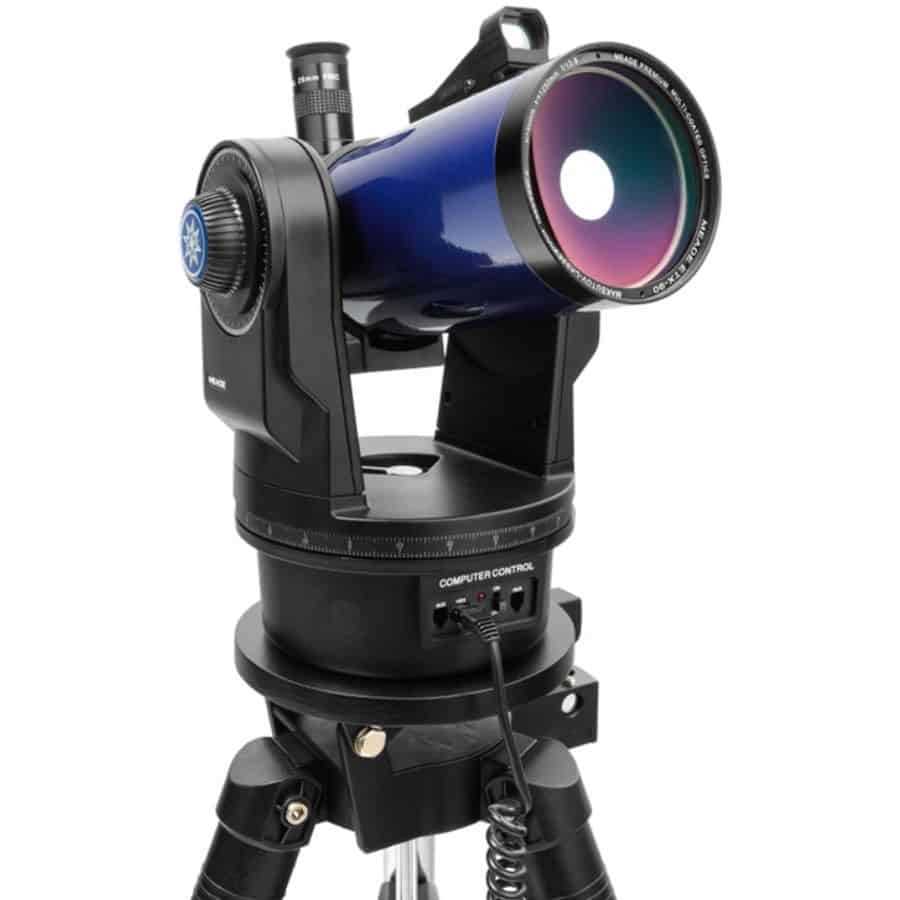
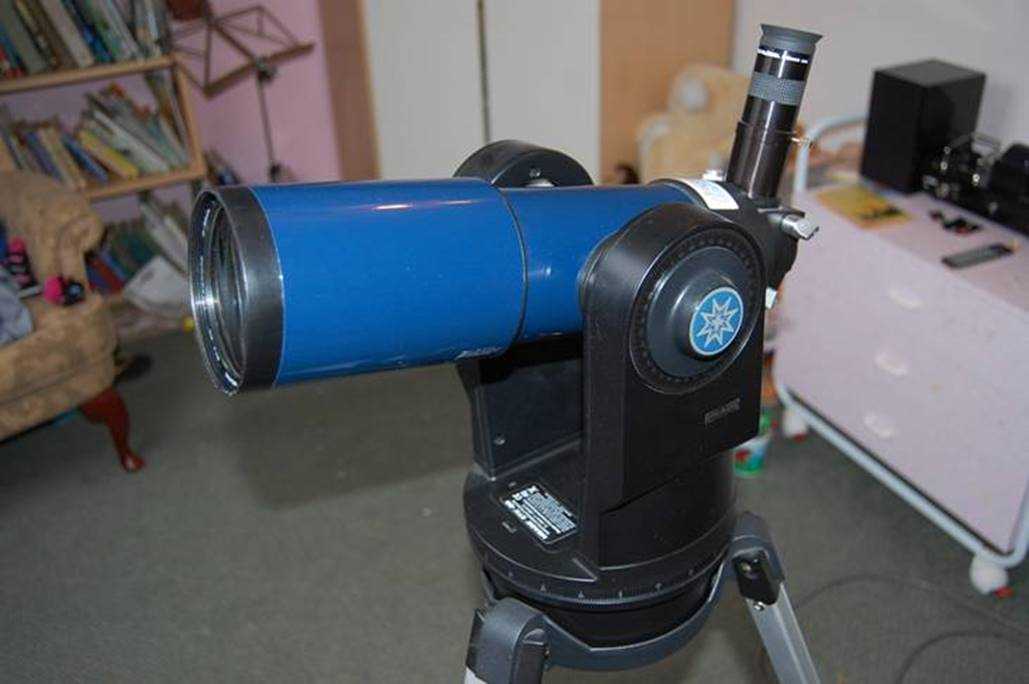
| Control Panel |
Troubleshooting Focusing Problems
Issues with focusing can often arise, impacting the clarity and precision of viewing. Addressing common focusing concerns requires understanding potential causes and applying simple adjustments. Below are steps and insights for handling focusing challenges effectively.
Inspecting the Focusing Mechanism
First, ensure that the focusing mechanism moves smoothly without resistance. If it feels stiff or loose, inspect the components carefully. Mechanical adjustments may be needed to restore consistent movement.
- Check for any dust or debris around the focusing mechanism and gently clean it to remove obstructions.
- If possible, lightly lubricate the parts to improve smoothness. Be careful not to over-apply as this can attract more dust.
Adjusting for Optimal Clarity
Achieving precise focus can depend on the alignment and calibration of your device. Follow these steps to fine-tune the clarity:
- Point the device at a clear, high-contrast object in the distance.
- Turn the focus knob slowly and observe the change in sharpness. Try small adjustments in both directions to find the sharpest view.
Battery and Power Supply Solutions
Ensuring reliable power sources for your optical equipment is crucial for optimal performance and longevity. This section explores various options for battery and power supply management, highlighting essential aspects to consider when selecting and maintaining your energy solutions.
Types of Power Sources
There are several power options available for your device, including rechargeable batteries, alkaline batteries, and external power supplies. Rechargeable batteries are popular for their sustainability and long-term cost-effectiveness, while alkaline batteries offer convenience and immediate usability. Alternatively, using an external power supply can provide a steady and uninterrupted power source during extended use.
Maintaining Battery Health
To prolong battery life, regular maintenance is essential. Keep terminals clean and free from corrosion, and store batteries in a cool, dry place when not in use. Additionally, consider employing a smart charger to manage charging cycles effectively. This practice not only enhances performance but also ensures safety during operation. Following these guidelines will help maximize the efficiency of your power systems.
Cleaning Optics Safely and Effectively
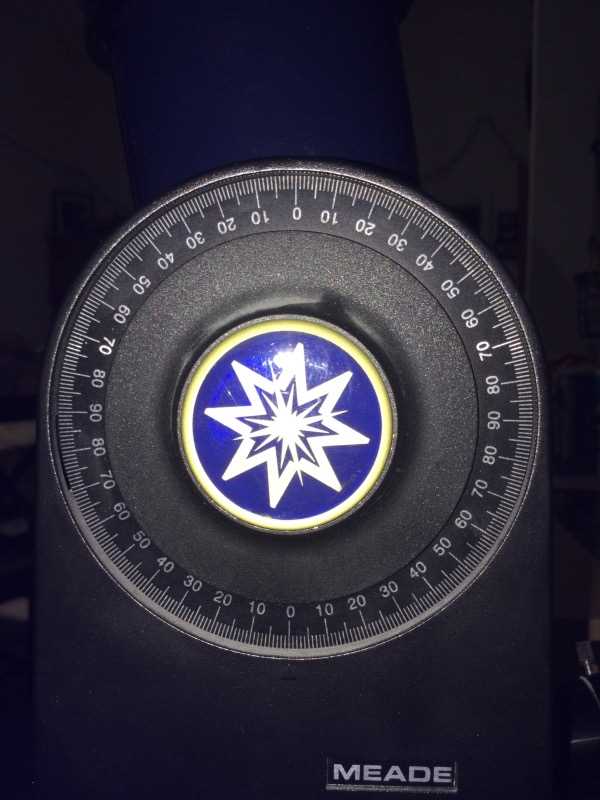
Maintaining clear and functional optical components is essential for optimal performance. Proper cleaning techniques not only enhance visibility but also protect delicate surfaces from damage. It is crucial to approach this task with care, using appropriate materials and methods to ensure longevity and clarity.
Choosing the Right Materials
Selecting suitable cleaning supplies is vital. Use a soft, lint-free cloth or microfiber towel to prevent scratches. Specialized lens cleaning solutions are recommended, as they are designed to remove dirt and smudges without harming coatings. Avoid household cleaners, as they can leave residues that degrade optical quality.
Step-by-Step Cleaning Process
Begin by gently blowing away loose debris using a blower or a soft brush. Next, apply a few drops of the cleaning solution to the cloth, never directly onto the optics. Using circular motions, wipe the surface lightly, ensuring even coverage. Finish by using a dry section of the cloth to buff the lens for a streak-free finish. Regular maintenance will keep optics in top condition, enhancing your viewing experience.
Aligning and Calibrating the Scope
Proper alignment and calibration of your telescope are essential for achieving optimal viewing experiences. Ensuring that your instrument is correctly set up allows for precise tracking of celestial objects, enhancing both enjoyment and observational accuracy. This section will guide you through the necessary steps to ensure your optical device is functioning at its best.
Steps for Accurate Alignment
To begin the alignment process, locate a bright star or celestial object in the night sky. Using the finder scope, center this object in your field of view. Adjust the telescope’s settings according to the manufacturer’s guidelines to ensure that the optical axis is correctly aligned. It may be beneficial to repeat this process with multiple stars to confirm accuracy.
Calibration Techniques
Calibration is equally important as alignment. Utilize a calibration tool or software if available, which can help to synchronize the tracking mechanisms of your device. Follow the prompts to adjust for any discrepancies. Regularly calibrating your telescope will maintain its accuracy and ensure that it can easily locate and track objects of interest in the night sky.
Replacing Damaged Mechanical Parts
When components of a device suffer wear and tear, it is essential to replace them to maintain optimal functionality. Identifying which parts are compromised and understanding how to effectively substitute them is crucial for restoring performance. This section outlines the process of replacing these essential mechanical elements, ensuring that the device operates smoothly.
Identifying Damaged Parts: Begin by conducting a thorough examination of the device to pinpoint any damaged or malfunctioning components. Look for signs such as unusual noises, difficulty in movement, or visible wear. Taking notes during this inspection will assist in the replacement process.
Gathering Replacement Components: Once the damaged parts are identified, the next step is sourcing suitable replacements. Ensure that the new components match the specifications required for the device. It is advisable to consult reputable suppliers or manufacturers to obtain high-quality parts.
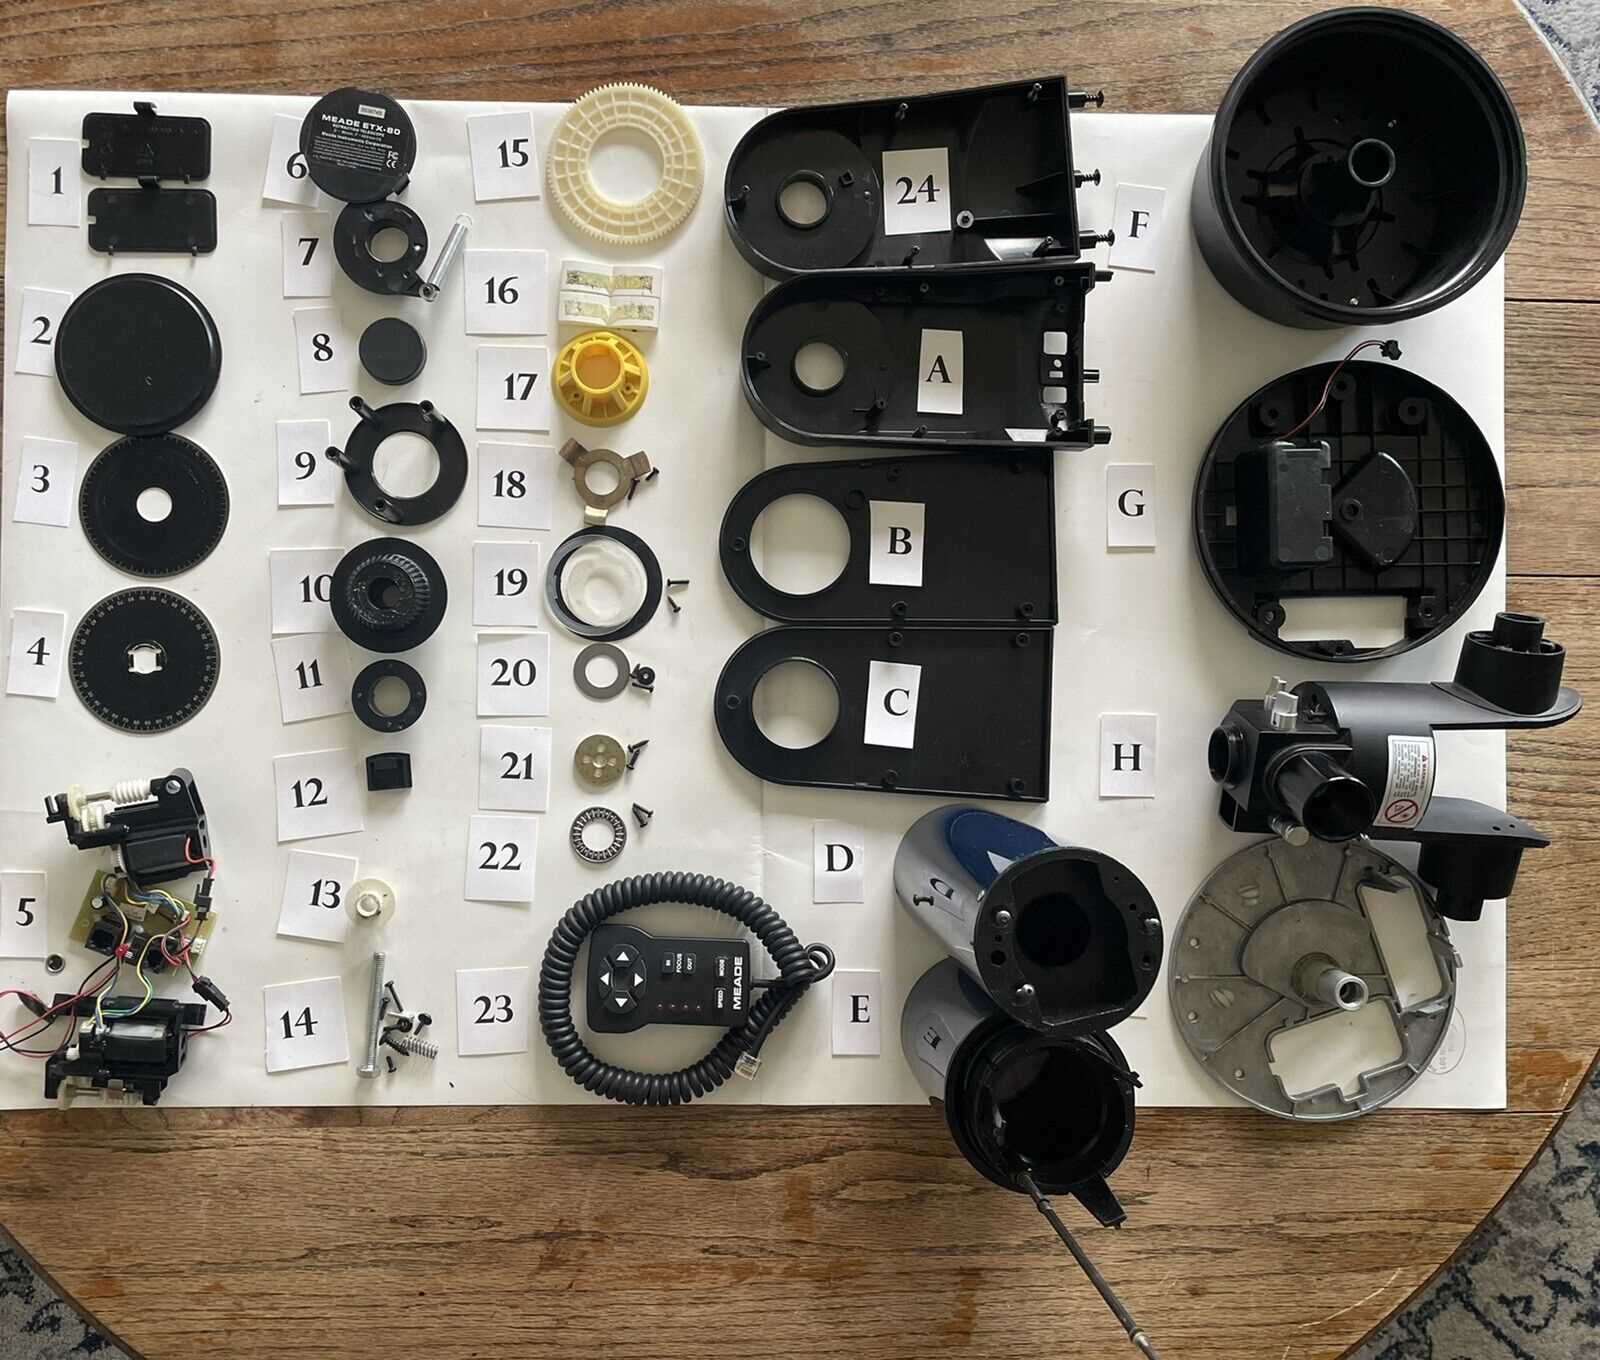
Disassembly: Carefully disassemble the device to access the damaged parts. Use appropriate tools and follow a systematic approach to avoid causing additional damage. Keep track of screws and small parts by organizing them in a designated container.
Installing New Components: With the damaged parts removed, proceed to install the new components. Ensure that they fit securely and align correctly with the device’s mechanics. Take your time during this step to avoid any misalignment, which can lead to further issues.
Reassembly and Testing: Once all replacements are made, reassemble the device with attention to detail. After reassembly, conduct a thorough test to confirm that everything operates as intended. Listen for any irregular sounds and monitor the performance closely.
Maintaining the integrity of mechanical systems is vital for longevity. By following these steps, one can effectively replace damaged parts and enhance the overall functionality of the device.
Firmware and Software Update Guide
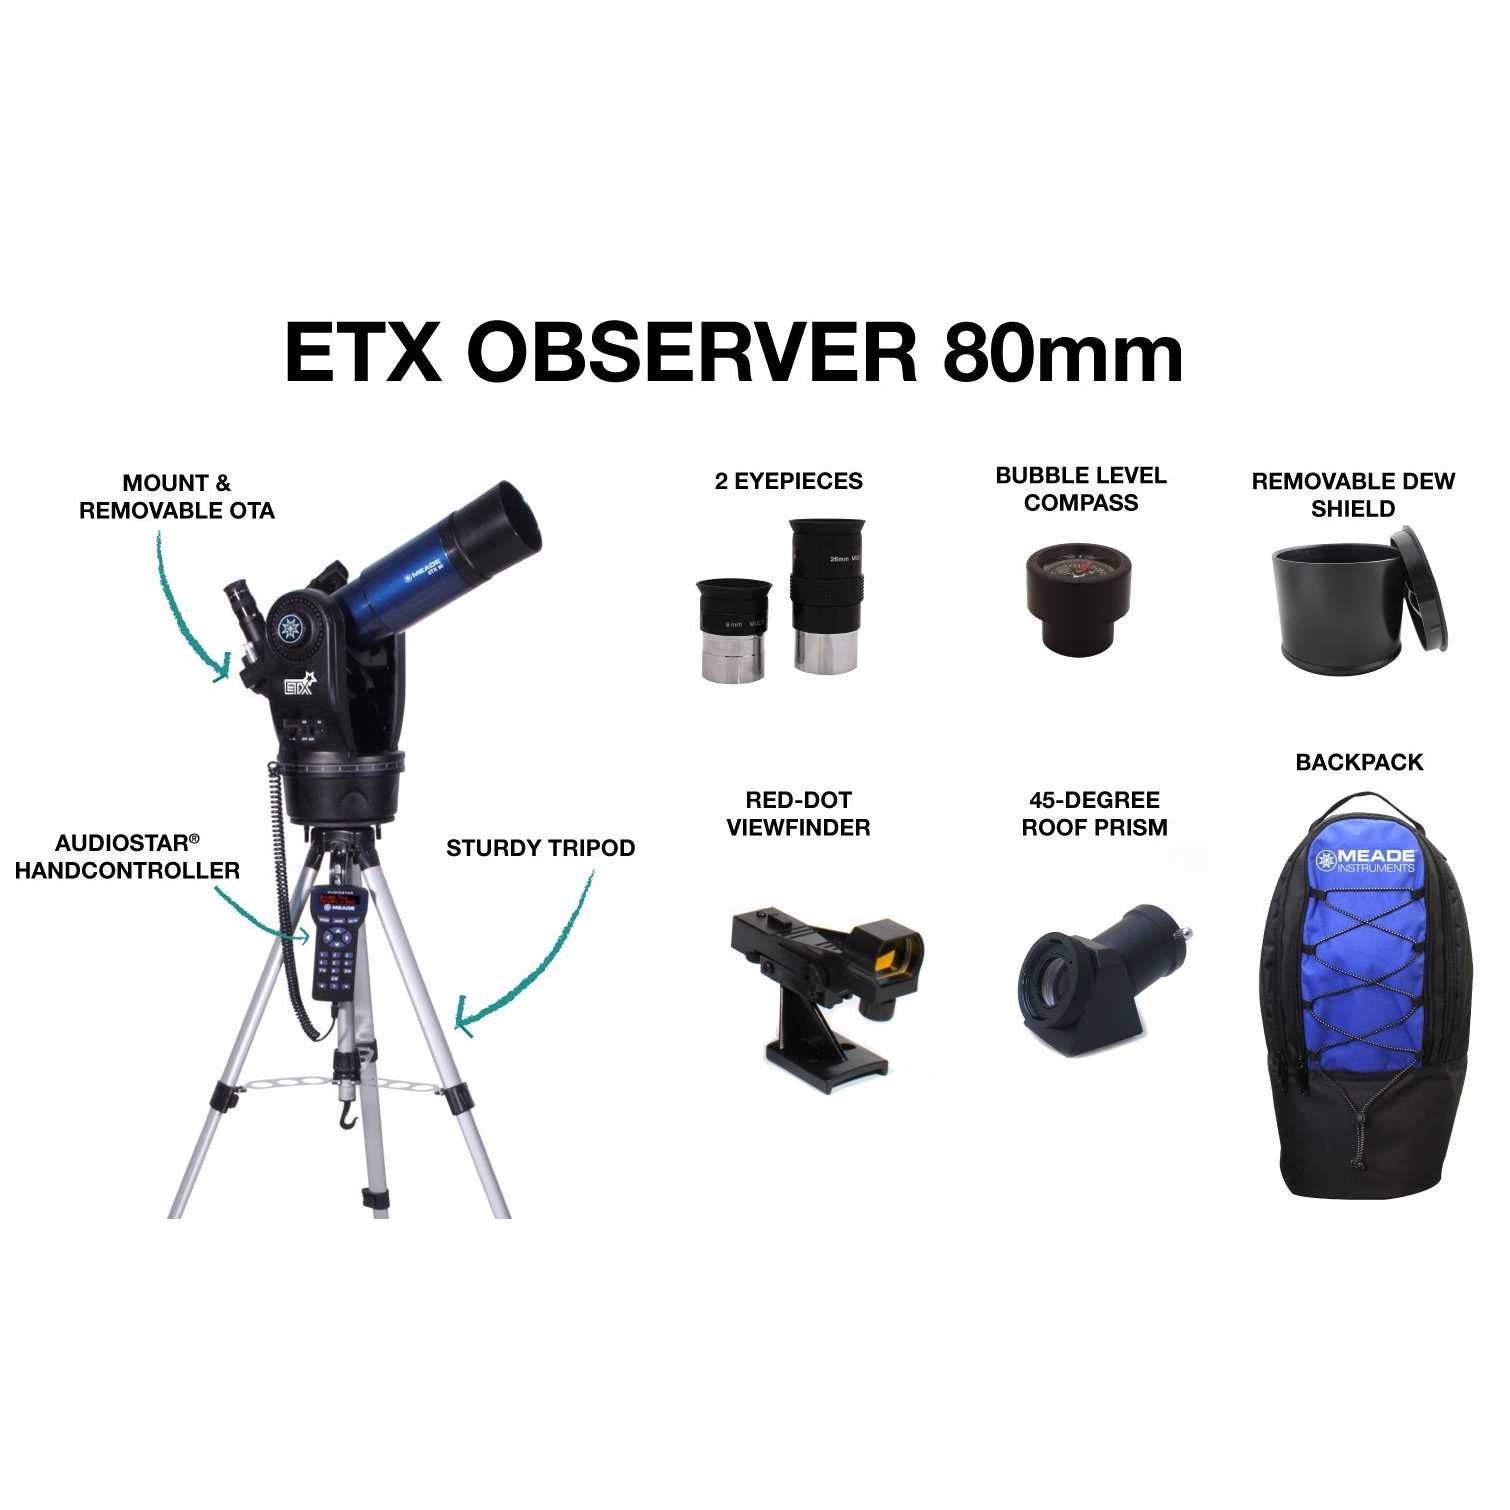
Keeping your device’s software and firmware up to date is essential for optimal performance and the introduction of new features. This section outlines the steps to ensure your equipment is equipped with the latest enhancements, which can improve functionality and fix potential issues.
Regular updates help maintain compatibility with new technologies and improve overall user experience. Here are some key benefits:
- Enhanced performance and stability
- Access to new features and functionalities
- Resolved bugs and security vulnerabilities
- Improved compatibility with accessories
Follow these steps to perform the update:
- Check the current version of your device’s firmware and software. This can typically be found in the settings menu.
- Visit the official website or designated support page to find the latest updates available for download.
- Download the appropriate files to your computer or device.
- Follow the specific instructions provided for installation, ensuring that you do not interrupt the process.
- After the update, verify the new version in the settings to confirm successful installation.
Always ensure that your device is sufficiently charged or connected to power during the update process to prevent any interruptions that could lead to issues. By following these guidelines, you can keep your equipment functioning at its best.
Realigning Motors and Gears
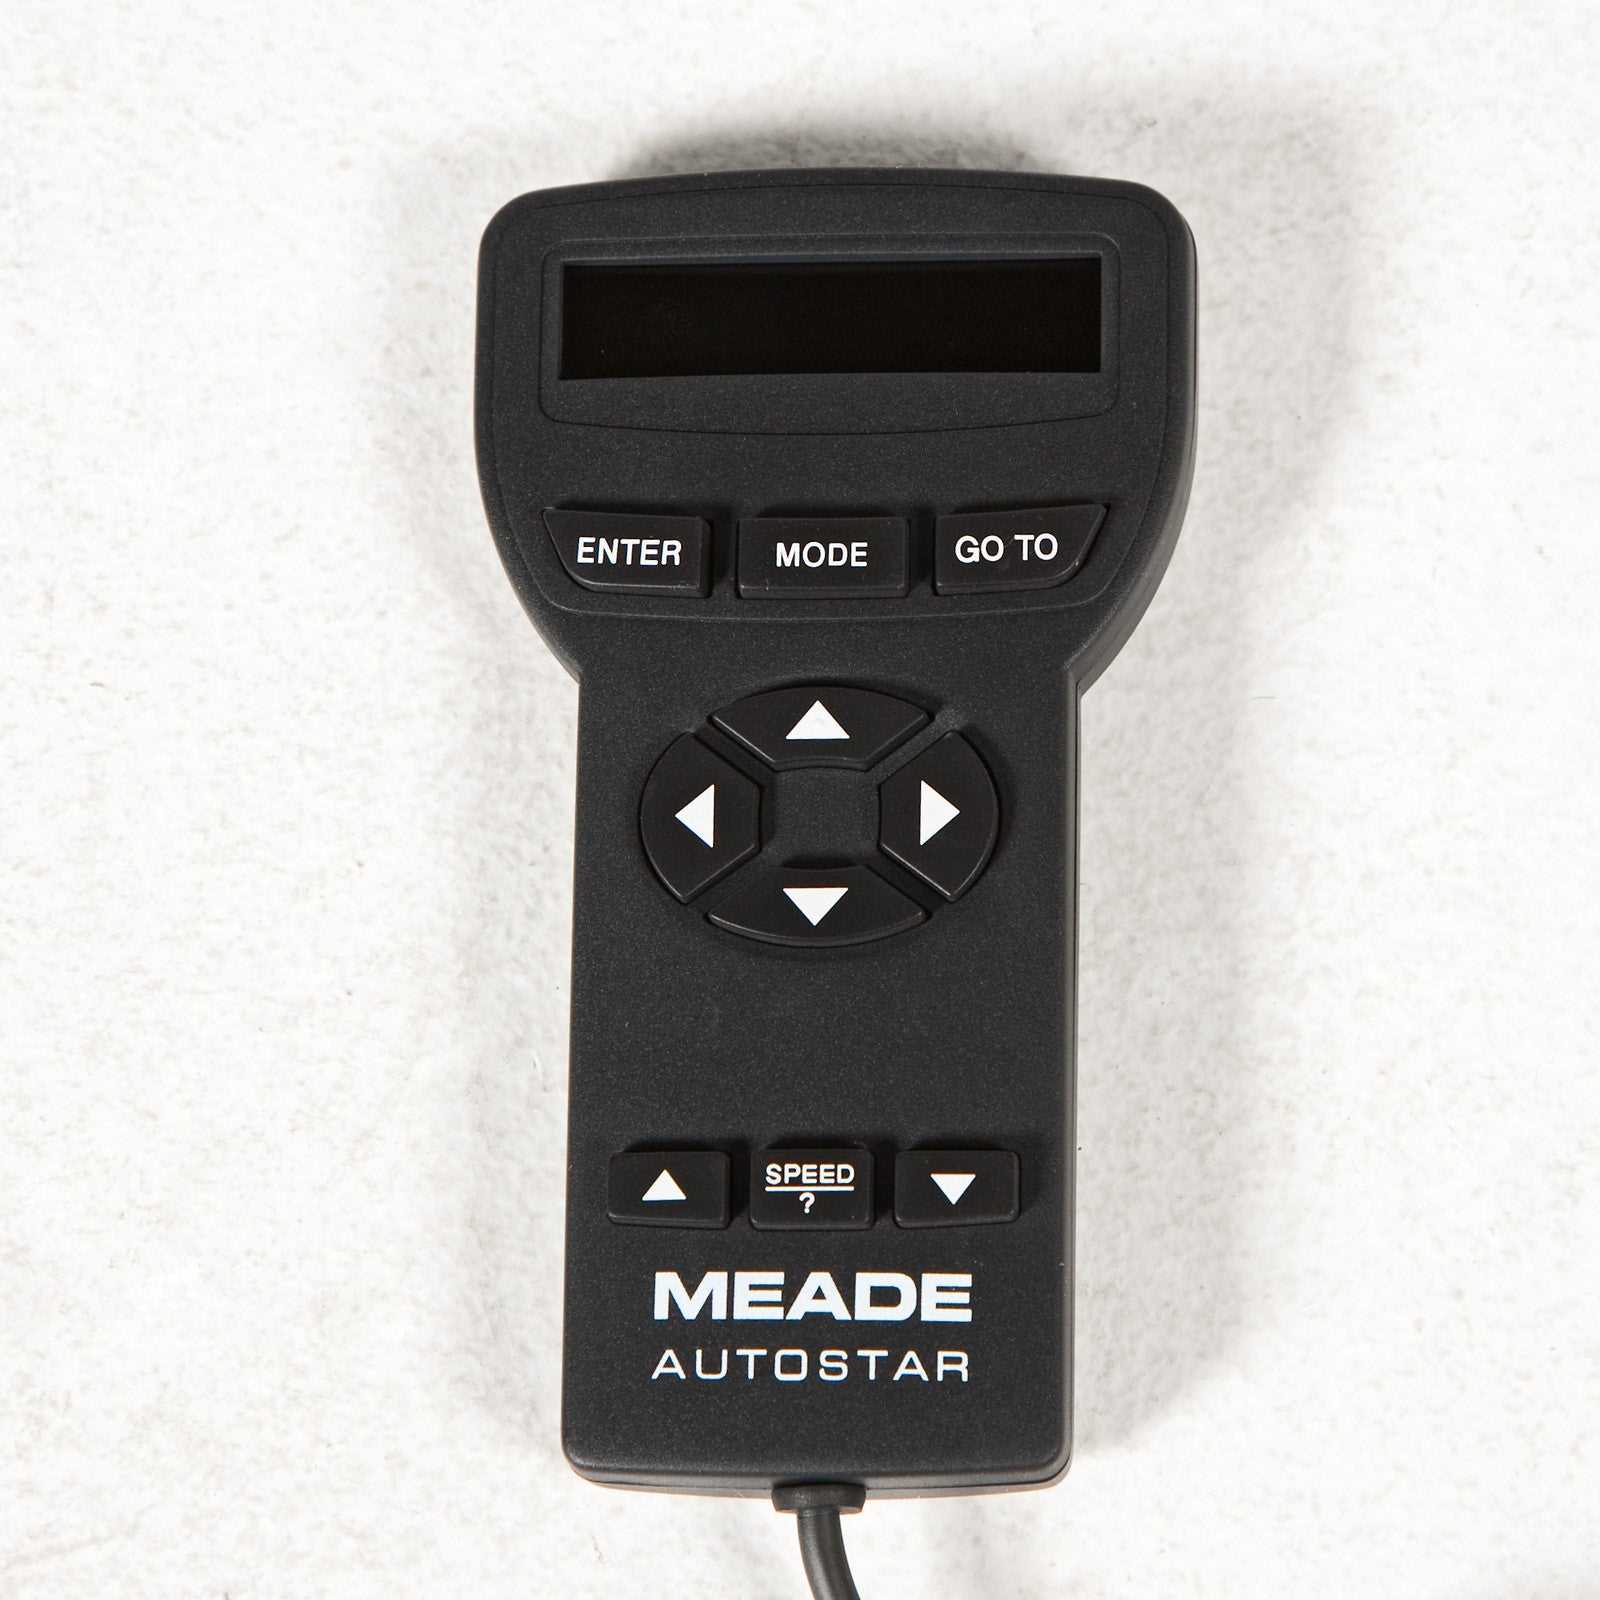
Proper alignment of motors and gears is crucial for ensuring optimal performance and longevity of the device. Over time, components can shift due to wear and tear or mishandling, which may lead to reduced efficiency and increased friction. This section provides essential steps for realigning these parts to restore functionality and improve overall operation.
Tools and Preparation
Before beginning the alignment process, gather the necessary tools such as screwdrivers, pliers, and a torque wrench. Ensure that you have a clean, well-lit workspace to facilitate the task. It’s also advisable to consult any available diagrams or schematics that detail the configuration of the motors and gears to guide your adjustments effectively.
Alignment Procedure
Start by disconnecting the power supply to prevent any accidental activation during the process. Carefully remove any covers or panels that obstruct access to the motors and gears. Inspect each component for signs of wear or damage, and adjust their positions to ensure they mesh correctly. Tighten any loose screws or bolts, and perform a manual test to verify that the components rotate smoothly without any binding or unusual resistance.
Adjusting for Better Image Quality
Achieving optimal visual clarity through your telescope involves fine-tuning various settings and components. These adjustments are crucial for enhancing the overall viewing experience, allowing for sharper and more defined images of celestial objects.
First, ensure that your device is properly aligned with the celestial equator. Accurate alignment is fundamental for stable tracking and improved resolution. Use the built-in finderscope to help center objects in the main eyepiece, which significantly reduces the chances of losing your target during observation.
Next, consider adjusting the focus carefully. Fine-tuning the focus can dramatically impact image quality. Start with a rough focus and gradually refine it until the image appears crisp. This might require some patience, especially when observing distant objects that can appear fuzzy at first glance.
Another key factor is to control the brightness settings. Excessive brightness can wash out details, while insufficient light can obscure faint objects. Adjust the brightness based on the conditions and objects you are observing, ensuring a balanced view.
Lastly, keep the optics clean. Dust and smudges can degrade image quality, so regularly check and clean the lenses using appropriate methods. Proper maintenance ensures that your viewing sessions are as rewarding as possible, revealing the wonders of the night sky with clarity and precision.
When to Seek Professional Help
Recognizing when to consult an expert is crucial for maintaining the longevity and performance of your equipment. While many issues can be resolved through basic troubleshooting, some situations require specialized knowledge and skills. Understanding the boundaries of your own capabilities can help prevent further damage and ensure that your device continues to function optimally.
If you encounter persistent malfunctions despite following standard guidelines, it may be time to reach out for assistance. Additionally, any signs of physical damage, such as cracks or unusual noises, should prompt immediate professional evaluation. Complex electronic systems often involve intricate components that can be challenging to repair without the appropriate tools and experience.
In cases where your equipment fails to respond or exhibits erratic behavior, professional intervention is advisable. Experts possess the expertise to diagnose underlying issues that may not be apparent to the average user. Seeking help not only expedites the resolution process but also minimizes the risk of causing further complications.
Ultimately, prioritizing your device’s functionality and your own safety is paramount. If in doubt, consulting a professional can save time, effort, and potentially costly repairs down the line.
