Ensuring optimal performance of your cleaning device is essential for maintaining a tidy living environment. Over time, wear and tear can affect its functionality, leading to decreased efficiency and potential malfunctions. Understanding how to address common issues and perform necessary upkeep can greatly extend the lifespan of your appliance.
This comprehensive guide will walk you through various troubleshooting techniques and routine maintenance tasks. By familiarizing yourself with your equipment’s components and their roles, you will gain the confidence to tackle challenges that may arise during use.
Whether you’re dealing with blockages, filter replacements, or performance issues, having the right information at your fingertips can make all the difference. With clear instructions and practical tips, you’ll be well-equipped to restore your device to peak condition, ensuring it continues to serve you effectively for years to come.
Understanding the Dyson DC15 Model
This section delves into the intricacies of a well-regarded vacuum cleaner known for its innovative technology and user-friendly design. With its powerful suction capabilities and distinct features, this model has garnered attention from homeowners seeking efficiency in their cleaning routines.
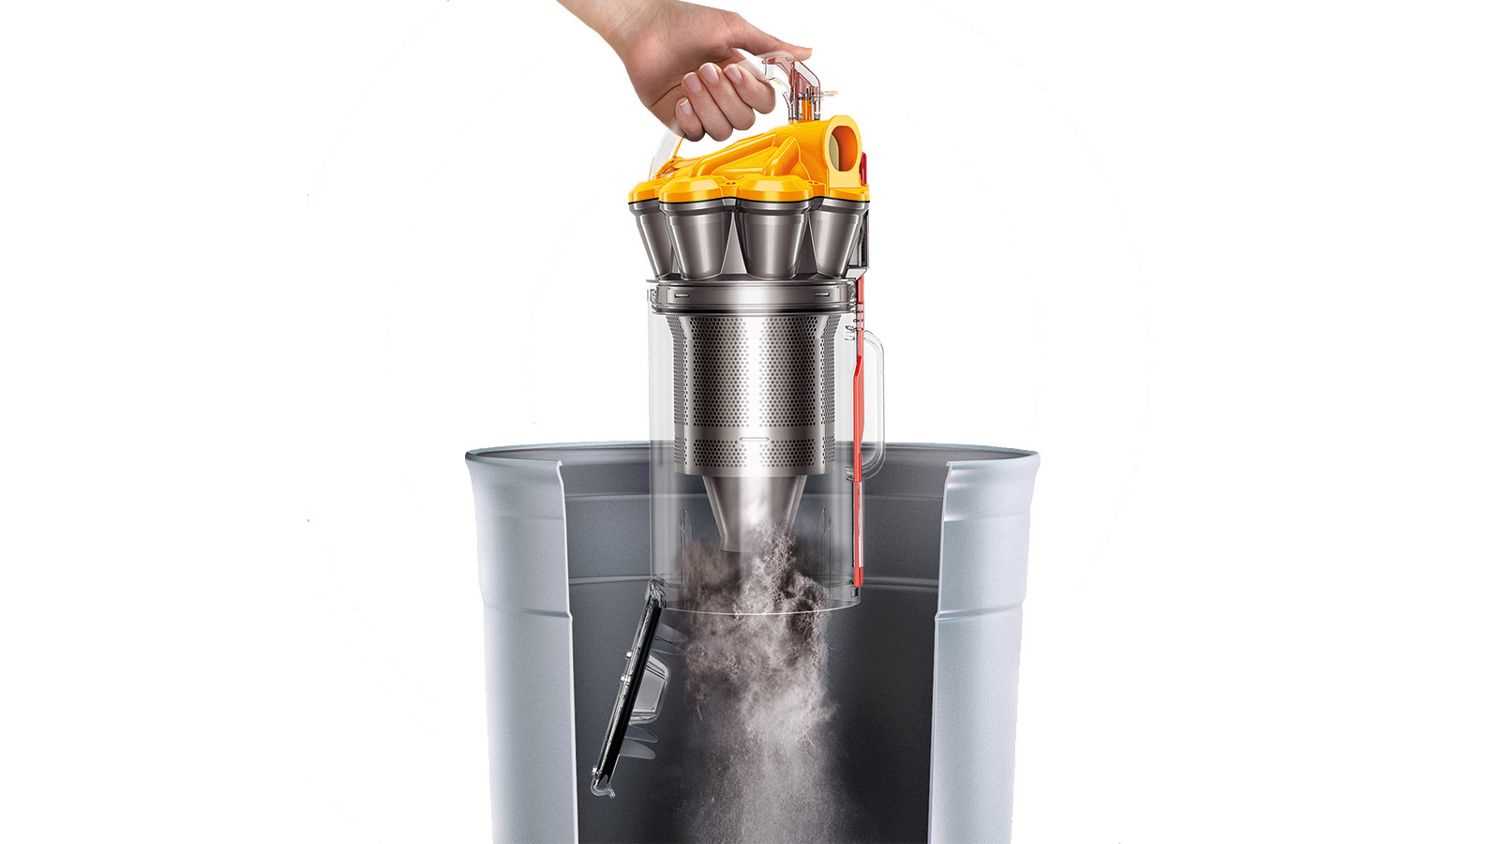
One of the standout aspects of this device is its multi-surface capability, allowing it to adapt seamlessly from carpets to hard floors. The engineers have incorporated a unique ball technology that enhances maneuverability, making it easier to navigate around furniture and tight spaces. This model also boasts a bagless system, promoting convenience and reducing ongoing costs associated with traditional vacuuming methods.
Additionally, the filtration system is designed to capture allergens and fine dust particles, making it a suitable choice for those with sensitivities. Overall, the thoughtful engineering behind this cleaning tool reflects a commitment to performance and user satisfaction.
Common Issues with Dyson DC15
Many users encounter various challenges with their vacuum cleaners, affecting performance and efficiency. Understanding these common problems can help in troubleshooting and maintaining optimal functionality.
| Issue | Description | Possible Solutions |
|---|---|---|
| Loss of Suction | Reduction in the power to pick up dirt and debris. | Check for clogs in the hose and filters. Clean or replace filters as needed. |
| Brush Bar Not Spinning | Brush roll fails to rotate, hindering effective cleaning. | Inspect for blockages or tangled hair. Ensure the brush bar is properly engaged. |
| Overheating | The unit becomes excessively hot during operation. | Allow the vacuum to cool down. Check for clogs and clean filters to improve airflow. |
| Noise Issues | Unusual sounds during operation, indicating potential problems. | Examine for foreign objects in the brush or hose. Ensure all components are securely attached. |
| Power Failure | The vacuum fails to turn on or loses power abruptly. | Check the power cord and connections. Test the outlet for functionality. |
Step-by-Step Repair Instructions
This section provides a comprehensive guide for addressing common issues that may arise with your vacuum device. By following the outlined procedures, you can effectively troubleshoot and resolve problems, ensuring optimal performance and longevity of your equipment.
Identifying the Problem
Before beginning any fixes, it is essential to accurately identify the symptoms your appliance is exhibiting. Check for unusual noises, reduced suction, or physical obstructions. Documenting these signs will help in determining the appropriate course of action.
Performing Basic Maintenance
Start with simple maintenance tasks such as emptying the dust container and cleaning or replacing filters. Inspect hoses for blockages and ensure all connections are secure. Regular upkeep can prevent more complex issues from developing, saving time and effort in the long run.
Essential Tools for Dyson Repairs
When it comes to maintaining and restoring your vacuum cleaner, having the right set of instruments is crucial. The proper equipment can significantly enhance the efficiency of the process, ensuring that you can tackle various tasks with ease. This section highlights the fundamental tools that will aid you in addressing common issues and keeping your appliance in top condition.
Screwdrivers are among the most essential items in any toolkit. A set that includes both flathead and Phillips-head varieties will allow you to access various components. Additionally, nut drivers are useful for loosening or tightening bolts that hold the device together.
Pliers are another important tool, offering the grip needed to manipulate small parts or wires. A pair of needle-nose pliers can be particularly helpful for reaching tight spaces. For tasks that require precision, a set of tweezers can assist in handling delicate components without risk of damage.
Moreover, having a good quality multimeter is invaluable for diagnosing electrical issues. This tool allows you to check voltage, continuity, and resistance, ensuring that you can effectively troubleshoot any problems that arise.
Lastly, don’t forget about cleaning supplies. Brushes, microfiber cloths, and compressed air can help maintain cleanliness and functionality, preventing dust and debris from causing further issues. With these essential tools at your disposal, you can confidently tackle any maintenance task that comes your way.
Safety Precautions During Repair
When undertaking maintenance tasks on any electronic device, prioritizing safety is crucial to ensure a smooth and hazard-free process. Understanding and implementing appropriate measures can significantly reduce the risk of accidents or injuries, allowing for a more efficient and effective approach to the task at hand.
Essential Guidelines
Before starting any work, it is important to familiarize oneself with the equipment and its components. Following proper protocols can prevent electrical shock, damage to parts, and personal injury.
| Precaution | Description |
|---|---|
| Disconnect Power | Always unplug the device to eliminate the risk of electrical shock. |
| Use Appropriate Tools | Utilize tools that are specifically designed for the task to avoid damage and ensure safety. |
| Wear Protective Gear | Use gloves and safety glasses to protect against debris and sharp edges. |
| Work in a Clear Area | Maintain a clean workspace to prevent accidents and misplaced components. |
| Stay Focused | Avoid distractions while working to maintain concentration and awareness. |
Post-Completion Safety
Once the maintenance is finished, ensure that all tools are accounted for and the workspace is tidy. Double-check that all components are securely reassembled before reconnecting the power supply. Taking these final steps helps prevent future issues and enhances the longevity of the device.
How to Disassemble the Vacuum
Disassembling a cleaning device can seem daunting, but with the right approach, it becomes a manageable task. Understanding the structure and components is essential for effective maintenance and troubleshooting. This guide outlines the necessary steps to safely take apart your unit for cleaning or part replacement.
Before you begin, ensure you have the appropriate tools on hand. Typically, you will need a screwdriver set, a soft cloth, and a container for small parts. Follow these steps to disassemble your appliance efficiently:
| Step | Description |
|---|---|
| 1 | Unplug the device to ensure safety before starting. |
| 2 | Remove the dust canister by pressing the release button. |
| 3 | Locate the screws on the main body and unscrew them carefully. |
| 4 | Detach the handle by gently pulling it away from the main unit. |
| 5 | Take off any additional components such as the brush bar and filters. |
| 6 | Keep all removed parts organized to facilitate reassembly. |
By following these steps, you can systematically take apart your cleaning appliance, allowing for thorough cleaning and maintenance. Always refer to specific guidelines for any particular components or features unique to your model.
Replacing Worn-Out Parts Easily
Maintaining the efficiency of your cleaning device is crucial for optimal performance. Over time, certain components may wear out, affecting the overall functionality. Knowing how to easily replace these parts can save you time and money while ensuring your appliance continues to operate effectively.
Identifying Worn-Out Components
Before proceeding with replacements, it’s important to recognize which parts need attention. Common indicators include:
- Reduced suction power
- Unusual noises during operation
- Visible damage or wear on components
- Frequent clogging issues
Steps for Replacement
Once you’ve identified the faulty parts, follow these simple steps for replacement:
- Gather necessary tools, including screwdrivers and replacement components.
- Power off and unplug the device for safety.
- Carefully disassemble the affected area according to the manufacturer’s guidelines.
- Remove the worn-out part and replace it with the new one, ensuring a secure fit.
- Reassemble the device, double-checking all connections.
- Test the appliance to ensure it operates smoothly.
Regular maintenance and timely replacement of parts not only prolong the lifespan of your device but also enhance its performance. Taking these steps can lead to a more satisfying cleaning experience.
Cleaning and Maintenance Tips
Regular upkeep and care are essential for ensuring the longevity and efficiency of your cleaning appliance. By following a few straightforward practices, you can maintain optimal performance and extend the life of your device.
Daily Cleaning Routine

Incorporating a simple daily maintenance routine can significantly enhance the performance of your equipment. Here are some key tasks to consider:
| Task | Frequency | Description |
|---|---|---|
| Empty the dust container | After each use | Remove dust and debris to maintain suction power. |
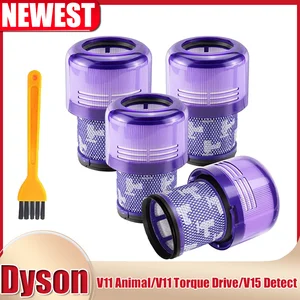
| Check the filter | Monthly | Wash or replace filters as needed to ensure proper airflow. |
| Inspect the brush bar | Weekly | Remove any tangled hair or fibers to keep the brush effective. |
Deep Cleaning Recommendations
For a more thorough cleansing, it is advisable to perform deeper maintenance every few months. Consider the following actions:
| Task | Frequency | Description |
|---|---|---|
| Wash the filters | Every 3-6 months | Rinse with cold water, let dry completely before reinserting. |
| Clean the exterior | As needed | Wipe down surfaces with a damp cloth to remove dirt and grime. |
| Check for blockages | Monthly | Inspect hoses and attachments for clogs to ensure unobstructed airflow. |
Diagnosing Electrical Problems
Identifying issues within electrical systems can be a challenging yet crucial task. A systematic approach is essential to pinpoint the source of malfunction. This section outlines effective strategies to help you navigate through electrical difficulties, ensuring your device operates efficiently once more.
Common Signs of Electrical Issues
Recognizing the early indicators of electrical failure can save time and resources. Look for the following symptoms:
- Unusual noises or buzzing sounds
- Intermittent power loss
- Overheating components
- Flickering lights
- Burning smell or discoloration
Steps for Diagnosis
To accurately diagnose the problem, follow these steps:
- Inspect the Power Source: Ensure the device is properly plugged in and that the outlet is functioning.
- Check the Cords and Connections: Look for frayed wires or loose connections that may interrupt power flow.
- Test Internal Components: Use a multimeter to check for continuity and voltage across various parts.
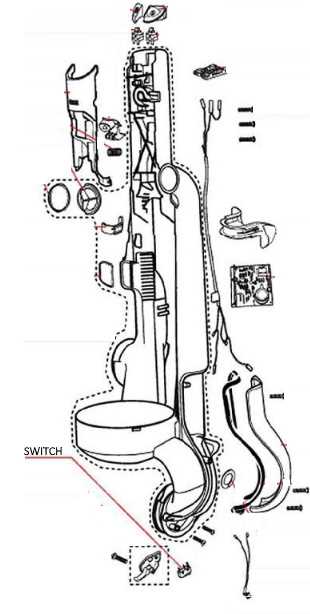
- Examine the Control Circuit: Evaluate switches and relays for signs of wear or damage.
- Review the User Manual: Consult the documentation for troubleshooting tips specific to your device.
By following these guidelines, you can efficiently diagnose electrical problems and determine the necessary steps for resolution.
Reassembling the Vacuum Correctly

Reassembling a cleaning appliance after servicing is a crucial step that ensures optimal performance and longevity. It involves carefully putting back together the components in a specific order, ensuring that each part is securely fitted. Proper reassembly not only enhances functionality but also prevents potential damage or hazards during operation.
Step-by-Step Assembly Process
Begin by laying out all parts in a logical sequence. This will help in identifying where each component belongs. Start with the base unit, ensuring all internal mechanisms are in place. Gradually add attachments and ensure that connections are tight and secure. Pay special attention to any clips or locks that need to be engaged.
Final Checks and Testing
Once the reassembly is complete, conduct a thorough inspection. Verify that all parts are aligned correctly and that there are no loose pieces. Before full operation, perform a brief test run to ensure that the appliance operates smoothly and efficiently. Address any unusual noises or malfunctions immediately, as they may indicate improper assembly.
Remember: Proper reassembly is key to maintaining the performance and safety of your cleaning device. Take your time to ensure everything is in order.
Finding Replacement Parts Online
Locating spare components for household appliances can be a straightforward process with the right approach. The internet offers a variety of platforms where users can find the necessary parts, ensuring their devices continue to function effectively. Whether you need a specific filter, brush, or motor, knowing where to search is crucial for a successful replacement.
Popular Online Marketplaces
Major e-commerce sites are often the first stop for those seeking spare parts. Websites like Amazon and eBay provide extensive listings, allowing you to compare prices and read customer reviews. Additionally, specialized retailers focus on appliance components, offering a more targeted selection. Always check seller ratings and return policies to ensure a positive shopping experience.
Manufacturer and Authorized Dealers
Visiting the official website of the manufacturer or contacting authorized dealers can yield high-quality replacements. These sources often guarantee compatibility and reliability, providing parts that are specifically designed for your model. Moreover, they may offer helpful customer support for any inquiries regarding installation or product specifications.
Comparison Shopping is essential when seeking the best deals. Take the time to explore various options and make informed decisions to ensure optimal performance of your appliance.
Remember to keep track of your model number and specifications when searching online, as this information will help you find the correct parts more efficiently.
Frequently Asked Questions About Repairs
This section addresses common inquiries regarding maintenance and troubleshooting of household cleaning devices. Understanding these aspects can help users effectively manage their equipment and enhance its longevity.
What should I do if my device loses suction power?
Loss of suction can often be attributed to clogs in the hoses or filters. Regularly checking these components and ensuring they are clean can help restore optimal performance.
How often should I replace filters?
Filters generally need to be replaced every six to twelve months, depending on usage. Regular replacement helps maintain efficiency and air quality.
Can I fix a broken brush roll myself?
Yes, many users find it manageable to replace a malfunctioning brush roll with basic tools. However, consulting the specific guidelines for your model is advisable for best results.
What are some signs that my device needs servicing?
Common indicators include unusual noises, persistent odors, or if the device fails to start. Addressing these signs promptly can prevent more extensive issues.
Is there a warranty on my product?
Most manufacturers provide a warranty period that covers defects in materials and workmanship. It’s important to keep the original receipt and read the warranty terms for specific coverage details.