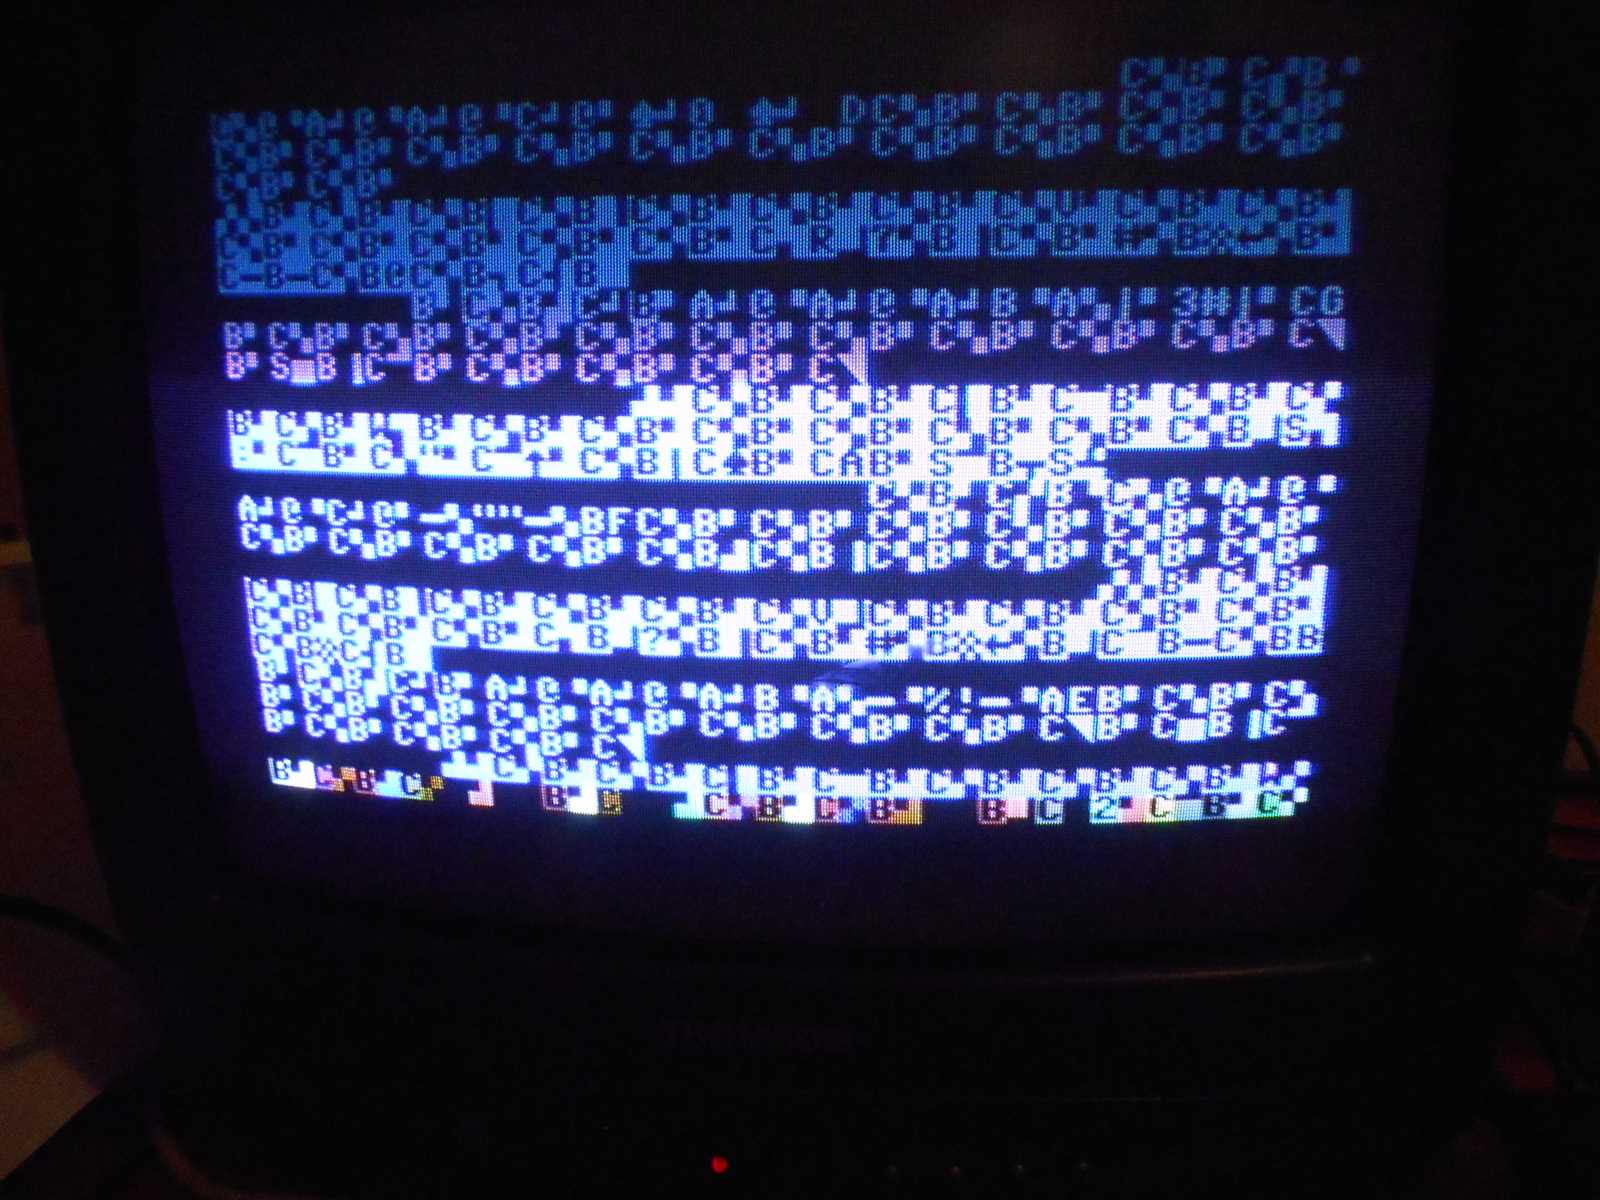
In the realm of vintage electronics, there exists a profound appreciation for iconic systems that defined an era. The enduring legacy of these machines continues to captivate enthusiasts and collectors alike. This section delves into the intricacies of maintaining and restoring these beloved devices, ensuring their functionality and preserving their history.
Throughout the years, countless individuals have encountered challenges while attempting to keep their cherished gadgets in optimal condition. Understanding the common issues and solutions is essential for anyone passionate about vintage technology. By exploring various techniques and insights, one can breathe new life into these classic treasures, transforming them from mere relics into fully operational marvels.
As we journey through this exploration, we will uncover essential tips, detailed procedures, and resources to assist in the preservation of these technological gems. Whether you are a seasoned expert or a curious novice, the knowledge shared here aims to empower all who wish to engage with the fascinating world of retro computing.
Essential Tools for Repairing Commodore 64
To effectively address issues in vintage computing systems, having the right set of instruments is crucial. These items not only facilitate diagnostics but also ensure that any modifications or replacements are carried out with precision. Understanding the key tools will empower enthusiasts and technicians alike to breathe new life into classic machines.
Screwdrivers are indispensable for accessing the internal components. A variety of sizes, particularly Phillips and flathead, will enable you to open the casing and secure any loose parts. Additionally, a precision screwdriver set is recommended for tackling smaller screws found in more delicate areas.
Multimeter is another vital instrument. This device allows you to measure voltage, current, and resistance, making it easier to identify electrical issues. Whether you’re testing power supplies or checking connections, a multimeter is an invaluable asset.
Soldering iron is essential for making permanent fixes to broken connections or replacing components. A fine-tipped soldering iron is ideal for working on intricate circuits, while solder and flux will ensure reliable joints.
For those who might need to restore the system’s aesthetics, a cleaning kit is important. Comprising brushes and isopropyl alcohol, this kit helps remove dust and grime from both the exterior and interior surfaces, improving functionality and appearance.
Chip puller is a handy tool for safely removing integrated circuits without damaging the motherboard. This is especially useful for upgrading or replacing faulty chips.
Lastly, a static wrist strap can prevent static electricity from damaging sensitive components during handling. Wearing this accessory adds an extra layer of protection while working on the machine.
Equipped with these essential tools, enthusiasts can confidently troubleshoot and enhance their vintage computing experience, ensuring these classic systems continue to be enjoyed for years to come.
Common Issues with Commodore 64
This section outlines frequent challenges faced by users of the iconic home computer from the 1980s. Understanding these problems can enhance troubleshooting efforts and extend the lifespan of this beloved device. The following are some prevalent issues that may arise, along with their potential causes and solutions.
| Issue | Possible Causes | Suggested Solutions |
|---|---|---|
| Power On but No Display | Faulty power supply, loose connections, damaged video output | Check power source, inspect cables, test with a different monitor |
| Keyboard Not Responding | Dirt accumulation, worn out contacts, circuit damage | Clean the keyboard, replace faulty keys, check internal connections |
| Distorted Sound | Faulty speaker, damaged audio chip, loose connections | Test with external speakers, inspect audio chip, check connections |
| Data Tape Loading Issues | Worn tape, dirty drive head, misaligned tape mechanism | Clean the drive head, replace worn tapes, realign the mechanism |
| Random Crashes | Overheating, memory issues, corrupted software | Ensure proper ventilation, test RAM, reinstall or replace software |
Step-by-Step Troubleshooting Guide
This section provides a systematic approach to identifying and resolving common issues encountered with classic computing devices. By following a structured methodology, users can effectively diagnose problems, ensuring a smoother experience and prolonging the life of their equipment.
Initial Checks
Before diving into more complex diagnostics, it’s essential to perform some basic checks. These simple steps can often reveal obvious issues that may be easily overlooked.
| Check | Description | Action |
|---|---|---|
| Power Supply | Ensure that the device is receiving power. | Check the power cable and outlet. |
| Cables | Inspect all connections for damage. | Replace any faulty cables. |
| Display | Verify that the screen is functional. | Test with another device if possible. |
Advanced Diagnostics
If initial checks do not resolve the issue, proceed to more detailed troubleshooting. This phase involves examining specific components and configurations.
| Component | Potential Issue | Solution |
|---|---|---|
| RAM | Possible memory failure. | Reseat or replace the memory modules. |
| CPU | Overheating or malfunction. | Check cooling system; replace if necessary. |
| Storage | Data corruption or hardware failure. | Run diagnostic tools; consider replacing the drive. |
Replacing Faulty Components Easily
Maintaining vintage electronics often involves addressing issues with malfunctioning parts. Understanding how to efficiently swap out these elements can significantly enhance the longevity and performance of your device. This section outlines practical steps and considerations for tackling component replacement with ease.
Identifying Faulty Parts
Before proceeding with any replacement, it’s crucial to pinpoint which components are malfunctioning. Here are some common indicators of faulty elements:
- Unusual noises or humming sounds
- Inconsistent or absent power supply
- Visual damage such as burns or cracks
- Unexpected behavior during operation
Steps for Component Replacement

Once you have identified the problematic parts, follow these steps to ensure a smooth replacement process:
- Gather the necessary tools: soldering iron, multimeter, and appropriate replacement parts.
- Disconnect the power source and carefully open the casing.
- Use the multimeter to verify the faulty components.
- Desolder the damaged parts and remove them gently.
- Install the new components, ensuring correct orientation and connections.
- Solder the new parts securely and double-check all connections.
- Close the casing and reconnect the power supply.
- Test the device to confirm successful installation.
By following these steps, you can enhance the functionality of your electronic device, ensuring it remains a reliable piece of technology for years to come.
Understanding Commodore 64 Hardware
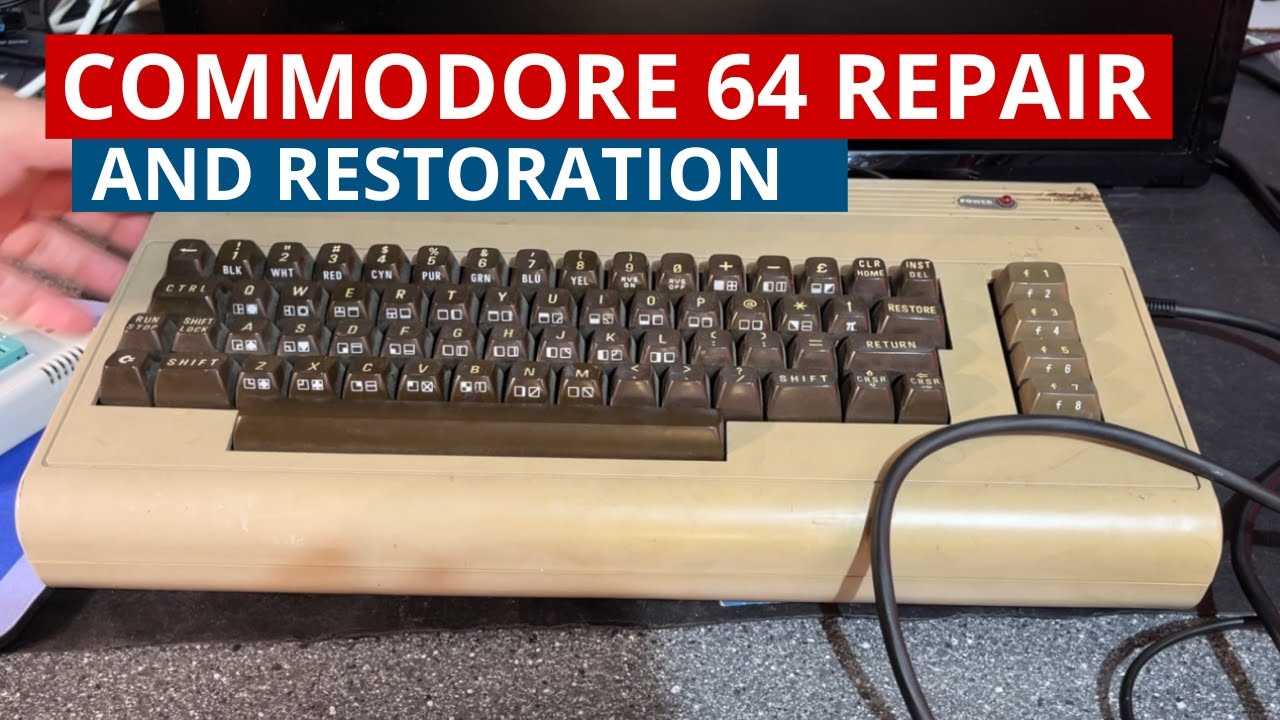
The hardware architecture of classic computing systems plays a crucial role in their functionality and performance. By delving into the components and their interactions, one gains a deeper appreciation for the intricate design that enables these machines to operate efficiently. This section aims to explore the fundamental elements that constitute this iconic system, providing insights into how they contribute to its unique capabilities.
At the core of this system lies the central processing unit (CPU), which orchestrates all operations and executes instructions. This unit is supported by random access memory (RAM), which temporarily stores data and program code, allowing for quick access during processing. Additionally, the inclusion of a video interface enhances graphical output, delivering visual information to the display in a manner that was innovative for its time.
Moreover, input/output ports enable communication with peripherals, expanding the functionality of the system. Devices such as keyboards, joysticks, and external storage options rely on these ports to interact seamlessly with the main unit. Understanding the layout and operation of these connections is essential for troubleshooting and optimizing performance.
Lastly, the power supply unit plays a vital role in ensuring that all components receive the necessary voltage and current to function reliably. By examining each of these hardware elements, one can develop a comprehensive understanding of the system’s architecture and gain valuable skills for addressing issues that may arise during its operation.
Basic Soldering Techniques for Beginners
Soldering is a fundamental skill in electronics, enabling the connection of components to create functional devices. Mastering this technique is essential for anyone looking to delve into circuit assembly or modifications. This section will cover essential practices to help newcomers get started with soldering effectively.
To ensure a successful soldering experience, consider the following steps:
- Gather Your Tools:
- Soldering iron
- Solder (typically 60/40 tin/lead or lead-free)
- Soldering iron stand
- Sponge for cleaning
- Wire cutters
- Safety goggles
- Prepare Your Workspace:
- Work on a flat, stable surface.
- Ensure good lighting to see details clearly.
- Keep your tools organized for easy access.
- Practice Proper Techniques:
- Heat the joint, not the solder.
- Apply solder to the heated area, allowing it to flow.
- Remove the solder, then the iron, and let it cool.
- Inspect Your Work:
- Look for shiny, smooth joints.
- Ensure there are no cold solder joints or bridges.
- Check for proper component alignment.
By following these guidelines, beginners can develop a solid foundation in soldering, enabling them to tackle more complex projects with confidence.
How to Clean Your Commodore 64
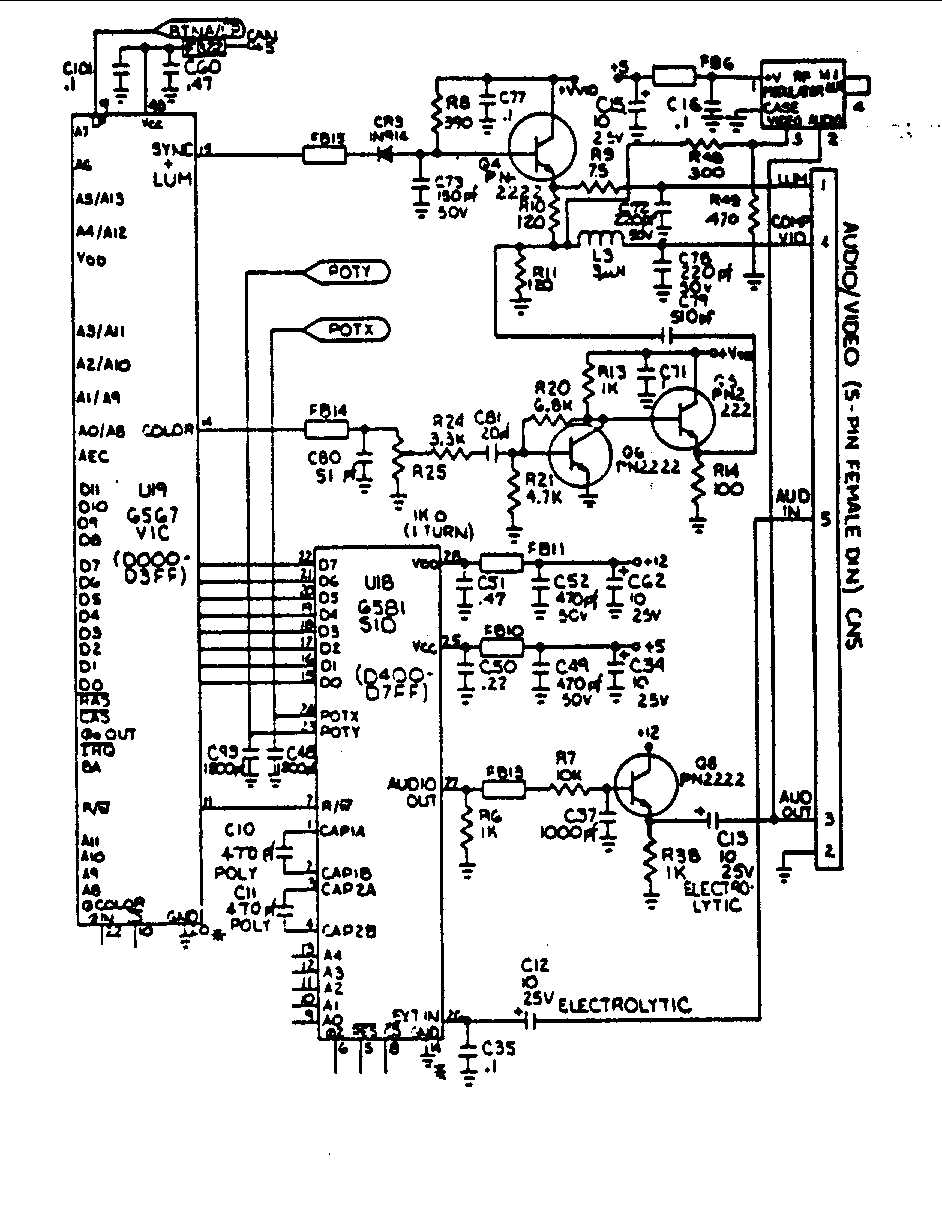
Maintaining the longevity and functionality of vintage computing equipment requires regular attention, especially when it comes to cleanliness. Dust and debris can accumulate over time, affecting both performance and aesthetic appeal. This section will guide you through effective cleaning methods to ensure your cherished device remains in optimal condition.
Materials Needed:
- Microfiber cloth
- Soft-bristle brush
- Cotton swabs
- Isopropyl alcohol (70% or higher)
- Compressed air canister
External Cleaning:
Begin by unplugging your device to ensure safety. Use a soft-bristle brush to gently remove dust from the exterior surfaces, including the keyboard and ports. Follow up with a microfiber cloth lightly dampened with a solution of water and isopropyl alcohol to wipe down the case. Avoid excess moisture, as it can seep into sensitive components.
Keyboard Maintenance:
Keys can harbor dirt and grime. To clean the keyboard, use a canister of compressed air to blow away any debris lodged between the keys. For stubborn stains, dip a cotton swab in isopropyl alcohol and carefully clean around each key. Ensure the swab is not dripping to prevent liquid from entering the device.
Internal Cleaning:
For deeper maintenance, consider accessing the interior. Carefully open the casing, following proper procedures to avoid damaging any components. Use compressed air to blow out dust from the internal parts. Be cautious and avoid touching any circuits directly. If necessary, lightly wipe surfaces with a microfiber cloth dampened with isopropyl alcohol.
Final Touches:
After cleaning, allow everything to dry completely before reassembling. Regular cleaning not only enhances the appearance of your device but also contributes to its operational efficiency. Make it a habit to inspect and clean your equipment periodically to ensure its lasting performance.
Upgrading Memory and Storage Options
Enhancing the capacity and performance of vintage computing systems can significantly improve user experience. By expanding memory and storage, users can achieve faster load times and the ability to run more complex applications. This section explores various methods to achieve these upgrades effectively.
Memory Expansion Techniques
Increasing the available memory is essential for better multitasking and application performance. Several approaches exist, including adding RAM modules or utilizing memory expansion cartridges. Each option varies in complexity and compatibility, so careful selection is vital.
Storage Enhancement Strategies
Upgrading storage can drastically improve data access speeds and overall system responsiveness. Options include using larger floppy disks, hard drive interfaces, or even modern alternatives like SD card readers. Understanding the advantages and limitations of each method will help users make informed choices.
| Upgrade Type | Description | Benefits |
|---|---|---|
| RAM Modules | Additional memory sticks to boost capacity. | Faster processing, better multitasking. |
| Memory Cartridges | External units for enhanced memory access. | Easy installation, compatibility with older systems. |
| Hard Drives | Permanent storage solutions for large files. | Increased storage space, quicker file retrieval. |
| SD Card Readers | Modern storage options for easy data transfer. | Portable, scalable storage capacity. |
Where to Find Replacement Parts
Locating suitable components for vintage electronics can be a rewarding yet challenging endeavor. Enthusiasts often seek high-quality alternatives to restore functionality to their cherished devices. Fortunately, there are various avenues available for sourcing these essential elements.
| Source | Description | Website/Contact |
|---|---|---|
| Online Marketplaces | Platforms like eBay and Amazon often have a wide range of components listed by various sellers. | eBay, Amazon |
| Specialty Electronics Stores | Stores dedicated to vintage technology may offer both new and refurbished parts. | Local listings or a quick search online |
| Forums and Community Groups | Online communities frequently trade or sell components among members, making it a great resource. | Reddit, Facebook Groups |
| Electronic Component Suppliers | Standard suppliers may stock compatible parts, especially for common electronic elements. | Digi-Key, Mouser |
| Local Repair Shops | Shops specializing in vintage electronics might have spare parts or offer assistance in sourcing them. | Check local directories |
Exploring these options can significantly enhance the chances of finding the right parts needed for revitalizing older systems. Patience and diligence in searching can yield fruitful results, allowing enthusiasts to enjoy their beloved technology once more.
Preventative Maintenance Tips for Longevity
Ensuring the extended lifespan of vintage computing devices involves regular care and attention. By implementing a few essential practices, users can significantly reduce wear and tear, enhancing performance and reliability over time.
Regular Cleaning: Dust and debris can accumulate inside and outside the device, leading to overheating and component failure. Use a soft cloth for exterior surfaces and compressed air for interior spaces to keep them free of dust.
Proper Storage: When not in use, store the device in a cool, dry place, away from direct sunlight and moisture. Consider using anti-static bags or padded containers to prevent physical damage.
Check Connections: Regularly inspect cables and connectors for signs of wear. Loose or damaged connections can lead to intermittent issues or complete failure. Ensuring secure connections can prevent potential problems.
Update Software: Keeping the firmware and software up to date can improve functionality and address any known issues. Regularly check for updates that may enhance performance or provide important fixes.
Test Components: Periodically test individual components to ensure they are functioning correctly. This can help identify potential problems before they escalate into more significant issues.
Avoid Overloading: Be mindful of the limits of the system. Running demanding applications or connecting too many peripherals can strain resources and lead to premature failure.
By following these preventative measures, users can maintain optimal performance and enjoy their equipment for many years to come.