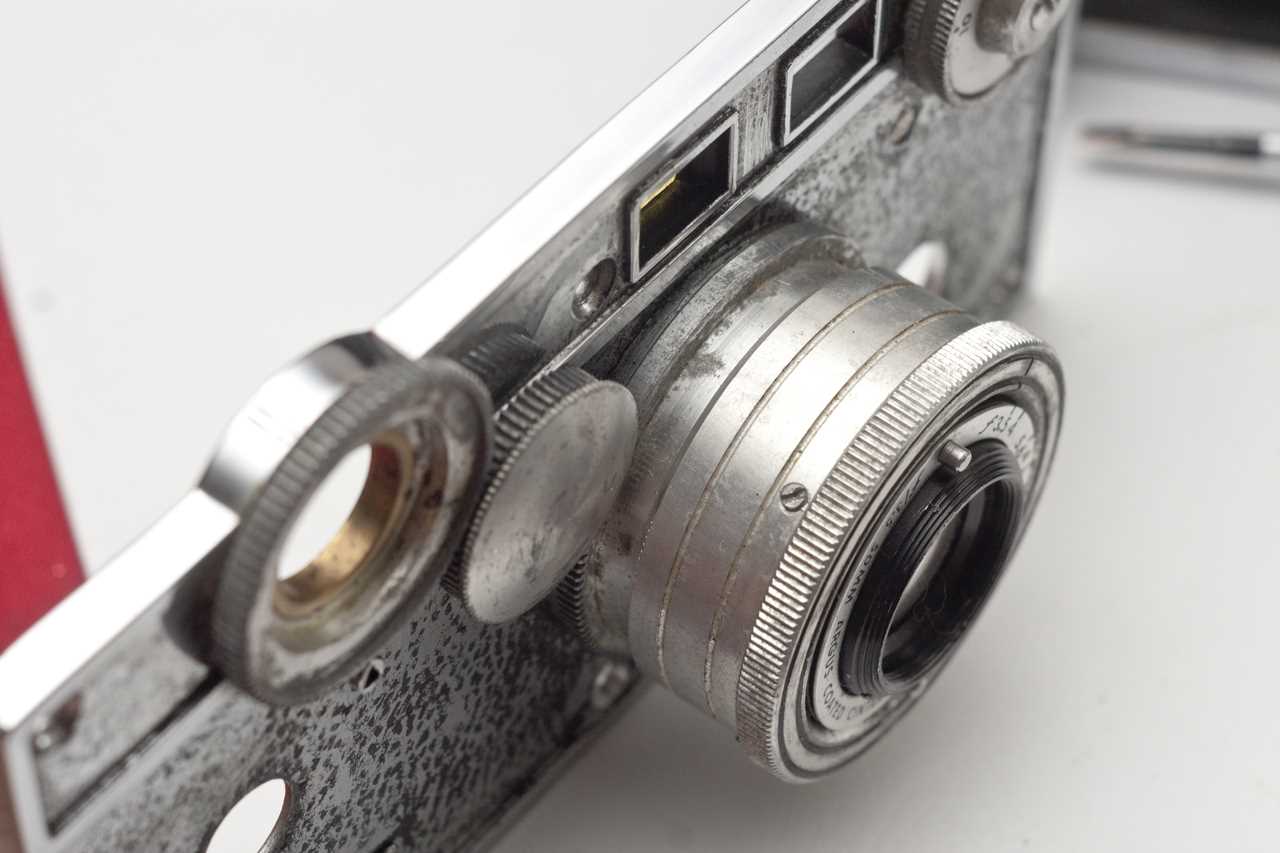
| Shutter Blades |
These delicate parts regulate the light entering the camera. Smooth operation is essential for accurate exposure control. |
Lens Alignment and Adjustment Tips
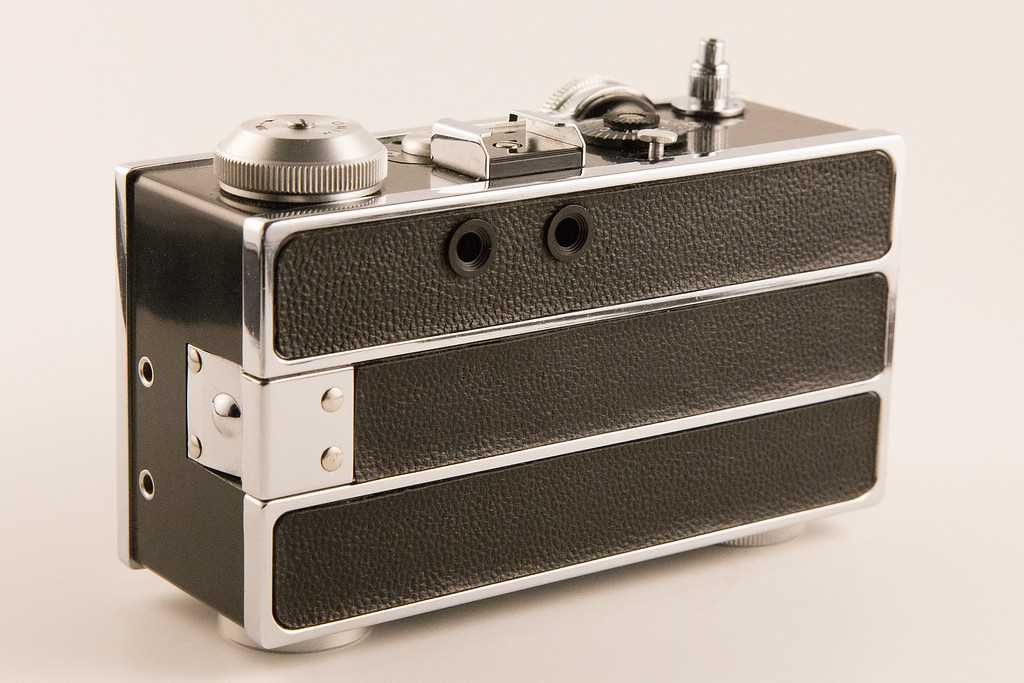
Achieving precise lens alignment is essential for capturing clear, well-focused images. Fine-tuning the lens position ensures optimal sharpness and enhances overall image quality. This section offers guidance on how to carefully align and adjust the lens to maximize visual clarity.
Start by gently rotating the lens to detect any loose or uneven spots. By making small adjustments, you can find the best position for accurate focusing. Remember to work gradually, checking alignment after each slight shift to avoid misalignments that could distort the view.
For accurate focus, consider examining the lens housing. If any slight tilt is observed, adjust it until the lens sits evenly. This helps maintain a stable alignment, especially when focusing on subjects at varying distances. Small alignment tweaks can make a significant difference in achieving the sharpness needed for quality visuals.
After adjustments, test the alignment by focusing on
Restoring Film Transport Mechanism
The functionality of a camera relies heavily on its film movement system, which plays a crucial role in capturing images accurately. Proper maintenance and restoration of this mechanism can significantly enhance the overall performance of the device. Addressing common issues and ensuring that each component operates smoothly is essential for achieving optimal results during the photography process.
Identifying Issues
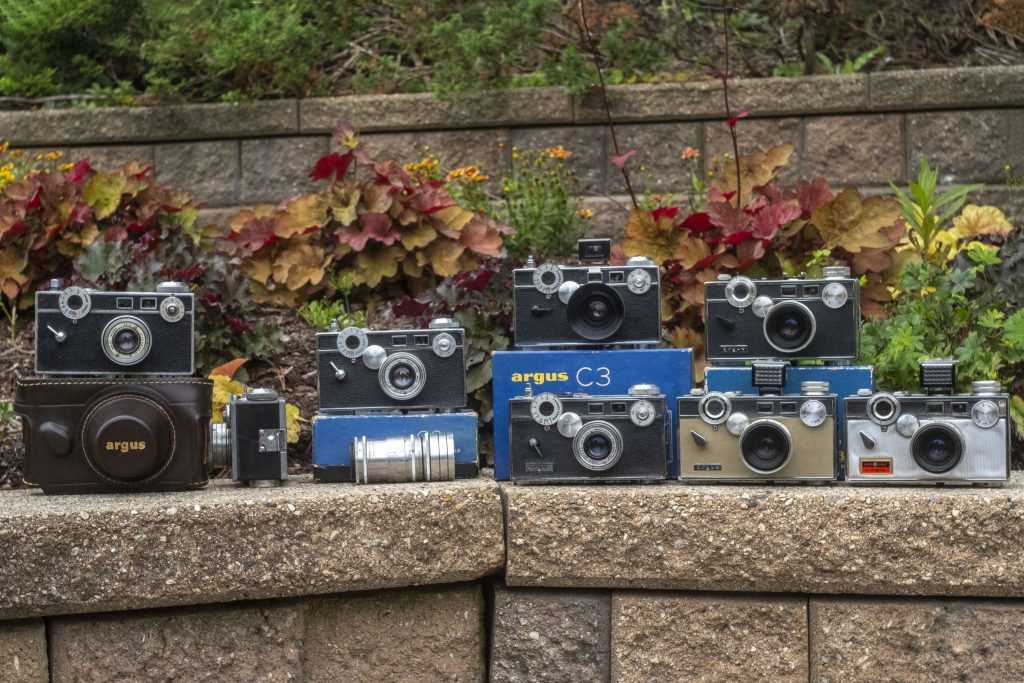
Before undertaking any restoration work, it is important to identify potential problems within the film transport system. Common symptoms may include irregular movement, jamming, or failure to advance the film. Thoroughly inspecting the gears, rollers, and other related components will help pinpoint the source of the malfunction.
Step-by-Step Restoration Process
Once issues have been identified, the next step involves disassembling the necessary parts with care. Cleaning each component is vital, as dirt and grime can impede functionality. Use a suitable cleaning solution and soft cloth to remove residue. After cleaning, lubrication is crucial; applying a light oil to moving parts ensures smooth operation. Finally, reassemble the mechanism carefully, making sure all parts are aligned correctly to avoid future complications.
Light Seals Replacement Process
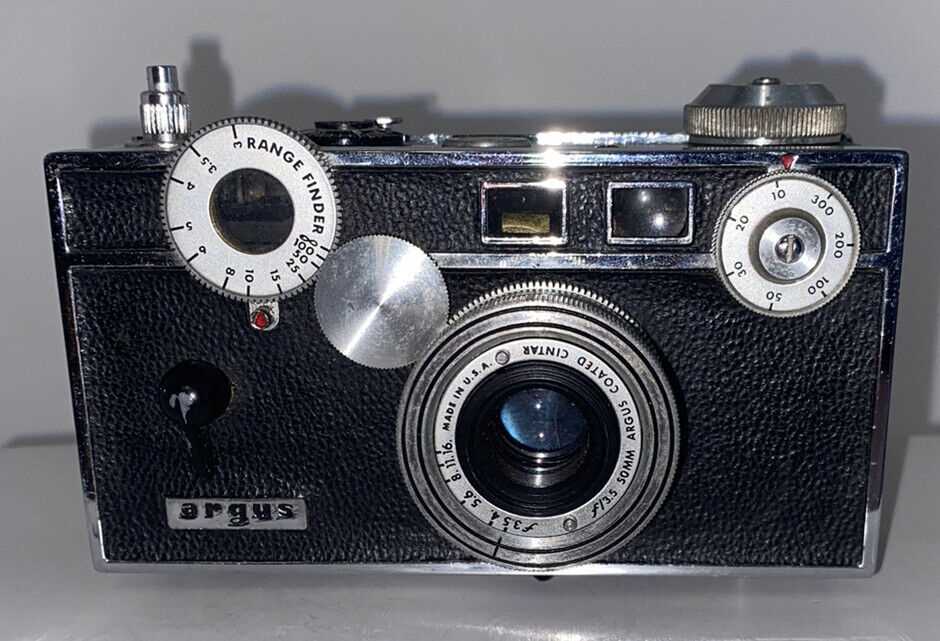
Replacing the light seals is a crucial step in maintaining the integrity and performance of vintage cameras. Over time, the original seals can deteriorate, leading to light leaks that compromise the quality of images. This section will guide you through the essential steps to effectively replace these seals, ensuring that your camera remains in optimal condition for capturing moments.
Gathering Necessary Tools and Materials
Before beginning the replacement process, it is important to assemble the required tools and materials. You will need:
- New light sealing material (foam or adhesive tape)
- Craft knife or scissors
- Ruler or measuring tape
- Adhesive remover or isopropyl alcohol
- Soft cloth for cleaning
Having these items on hand will streamline the procedure and help achieve a professional finish.
Step-by-Step Replacement Procedure
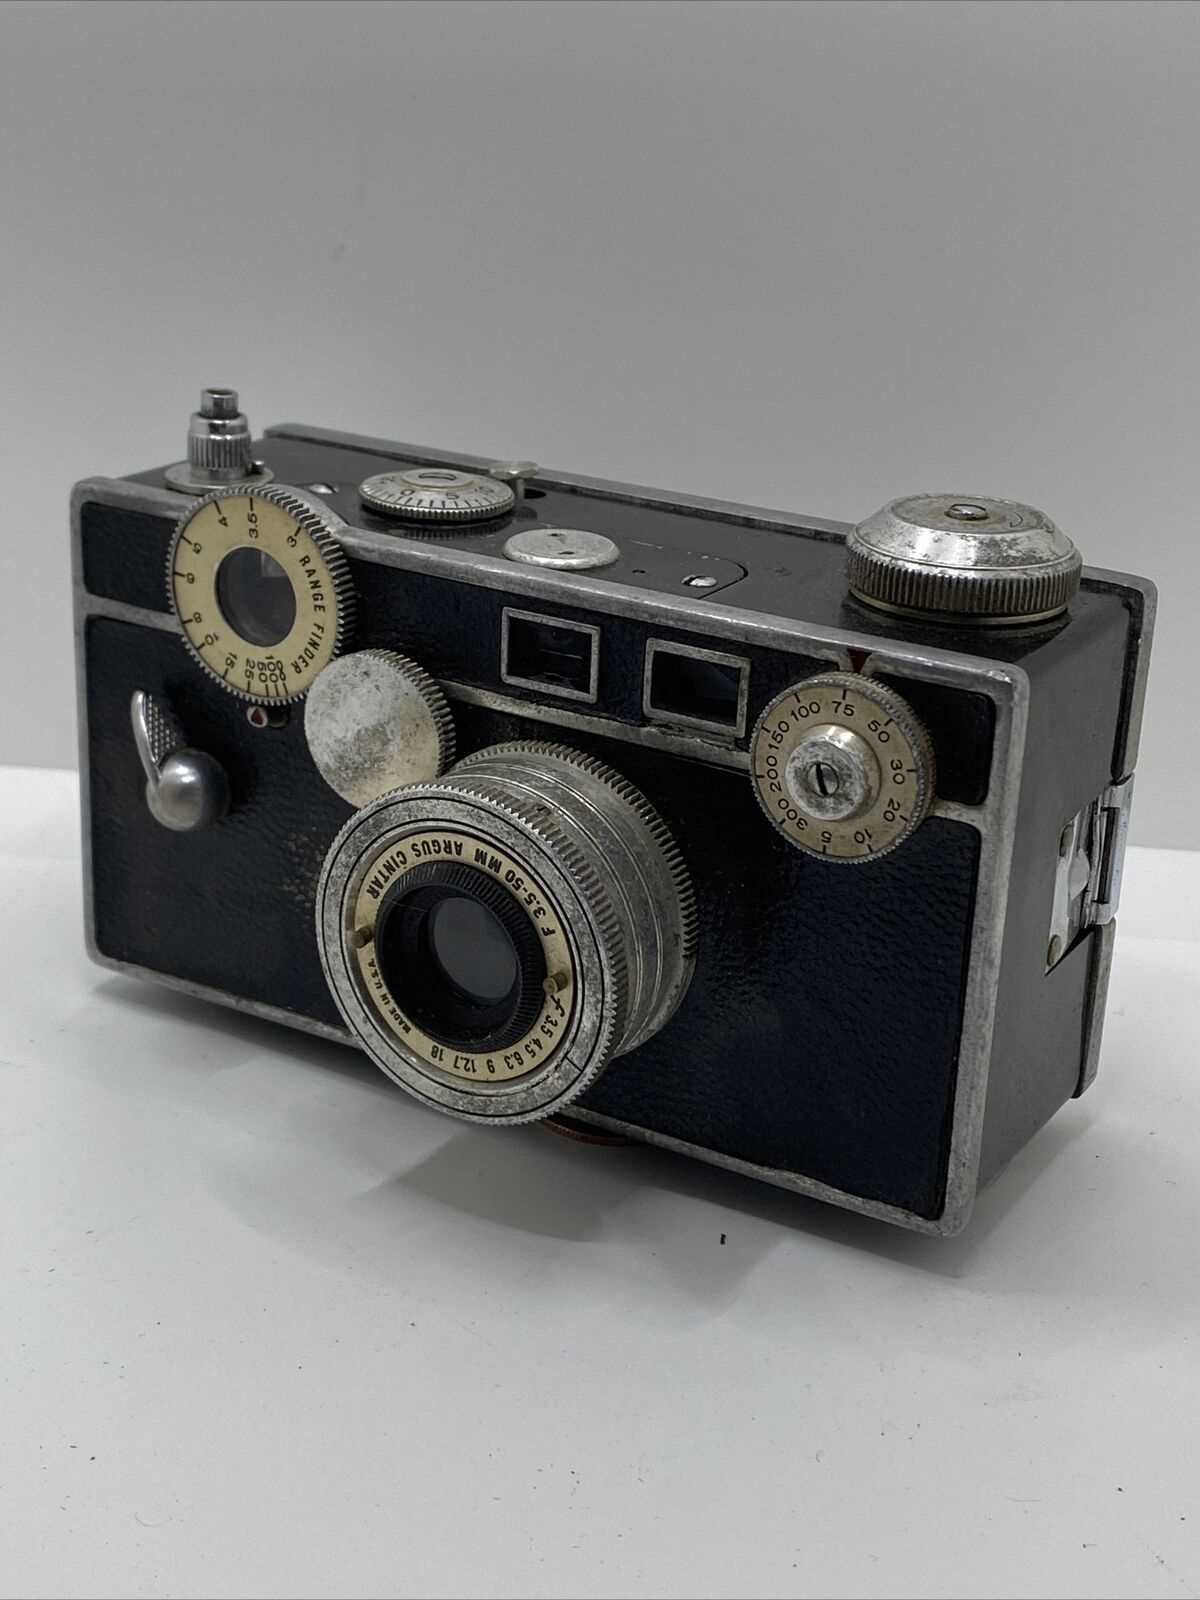
Begin by carefully disassembling the camera to access the areas where the seals are located. It is advisable to document the disassembly process with photos or notes to facilitate reassembly.
Once the camera is open, gently remove the old seals using a craft knife or adhesive remover, being cautious not to damage surrounding components. After removing the old material, clean the surfaces thoroughly with isopropyl alcohol and a soft cloth to ensure proper adhesion of the new seals.
Measure and cut the new sealing material to fit the designated areas, ensuring a snug fit. Apply the adhesive side of the material to the clean surfaces, pressing firmly to secure it in place. Pay particular attention to corners and edges, as these are critical points where light leaks can occur.
After installing the new seals, reassemble the camera, taking care to follow your earlier documentation. Test the camera with a few exposures to confirm that the light seals are functioning properly, and enjoy capturing images with confidence.
Viewfinder Troubleshooting and Fixes
When experiencing issues with the viewing mechanism of your camera, it is essential to identify the underlying problems to restore functionality. Various factors can contribute to malfunctioning, and understanding these can lead to effective solutions.
Common issues may include:
- Inconsistent visibility or blurriness in the viewfinder
- Unresponsive adjustments for focus and brightness
- Dust or debris obstructing the viewfinder lens
- Mechanical failures in the viewing system
Here are some troubleshooting steps to address these concerns:
- Check Lens Cleanliness: Gently clean the viewfinder lens using a microfiber cloth to remove any dirt or smudges.
- Inspect for Damage: Examine the viewfinder for any signs of physical damage, such as cracks or misalignments.
- Adjust Focus: Make sure the focusing mechanism is functioning correctly. Rotate the focus dial and observe any changes.
- Test Brightness Settings: Ensure that the brightness adjustment is operational, and adjust it to see if visibility improves.
- Seek Professional Assistance: If issues persist after basic troubleshooting, consider consulting with a technician who specializes in optical devices.
Following these steps can help identify and resolve issues with the viewing mechanism, ensuring a clearer and more effective photographic experience.
Repairing Common Exposure Issues
When dealing with photography, ensuring accurate light levels is crucial for achieving the desired results. Many users encounter problems related to exposure, which can lead to images that are either too bright or too dark. Understanding the factors that influence exposure can help in diagnosing and addressing these common challenges.
Overexposure occurs when too much light reaches the film or sensor, resulting in washed-out images. This can be caused by incorrect settings, excessive lighting conditions, or even a malfunctioning light meter. To counteract this, one can reduce the aperture size or increase the shutter speed, allowing less light to enter the camera.
Underexposure, on the other hand, happens when insufficient light is captured, leading to dark, shadowy photographs. This issue may arise from using a small aperture, too fast of a shutter speed, or inadequate lighting conditions. To rectify this, consider widening the aperture or slowing down the shutter speed to let in more light.
Additionally, using an exposure compensation feature, if available, can assist in fine-tuning the results. Regularly checking the camera settings before capturing images can prevent many of these issues, ensuring optimal performance and better photographic outcomes.
Calibrating Rangefinder for Accuracy
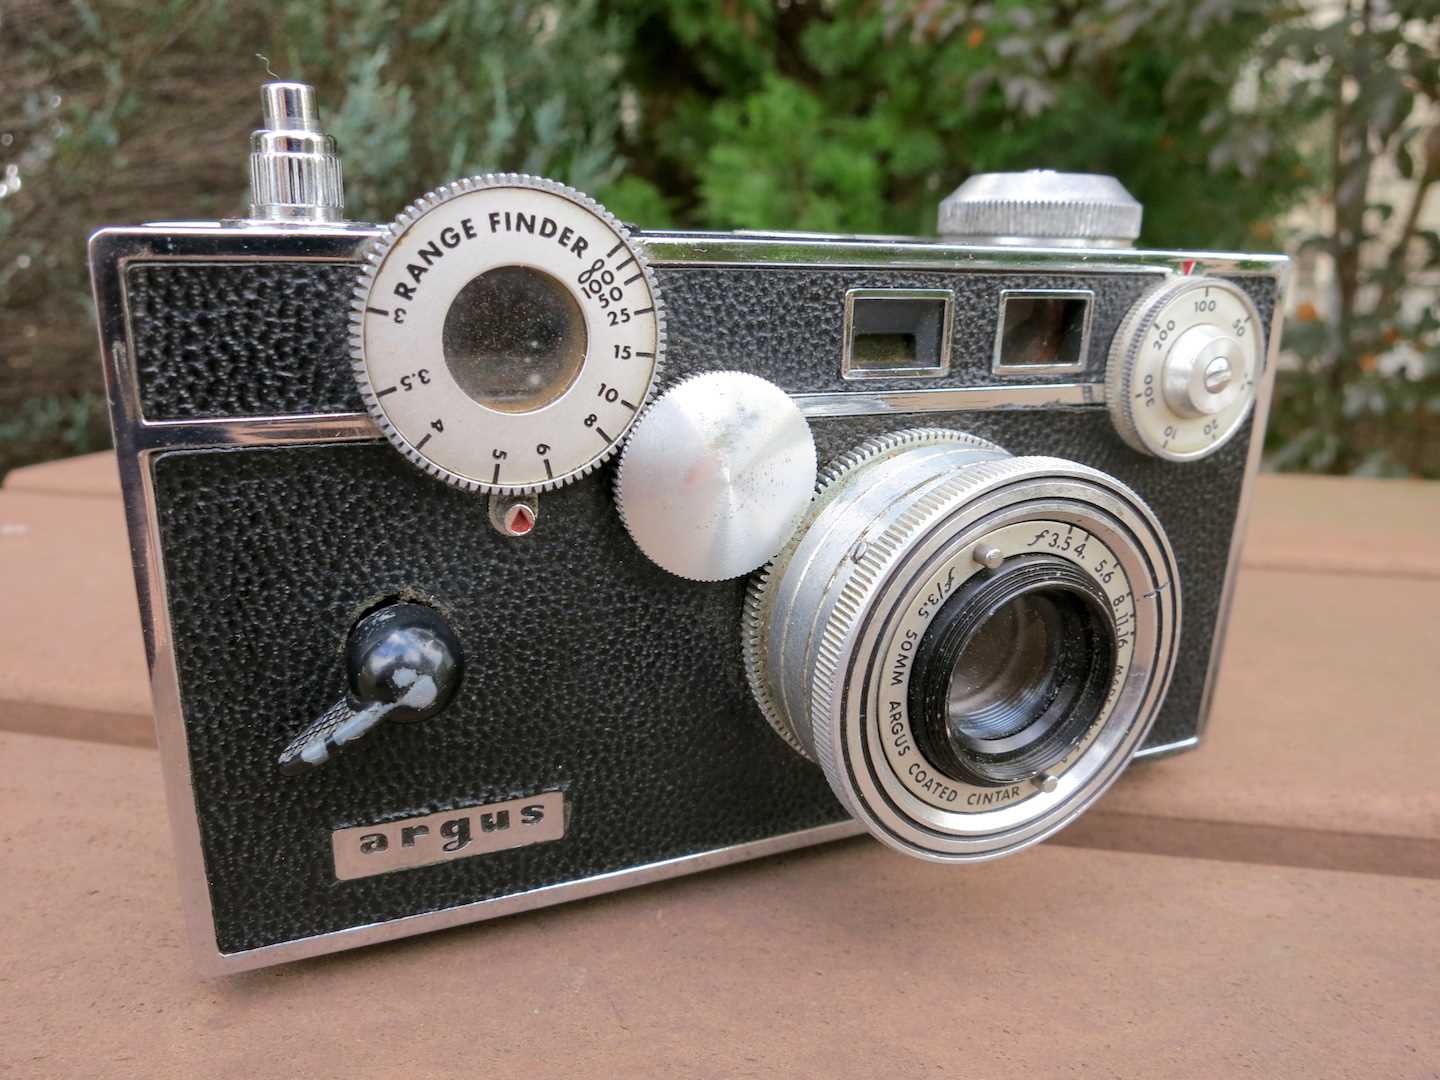
Ensuring precision in distance measurements is crucial for effective photographic results. A well-calibrated distance measuring device can significantly enhance the quality of images captured, allowing for better focus and composition. This section will guide you through the essential steps to achieve optimal accuracy in your rangefinder.
Follow these steps to calibrate your distance measuring tool:
- Gather Necessary Tools:
- A known distance reference, such as a tape measure or marked distance line.
- A flat surface for placing the device during calibration.
- Set Up the Reference:
Position your reference point at a predetermined distance. Ensure that the environment is well-lit to facilitate clear visibility of the measuring device’s readout.
- Align the Device:
Point the measuring apparatus at the reference. Make sure it is leveled and stable to avoid inaccuracies caused by tilting or movement.
- Take Initial Measurement:
Observe the reading displayed on the device. Compare this measurement to the actual distance noted with your reference tool.
- Adjust for Accuracy:
If there is a discrepancy between the measured and actual distances, adjust the settings of your device according to the manufacturer’s instructions. This may involve turning calibration screws or inputting adjustments via a digital interface.
- Repeat Measurements:
After adjustments, take multiple readings to confirm accuracy. Ensure consistency in measurements to validate the calibration.
Regular calibration of your distance measuring device will ensure that it remains reliable over time, enhancing your overall photographic experience.
Testing and Ensuring Functionality
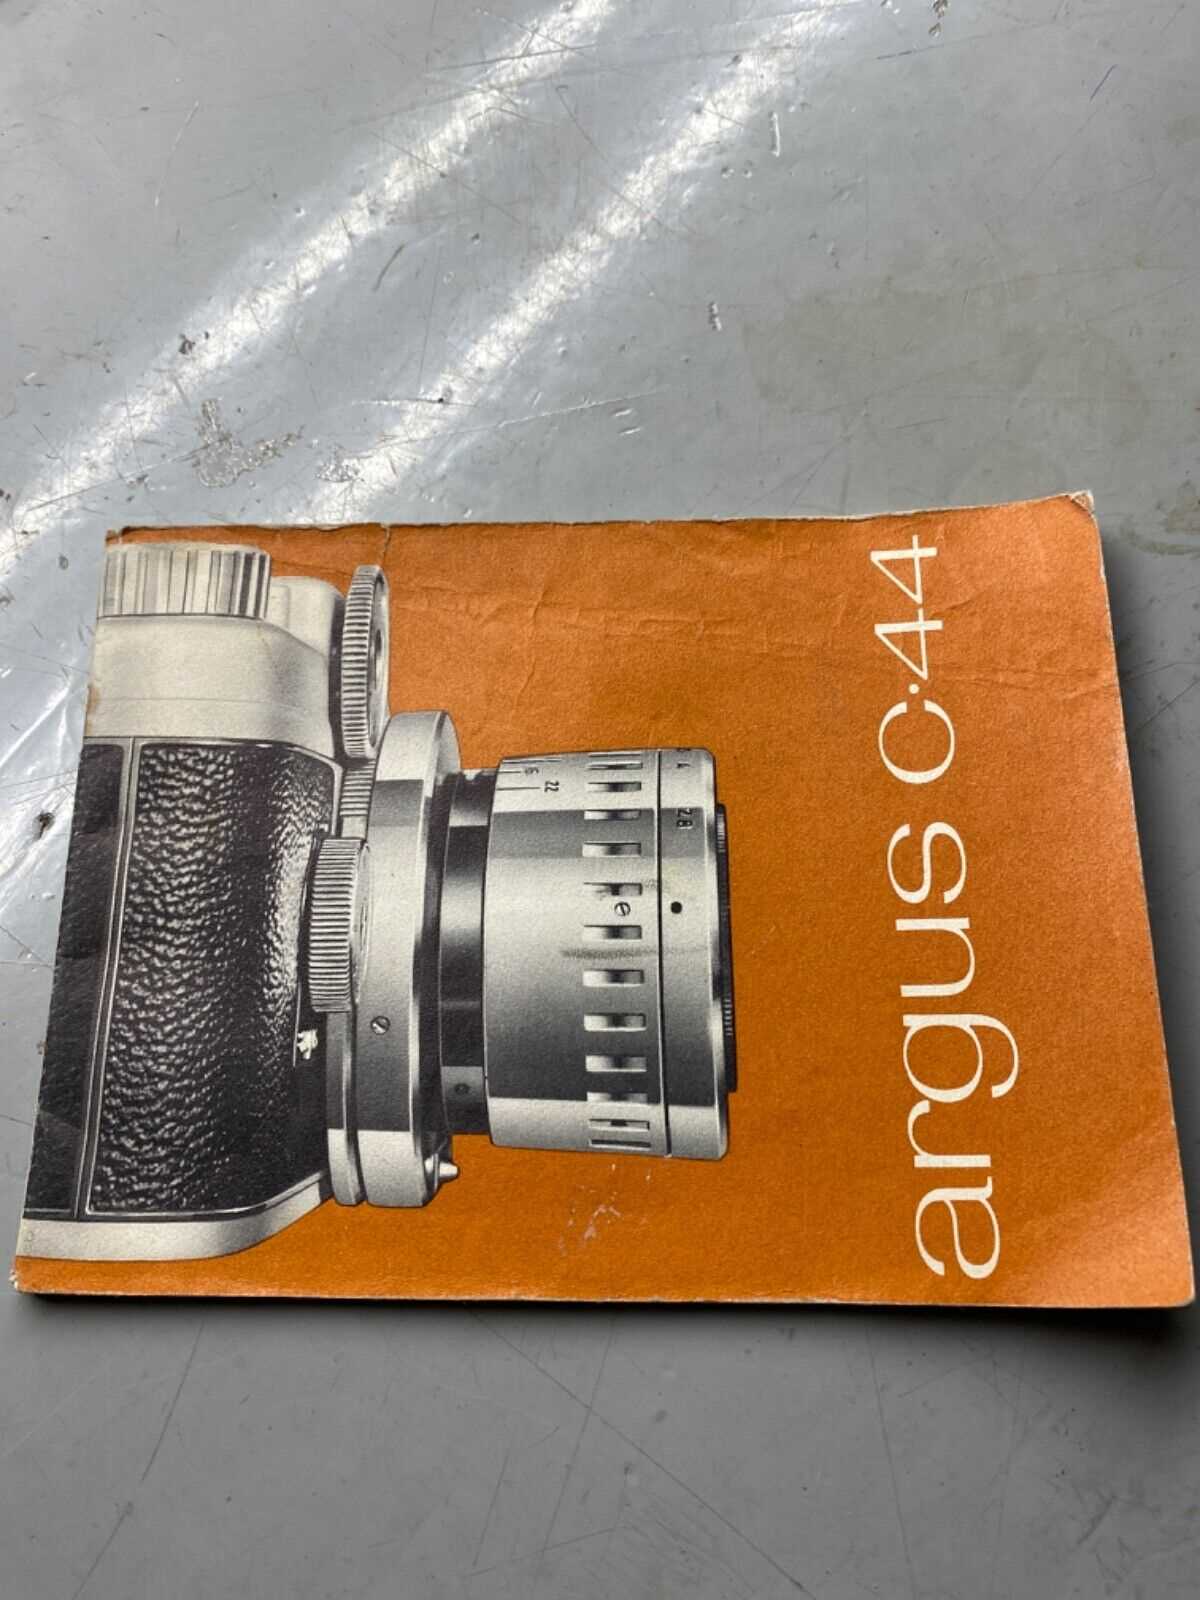
This section focuses on the essential steps to verify that the device operates correctly. By conducting a series of evaluations, users can identify potential issues and confirm that all components are functioning as intended. Proper assessment is crucial for maintaining optimal performance and longevity.
Initial Checks
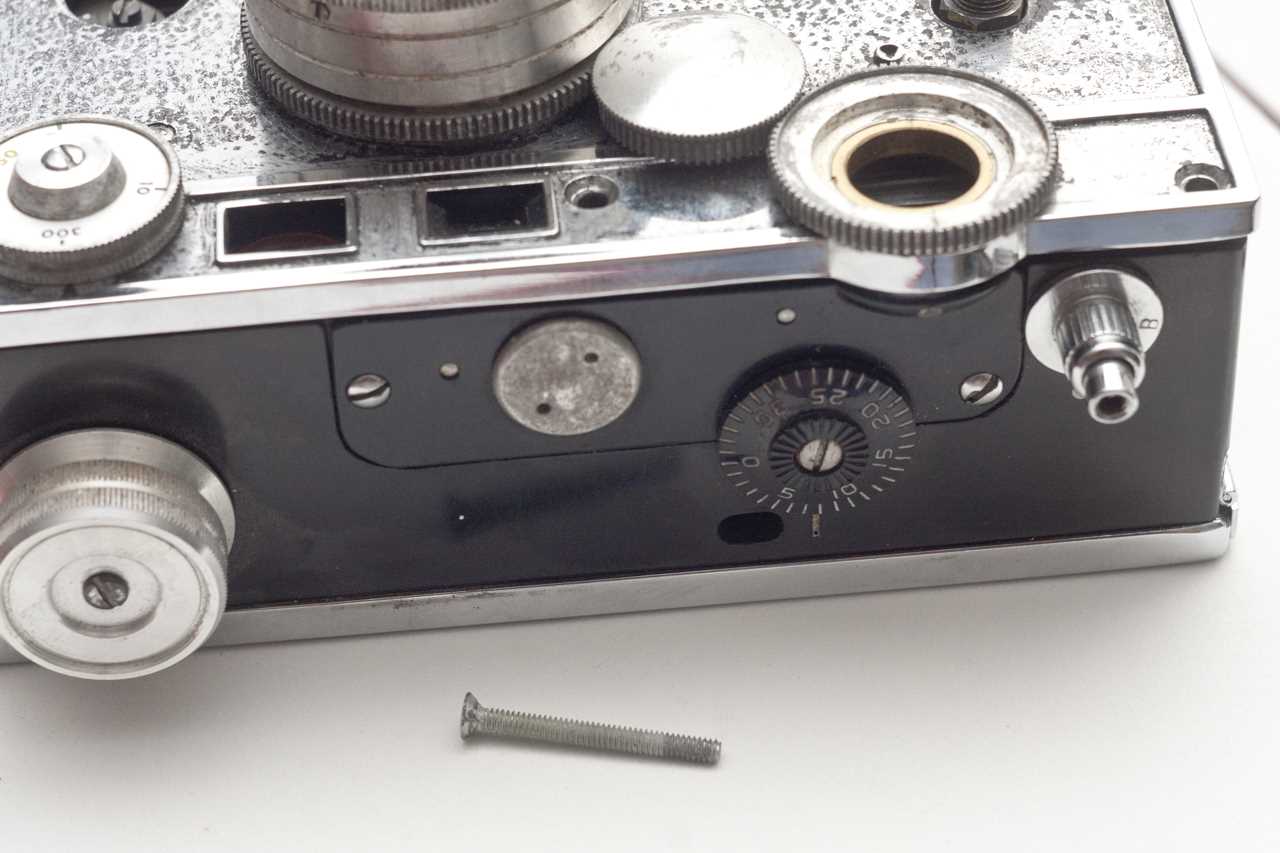
Begin by examining the device for any visible signs of wear or damage. Inspect the casing, lens, and any moving parts for irregularities. Next, ensure that all connections are secure and that the battery or power source is functioning. A preliminary assessment helps in pinpointing areas that may require further attention.
Functionality Tests
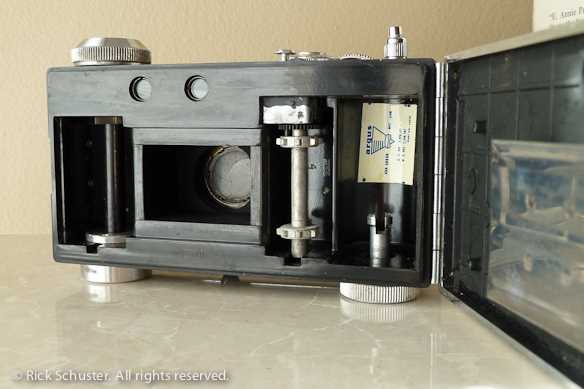
After the initial inspection, proceed to conduct specific tests to evaluate performance. Operational tests should include checking the shutter mechanism, focus adjustments, and exposure settings. It is important to capture sample images to assess clarity and color accuracy. If any discrepancies arise during these tests, it may indicate the need for further examination or maintenance.
Lastly, documenting the results of these evaluations can be beneficial for future reference and for tracking performance over time. Regular checks and assessments can greatly enhance the overall reliability and enjoyment of the device.
Reassembly Techniques for Argus C3
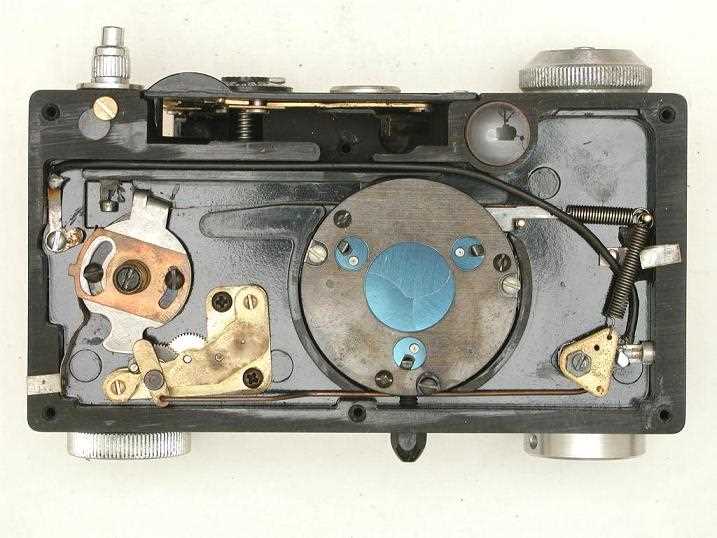
When it comes to putting together a vintage camera, precision and attention to detail are paramount. The process requires careful handling of components and a systematic approach to ensure all parts are properly aligned and secured. This section provides insights into effective techniques that can facilitate a successful assembly.
Here are some key techniques to consider during the reassembly process:
- Organize Components: Before starting, arrange all parts in a logical order. This can help prevent confusion and ensure that nothing is overlooked.
- Use Appropriate Tools: Employ the correct tools to avoid damaging delicate components. Precision screwdrivers and tweezers are essential for handling small parts.
- Follow a Sequence: Reassemble the camera in a specific sequence. Begin with larger components and work your way towards smaller parts to maintain balance and support.
- Check Alignments: As you assemble, frequently check that all components are aligned correctly. Misalignment can lead to operational issues down the line.
- Test Movement: After each major step, test any movable parts. Ensure that they operate smoothly without obstruction.
By adhering to these techniques, the reassembly process can be streamlined, ultimately leading to a well-functioning device that honors its original craftsmanship.
