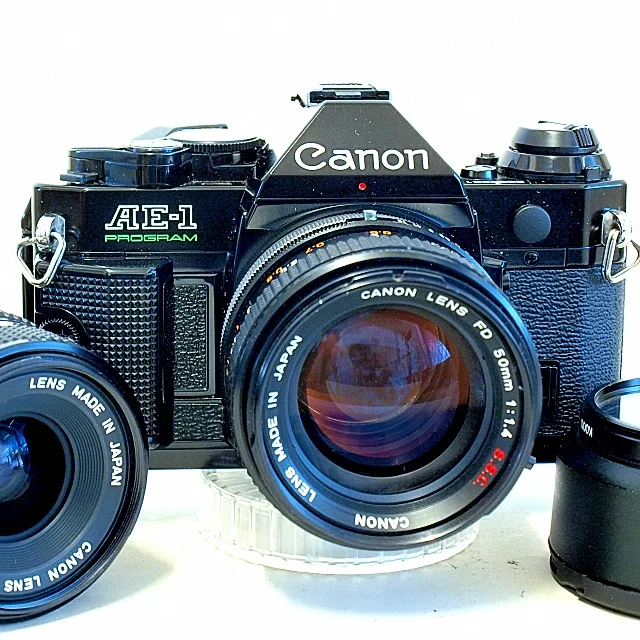
In the world of photography, certain vintage devices hold a special place in the hearts of enthusiasts and professionals alike. These classic instruments, cherished for their unique mechanics and timeless design, often require careful attention and knowledge to maintain their functionality. This section delves into the intricacies of preserving such devices, offering insights into their operation and common challenges faced during upkeep.
When dealing with older photographic equipment, familiarity with its components and potential issues is crucial. From mechanical failures to electronic malfunctions, understanding the intricacies of these devices can transform the experience of ownership. Whether you’re a seasoned collector or a newcomer eager to explore the art of photography, mastering the care of these vintage treasures can enhance both their performance and longevity.
Equipped with the right techniques and guidance, anyone can embark on the journey of revitalizing these classic models. This exploration will cover various aspects of maintenance, troubleshooting, and restoration, ensuring that your cherished device continues to capture the world through its lens for years to come.
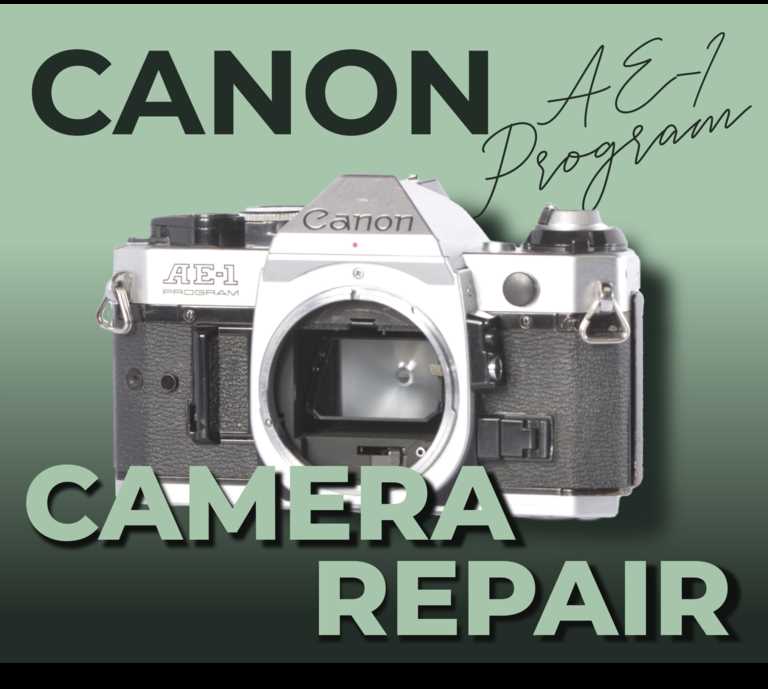
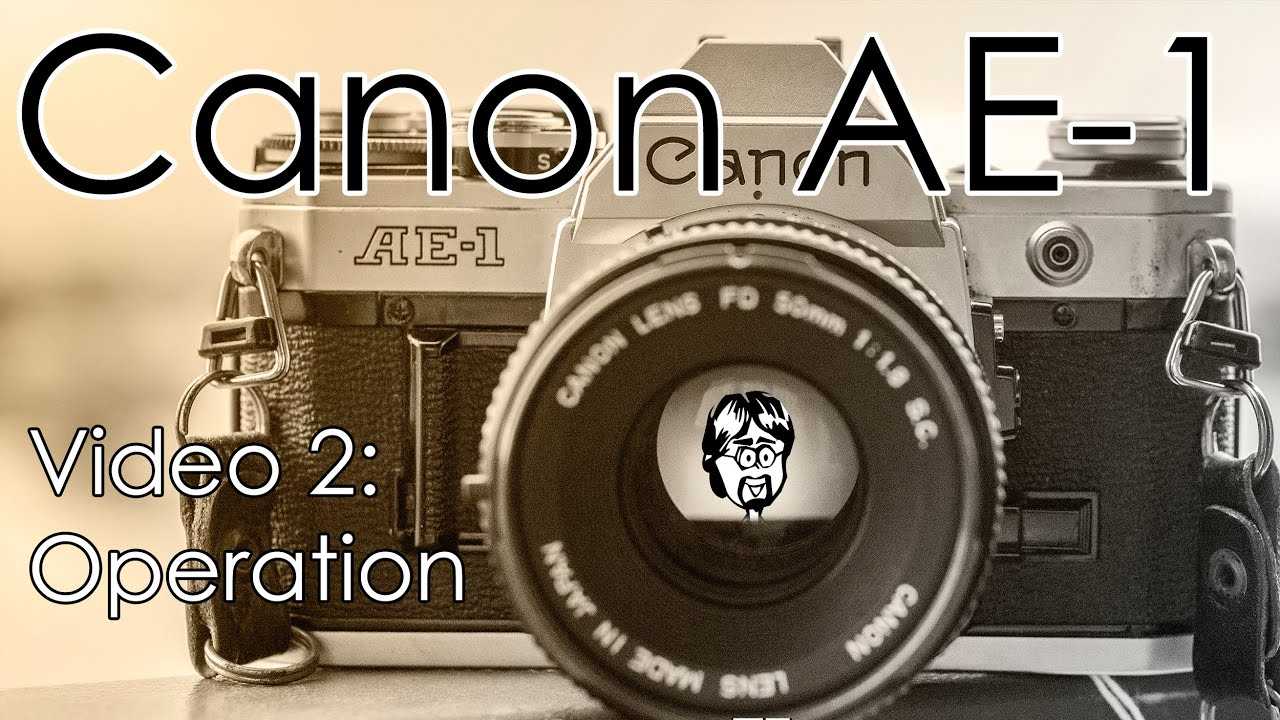
Overview of Canon AE-1 Program
This remarkable device represents a significant leap in photographic technology, combining user-friendly features with advanced functionalities. Designed for both amateurs and seasoned photographers, it offers a seamless experience for capturing stunning images.
Key features include automatic exposure control and interchangeable lenses, allowing users to tailor their setup to various shooting conditions. The compact design enhances portability, making it an excellent choice for those on the move.
The intuitive interface ensures that even beginners can quickly adapt, while more experienced users can delve into manual settings for ultimate creative control. This balance of simplicity and versatility is what sets this model apart in the world of photography.
Common Issues in Canon AE-1
This section highlights frequent problems encountered with this vintage photographic device, providing insight into their causes and potential solutions. Understanding these issues can help users maintain and prolong the lifespan of their equipment.
- Light Meter Malfunction:
The light meter may become unresponsive or give inaccurate readings. This often results from aging components or battery depletion.
- Shutter Issues:
Users may experience irregular shutter speeds or complete failure. This can stem from mechanical wear or dirt accumulation in the shutter mechanism.
- Film Advance Problems:
The film advance lever might become stiff or unresponsive, often due to lubrication drying out or internal blockages.
- Viewfinder Issues:
Cloudy or foggy viewfinders can be a result of internal lens fogging or dirt accumulation, impacting framing and focusing capabilities.
- Body Wear and Tear:
Physical damage such as scratches or dents can affect both aesthetics and functionality. Regular care can mitigate further degradation.
lessCopy code
By recognizing these common challenges, photographers can take proactive steps to ensure their gear remains functional and reliable for capturing memories.
Essential Tools for Camera Repair
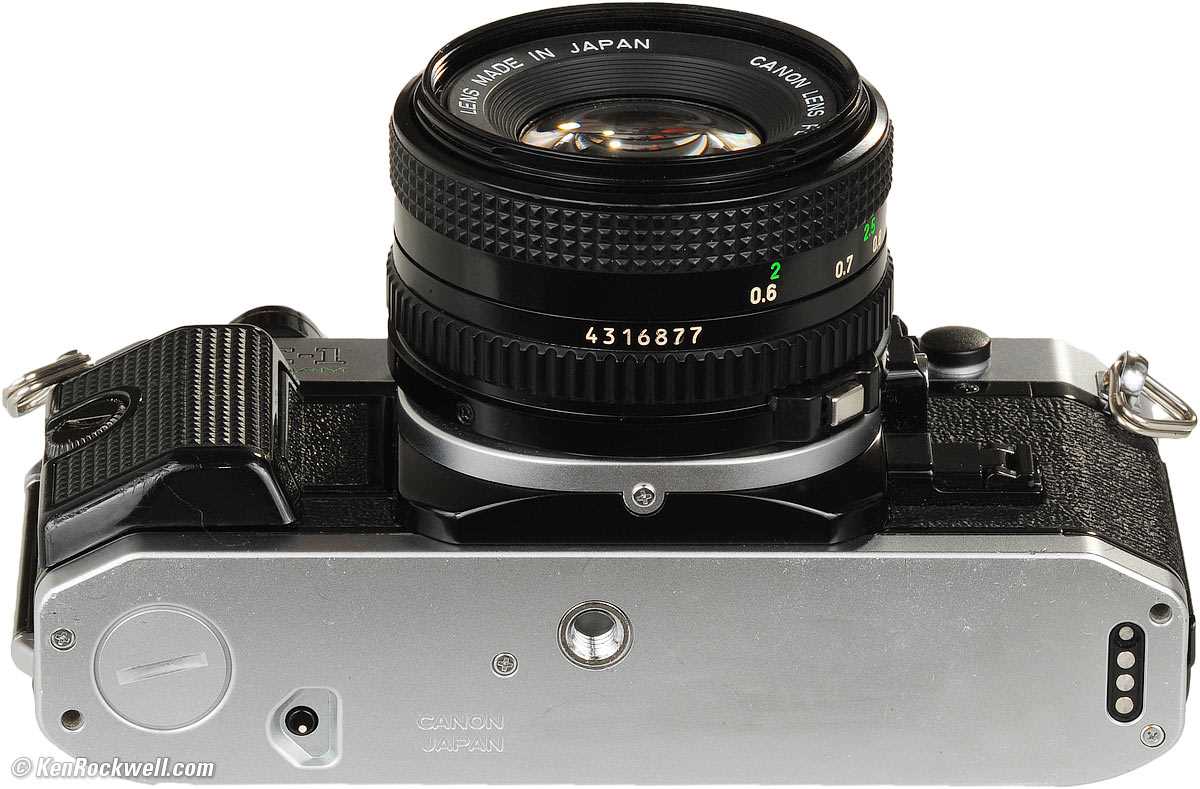
When delving into the intricate world of photographic equipment maintenance, having the right instruments at your disposal is crucial. The effectiveness of any restoration effort heavily relies on the tools employed, which not only streamline the process but also enhance precision and safety.
First and foremost, a set of precision screwdrivers is indispensable. These specialized tools enable access to various components without causing damage. Additionally, a pair of tweezers aids in handling small parts that are otherwise challenging to manage, ensuring a meticulous approach during disassembly and assembly.
Moreover, a cleaning kit is vital for maintaining optical clarity and functionality. This typically includes lens cleaning solutions, microfiber cloths, and air blowers, all of which contribute to preserving the quality of your equipment. Furthermore, a magnifying glass or jeweler’s loupe can assist in closely examining tiny components for wear and tear.
Lastly, having a multi-meter is beneficial for testing electrical connections and diagnosing issues. This tool allows for a thorough assessment of electronic parts, ensuring that all functionalities are operating as intended. Equipped with these essential instruments, anyone can confidently tackle the challenges of maintaining photographic gear.
Step-by-Step Repair Instructions
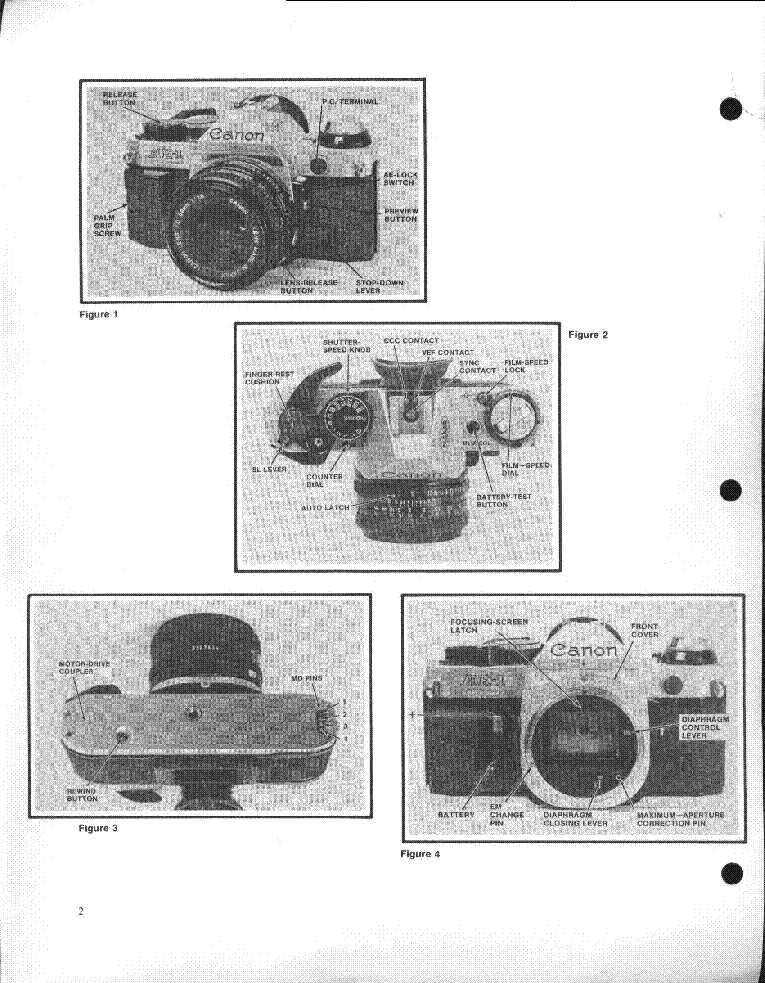
This section provides a comprehensive guide for individuals looking to address common issues in their vintage photographic equipment. By following a systematic approach, you can effectively diagnose and resolve problems, ensuring your device operates smoothly once again.
1. Gather Necessary Tools: Before beginning, assemble all required tools such as screwdrivers, tweezers, and cleaning materials. Having everything at hand will streamline the process.
2. Examine the Device: Start by visually inspecting the camera. Look for any obvious signs of wear, damage, or misalignment. Take notes on any irregularities you observe.
3. Disassemble Carefully: Follow the appropriate steps to disassemble the equipment. Use a soft cloth to protect surfaces, and keep small parts organized to prevent loss.
4. Clean Components: Gently clean the internal parts using a soft brush and lint-free cloth. Pay special attention to the lens and mirror mechanisms, as dust can affect performance.
5. Check Electrical Connections: Inspect all wiring and connections for corrosion or disconnections. Secure any loose connections to restore functionality.
6. Replace Worn Parts: Identify any components that are damaged or excessively worn. Consult your reference materials to find suitable replacements and install them properly.
7. Reassemble the Equipment: Carefully reassemble the device, ensuring each component fits securely. Follow your earlier notes to avoid missing any steps.
8. Test Functionality: Once reassembled, conduct a series of tests to confirm that everything is working correctly. Check all modes and settings to ensure proper operation.
9. Final Adjustments: If issues persist, make any necessary adjustments based on your findings during testing. This may include recalibrating settings or re-evaluating connections.
By following these structured steps, you can restore the functionality of your photographic gear and extend its lifespan for continued use.
How to Clean the Lens Mechanism
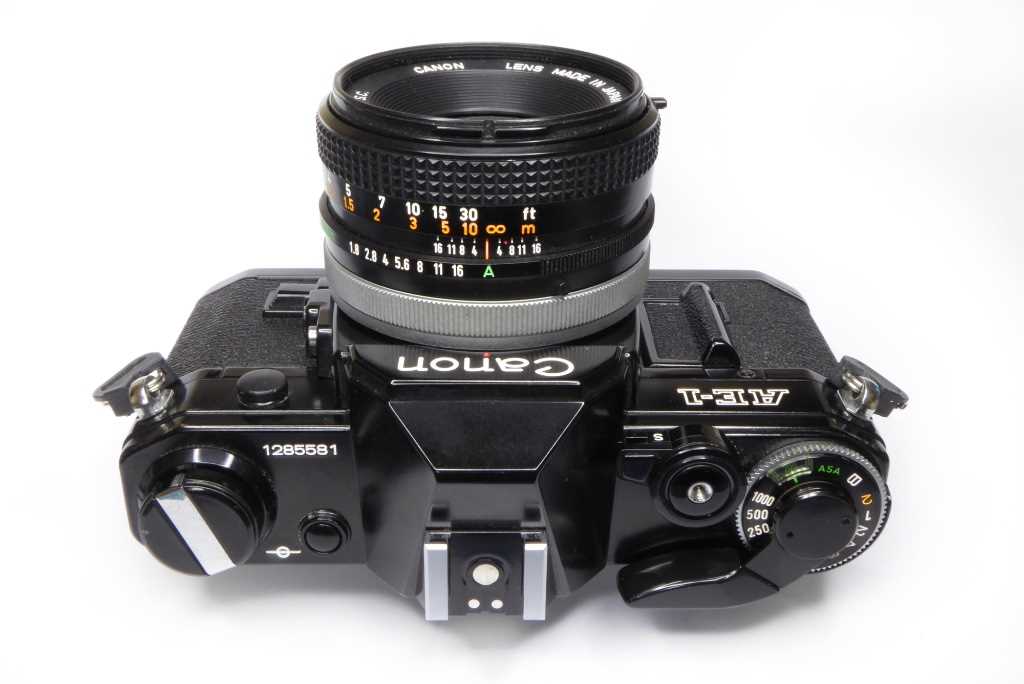
Maintaining the functionality of your optical device is essential for optimal performance and image quality. A clean lens mechanism ensures smooth operation and prevents issues such as stuck apertures or inconsistent focus. This guide will provide you with effective steps to safely clean the intricate components of your lens.
Gather Your Supplies
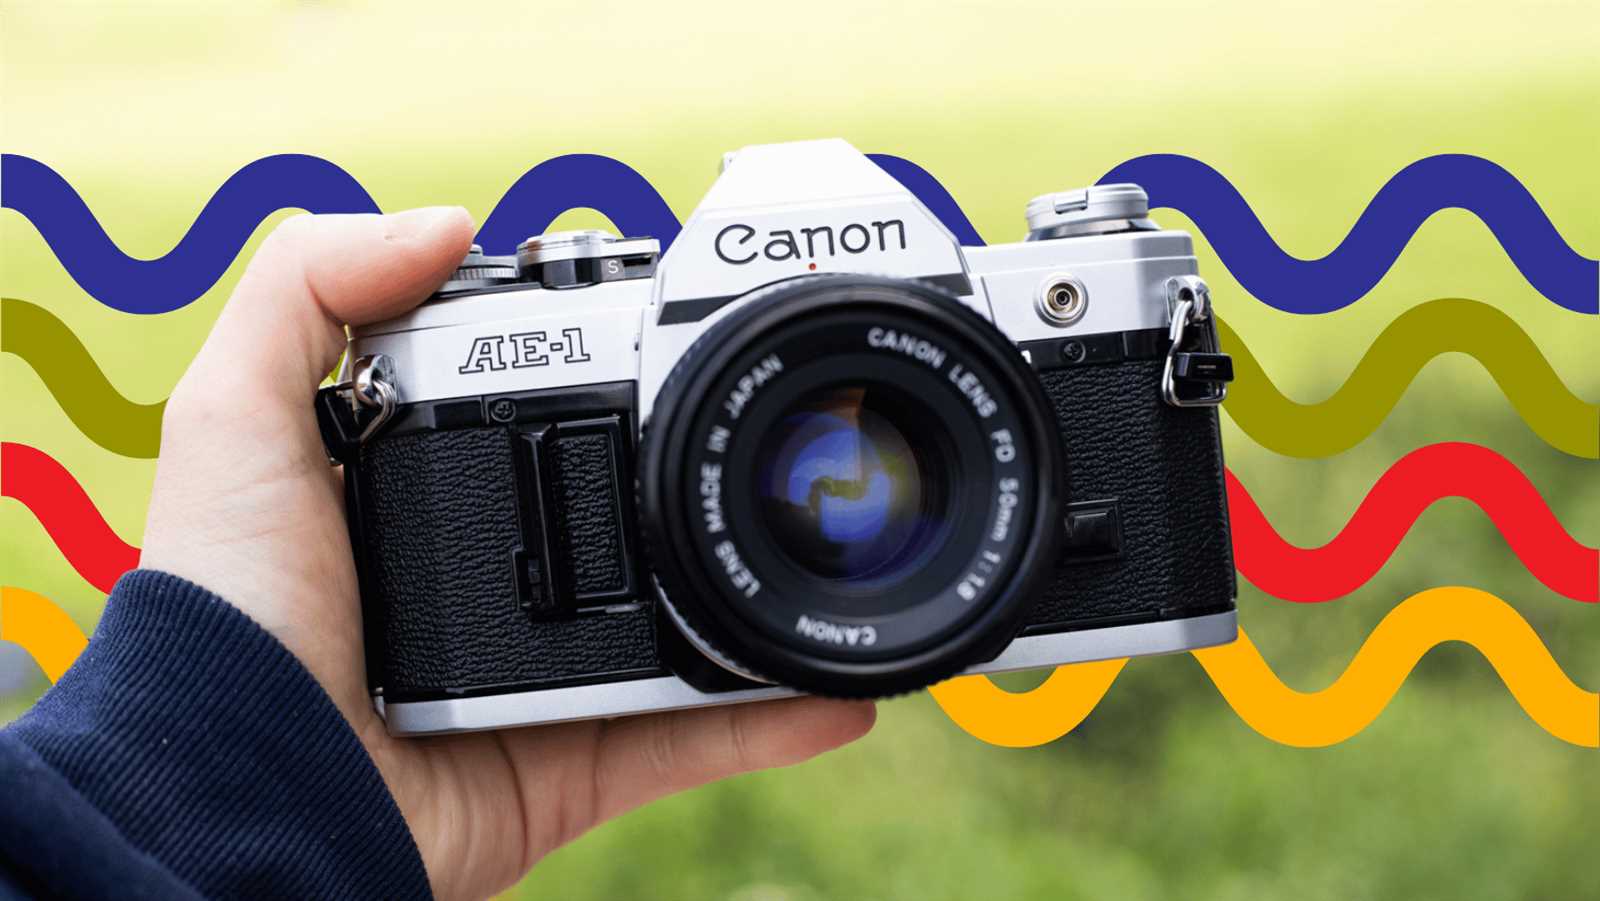
Before starting the cleaning process, it is crucial to have the right tools on hand. You will need:
1. A lens cleaning solution
2. Microfiber cloths
3. A blower
4. Cotton swabs
5. Soft brushes
Step-by-Step Cleaning Process
Begin by using the blower to remove loose dust and debris from the exterior of the lens. Next, apply a small amount of the cleaning solution to a microfiber cloth, avoiding direct application on the lens itself. Gently wipe the surface in circular motions, ensuring you do not apply excessive pressure. For hard-to-reach areas, use cotton swabs lightly moistened with the cleaning solution. Finally, inspect the lens for any remaining smudges and repeat the process if necessary.
Regular maintenance of the lens mechanism will prolong its lifespan and enhance your photography experience.
Replacing the Shutter Release Button
The shutter release button is a crucial component in any photographic device, as it initiates the capturing process. Over time, this button can wear out or become unresponsive, necessitating a replacement to ensure optimal performance. This guide outlines the steps involved in replacing the shutter release mechanism efficiently.
| Step | Description |
|---|---|
| 1 | Gather the necessary tools, including a small screwdriver, tweezers, and a replacement button. |
| 2 | Carefully remove the camera’s top cover to access the internal components. |
| 3 | Locate the existing shutter release button and observe how it is attached. |
| 4 | Unscrew or unclip the old button, taking care to keep any small parts organized. |
| 5 | Insert the new button in the same position, ensuring a secure fit. |
| 6 | Reassemble the camera, making sure all components are properly aligned and secured. |
| 7 | Test the new button to confirm its functionality before fully closing the device. |
Replacing the shutter release button can significantly enhance the user experience, allowing for seamless photography. Following these steps will help ensure a smooth and effective replacement process.
Adjusting the Light Meter Function
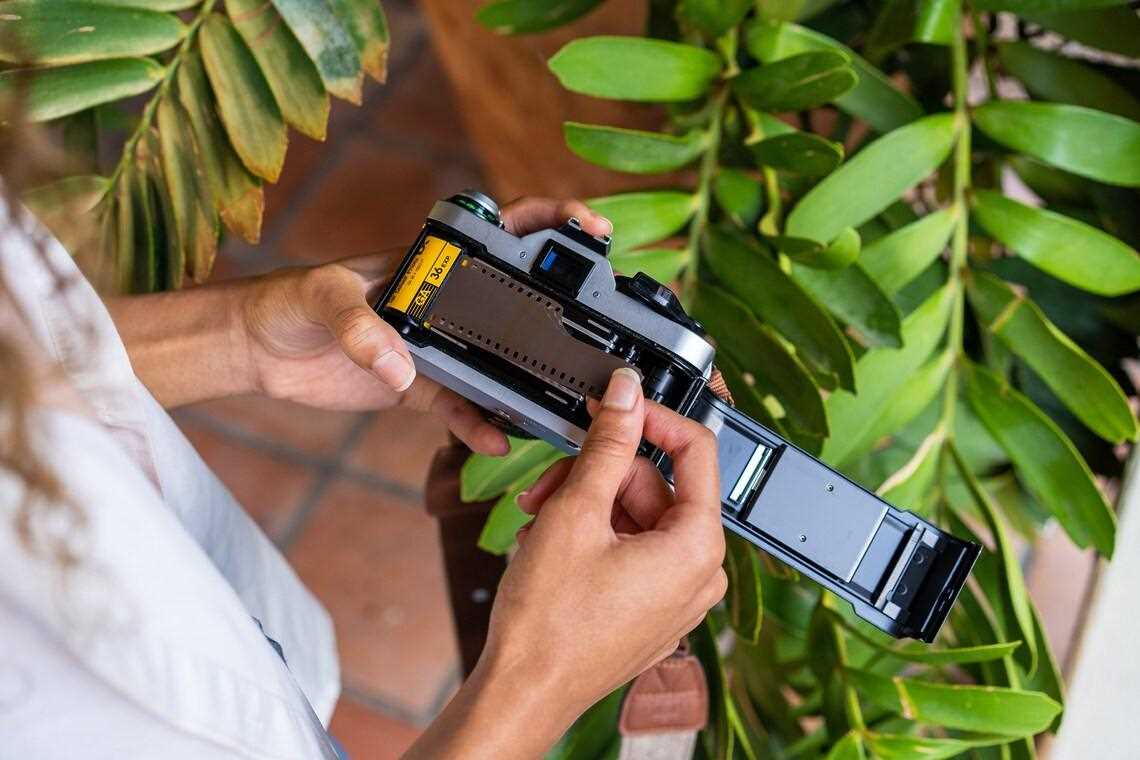
The light measurement system in a camera plays a crucial role in ensuring that images are correctly exposed. Proper calibration of this component is essential for achieving accurate readings, which directly influence the outcome of photographs. Adjusting the light meter allows for improved performance in various lighting conditions, leading to enhanced image quality.
Understanding the Basics
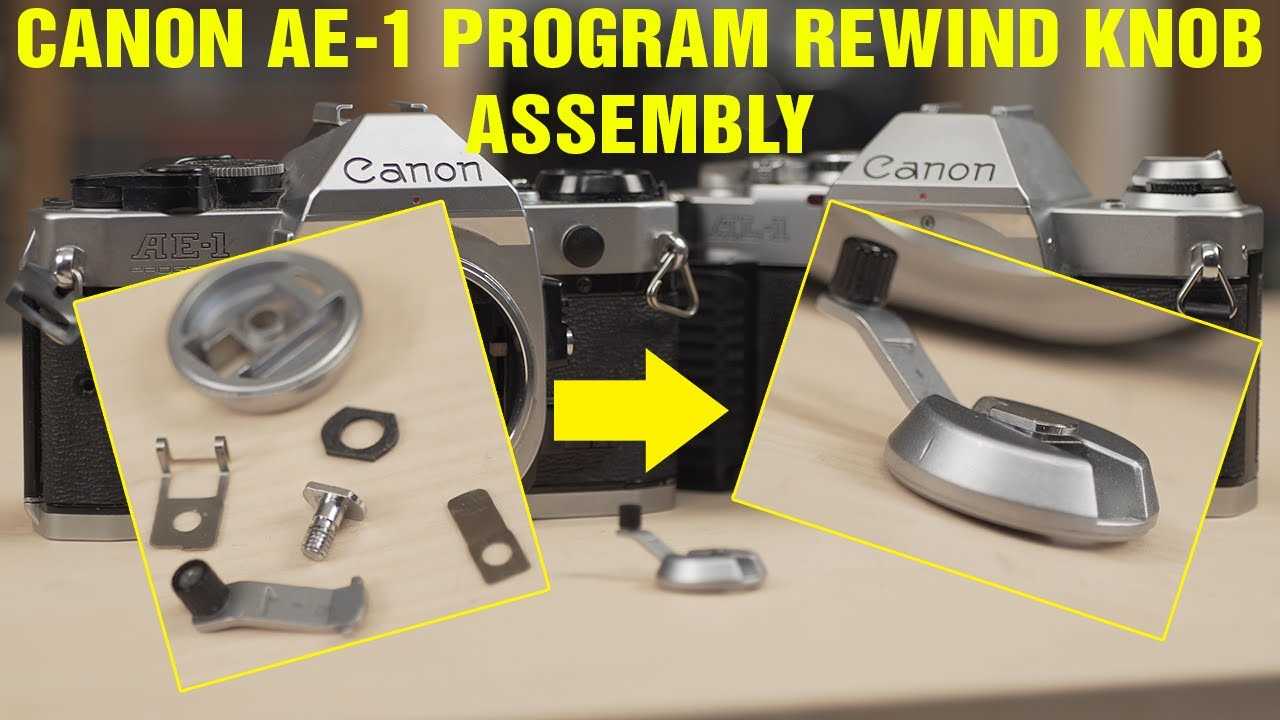
The light meter typically assesses the intensity of light and provides guidance on optimal exposure settings. To effectively adjust this function, one must understand how the meter interprets light and the relationship between aperture, shutter speed, and ISO sensitivity. It is vital to recognize the significance of these factors in achieving the desired exposure.
Steps for Adjustment
To begin the adjustment process, first ensure that the camera is set to a neutral setting. Then, use a reference light source with a known intensity to compare readings. If discrepancies are noted, calibration may involve tweaking internal components or resetting the meter. Regular checks can maintain accuracy and ensure consistent performance over time.
In conclusion, maintaining an accurate light measurement system is fundamental for photographers aiming to capture stunning images. By understanding the principles and following the necessary steps for adjustment, users can enhance their photographic experience.
Troubleshooting Film Loading Problems
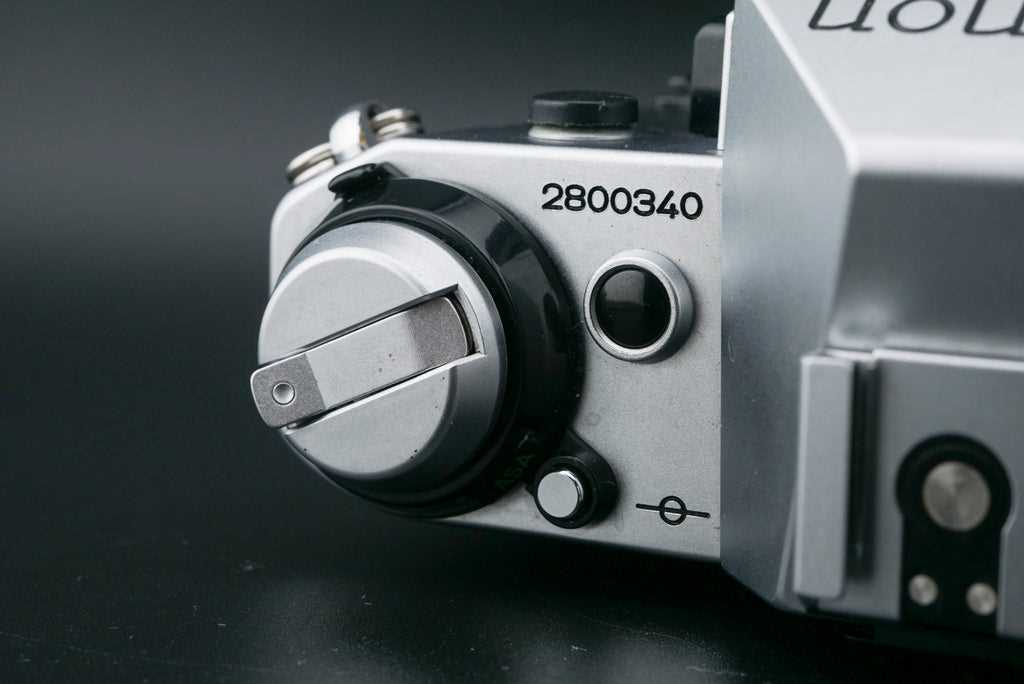
Loading film can sometimes be a challenging process, leading to frustration for users. Identifying the common issues and understanding their solutions can enhance the overall experience with your camera. This section will explore typical complications encountered during film loading and provide effective strategies to address them.
| Issue | Possible Cause | Solution |
|---|---|---|
| Film not advancing | Improper threading | Ensure the film is correctly threaded through the take-up spool and across the film gate. |
| Film jam | Obstruction in the film path | Carefully open the camera and check for any obstructions. Clear any debris and re-thread the film. |
| Counter not resetting | Mechanical issue | Manually reset the counter by rotating it back to the starting position. |
| Film not loading at all | Battery failure | Check and replace the battery to ensure the camera’s mechanisms are functioning properly. |
| Exposed film detected | Incorrect film placement | Remove the film and load it again, ensuring it is fully enclosed in the chamber. |
By addressing these common issues systematically, users can ensure smoother operation and enjoy their photography experience without unnecessary interruptions.
Restoring the Battery Compartment
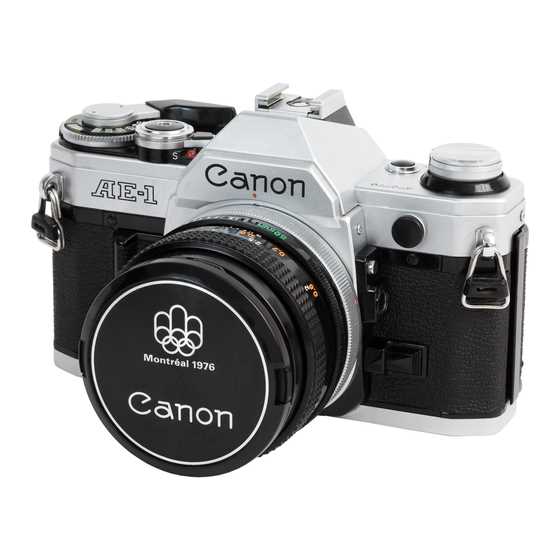
Ensuring that the power source is functioning optimally is crucial for the performance of any photographic device. A well-maintained battery compartment not only enhances reliability but also prolongs the lifespan of the equipment. This section focuses on methods to revitalize this essential area, making it suitable for continued use.
First Steps
Begin by carefully inspecting the compartment for any signs of corrosion or residue. The presence of buildup can lead to poor connectivity and power failures. Utilize a soft cloth or cotton swab lightly dampened with isopropyl alcohol to gently clean the terminals. This process removes unwanted materials while ensuring that the contacts remain intact.
Replacing Damaged Components
If you notice any damaged or corroded springs or connectors, consider replacing them. Sourcing compatible parts from reliable suppliers is essential. Proper installation of these components will restore functionality and enhance the overall performance of the device.
Testing and Verification
Once cleaning and repairs are complete, it is important to test the compartment with fresh batteries. Insert the new power sources and check for any signs of malfunction. Ensure that the device powers on smoothly and functions as expected. If issues persist, further inspection may be necessary to identify underlying problems.
Regular Maintenance
To prevent future issues, regular maintenance of the battery compartment is advisable. Periodic cleaning and inspection will help maintain optimal conditions, allowing for seamless operation and an extended lifespan for your photographic equipment.
Upgrading to Modern Accessories
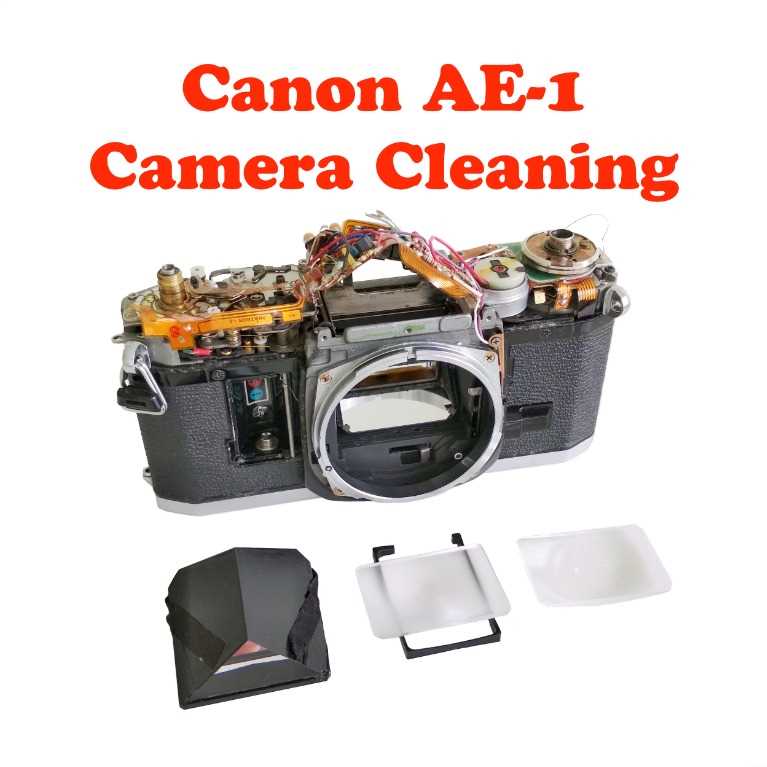
Enhancing your photographic experience often involves integrating contemporary tools that can elevate your craft. Embracing modern accessories can not only improve functionality but also expand creative possibilities, allowing for a more versatile approach to capturing images. This section explores various options that can seamlessly complement vintage equipment.
Electronic Flash Units
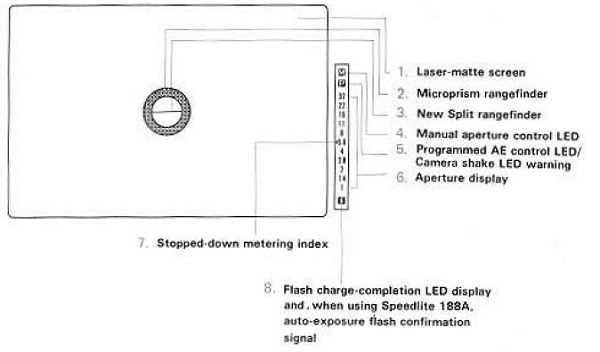
One significant upgrade involves the incorporation of electronic flash units. These devices provide consistent lighting, enabling you to achieve professional results even in challenging environments. When selecting a flash, consider options that offer TTL (Through The Lens) metering to simplify exposure settings. Many modern units are designed to be compatible with classic gear, enhancing versatility without sacrificing the charm of traditional photography.
Lenses and Adapters
Another crucial area for enhancement is the selection of lenses. Today’s market offers a plethora of choices, including high-performance optics that can significantly improve image quality. Utilizing adapters allows you to connect newer lens models to older bodies, broadening your creative range. This combination of classic and contemporary glass can result in unique visuals, merging the best of both worlds.
Maintaining Your Camera for Longevity
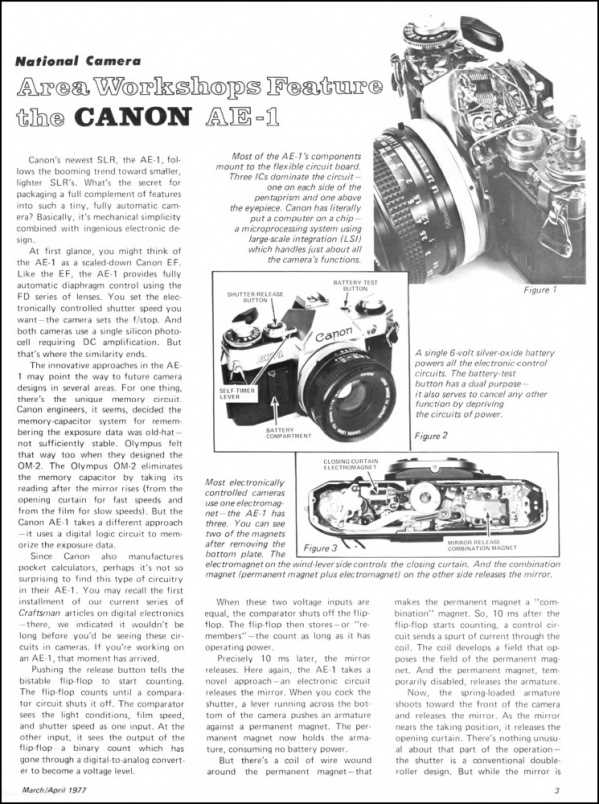
Proper upkeep of your photographic equipment is essential for ensuring its durability and consistent performance. Regular maintenance not only enhances the quality of your images but also extends the lifespan of your device. By adopting a few simple practices, you can keep your gear in optimal condition, ready to capture moments for years to come.
1. Clean Your Equipment Regularly
Dust, dirt, and fingerprints can accumulate on your device, affecting image quality and functionality. Use a soft microfiber cloth to wipe the exterior, and consider using a blower to remove particles from the lens and sensor area. Avoid using harsh chemicals that could damage the surfaces.
2. Store Properly
When not in use, store your equipment in a cool, dry place. Use a padded bag or case to protect it from physical damage. For added protection, consider using silica gel packets to absorb moisture and prevent corrosion.
3. Check for Firmware Updates
Keeping your device’s software updated is crucial for optimal performance. Manufacturers often release updates that fix bugs or enhance features. Regularly check the manufacturer’s website for any available updates to ensure your equipment runs smoothly.
4. Avoid Extreme Conditions
Exposure to extreme temperatures, humidity, or direct sunlight can adversely affect your gear. Try to avoid taking your equipment into harsh environments, and when necessary, use protective covers to shield it from the elements.
5. Inspect and Maintain Accessories
Don’t forget about your accessories, such as lenses, batteries, and memory cards. Regularly check for any signs of wear and replace them as needed. Proper care of these components will contribute to the overall longevity of your photographic setup.
By incorporating these maintenance tips into your routine, you can ensure your equipment remains reliable and ready to help you capture breathtaking images for many years.