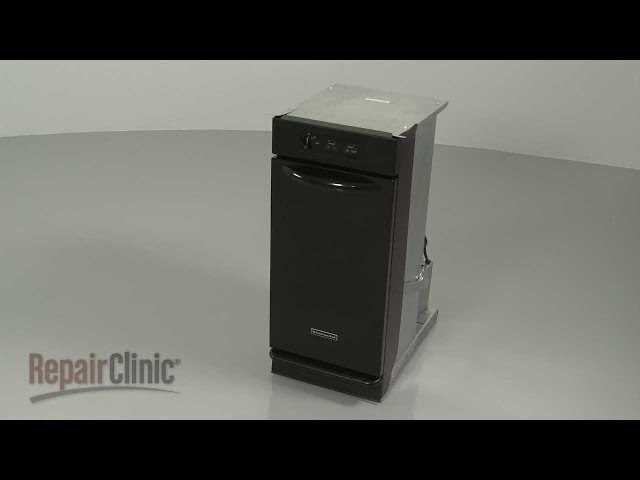
Maintaining the functionality of household appliances is crucial for keeping a well-organized and efficient living space. Over time, any equipment that handles daily wear and tear may experience occasional malfunctions or performance issues. Knowing how to properly address these problems can extend the lifespan of your device and save costs on replacements.
In this guide, we provide detailed instructions on how to identify common issues and offer step-by-step solutions to bring your appliance back to optimal performance. You’ll gain insights into essential tools, troubleshooting techniques, and best practices for safe handling and maintenance. Ensuring your equipment operates smoothly is easier than it might seem with the right knowledge and approach.
Essential Tools for Trash Compactor Repair
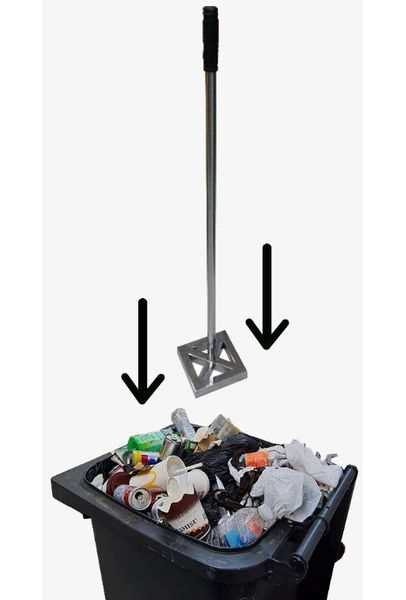
When tackling appliance maintenance, having the right equipment on hand can make all the difference. Whether you’re fixing a minor issue or dealing with more complex mechanical failures, a well-stocked toolkit ensures that you can handle various situations with confidence. Below is a breakdown of the most commonly needed tools to keep your kitchen machinery running smoothly.
Basic Hand Tools
A reliable set of hand tools forms the foundation of any maintenance job. Screwdrivers, pliers, and adjustable wrenches are indispensable for accessing tight spaces and handling small parts. A multimeter is also crucial for diagnosing electrical components and ensuring everything is functioning safely.
Specialized Equipment
For more specific tasks, a few specialized items will make the job easier. A sturdy set of nut drivers helps with quick disassembly, while a torque wrench ensures proper reassembly without damaging components. For electrical connections, wire strippers and electrical tape are necessary, ensuring safe handling of wires and preventing further issues during the reassembly process.
With these tools at your disposal, you’re well-prepared to handle common issues that may arise and ensure smooth operation for years to come.
How to Safely Disconnect a Compactor
Properly disengaging electrical appliances from power sources is essential to ensure personal safety and avoid damage to the unit. Following a few fundamental steps can help you confidently and securely disconnect your device without any risk.
Step 1: Power Off the Unit
Before handling any part of the system, ensure that the device is fully powered down. Locate the power button and switch it off, allowing a few moments for any internal processes to come to a complete stop.
Step 2: Unplug the Power Cord
Once the unit is powered down, find the power cable connected to the outlet. Firmly grasp the plug and pull it straight out without applying excessive force. Ensure that your hands are dry, and the outlet is in a safe, accessible location. Avoid pulling the cord itself, as this can cause internal damage to the wiring.
Following these steps ensures that your system is safely disconnected, reducing the risk of electrical accidents or equipment malfunction.
Diagnosing Common Compactor Malfunctions
When certain appliances begin to underperform, the key to restoring their functionality is identifying the underlying issue. Proper diagnosis is essential for addressing the root cause of problems and ensuring that necessary adjustments or replacements are made efficiently.
Mechanical Failures
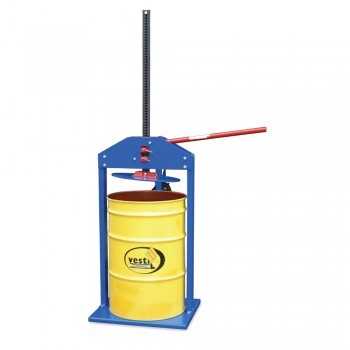
One of the most common causes of malfunctions is wear and tear on mechanical components. Issues can range from jammed mechanisms to broken gears, which often result in a failure to operate smoothly or completely. Early signs of such failures include unusual noises or decreased efficiency.
- Unresponsive mechanism: This can occur due to misaligned parts or worn-out components, which may need to be cleaned or replaced.
- Grinding or clicking noises: These sounds may indicate that the internal parts are experiencing friction, requiring lubrication or adjustment.
- Inconsistent operation: A mechanism that operates intermittently can point to faulty sensors or motor issues.
Electrical Problems
Electrical malfunctions often manifest in the form of power failures, short circuits, or inconsistent performance. Identifying these issues is crucial for ensuring the safe and reliable operation of the equipment.
- No power: This
Steps to Replace a Faulty Motor
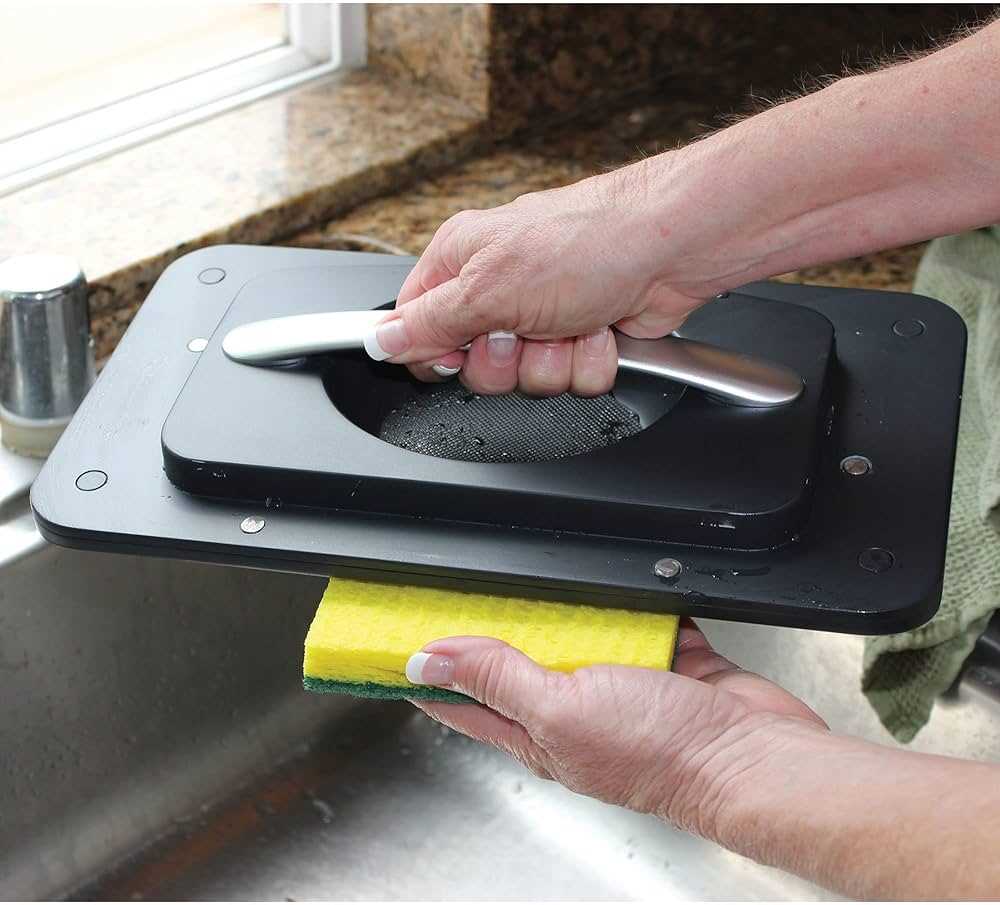
When a motor fails, it’s crucial to address the issue promptly by following the correct steps to ensure efficient operation. Replacing the motor requires attention to detail and proper handling of the equipment to avoid further complications.
1. Disconnect Power
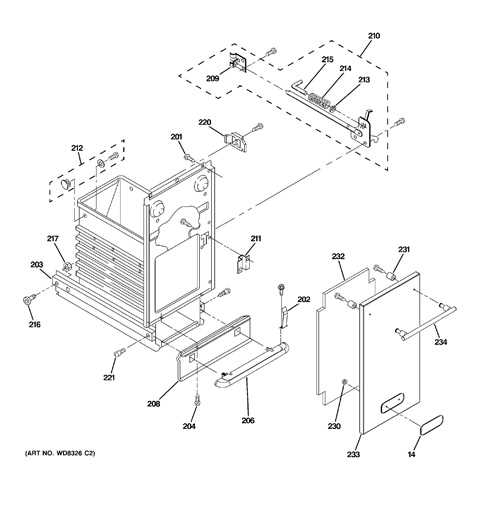
Before starting any work, make sure the unit is completely powered off. Unplug it from the power source or switch off the circuit breaker to prevent accidental activation. Safety is the top priority.
2. Remove the Access Panel
Locate and unscrew the panel that covers the motor compartment. This typically involves using a screwdriver or a similar tool. Carefully set the screws aside for reassembly later.
Once the panel is removed, you will have clear access to the motor. Identify the electrical connections and take note of their arrangement for reinstallation. You may want to take a photo or label wires to ensure accuracy.
Now, detach the motor by loosening any bolts or clips securing it in place. Gently pull the motor out, making sure not to damage any surrounding components. If there is a belt attached to the motor, remove it carefully as well.
3. Install the New Motor
Position the replacement motor in the same spot where the old one was located. Secure it using the same bolts or clips you removed earlier. Reattach any belts, ensuring they are properly aligned and tensioned.
Reconnect the electrical wires exactly as they were before. Double-check all connections for stability and accuracy to avoid any issues during operation.
Finally, replace the access panel and fasten it securely with the screws. Ensure everything is tightly closed
Understanding the Compactor’s Wiring System
The electrical system is a crucial component that ensures the smooth and efficient operation of any compacting machine. By understanding its wiring layout, users can not only identify potential issues but also improve their overall knowledge of the system’s functionality. This section will provide an overview of the basic wiring principles and components involved in the operation of such equipment.
Key Components of the Electrical Layout
Within the wiring system, several key elements work together to ensure seamless functionality. These include power sources, control switches, safety mechanisms, and motor connections. Each of these parts plays a vital role in regulating the flow of electricity and ensuring that all functions are properly synchronized.
How Power Flows Through the System
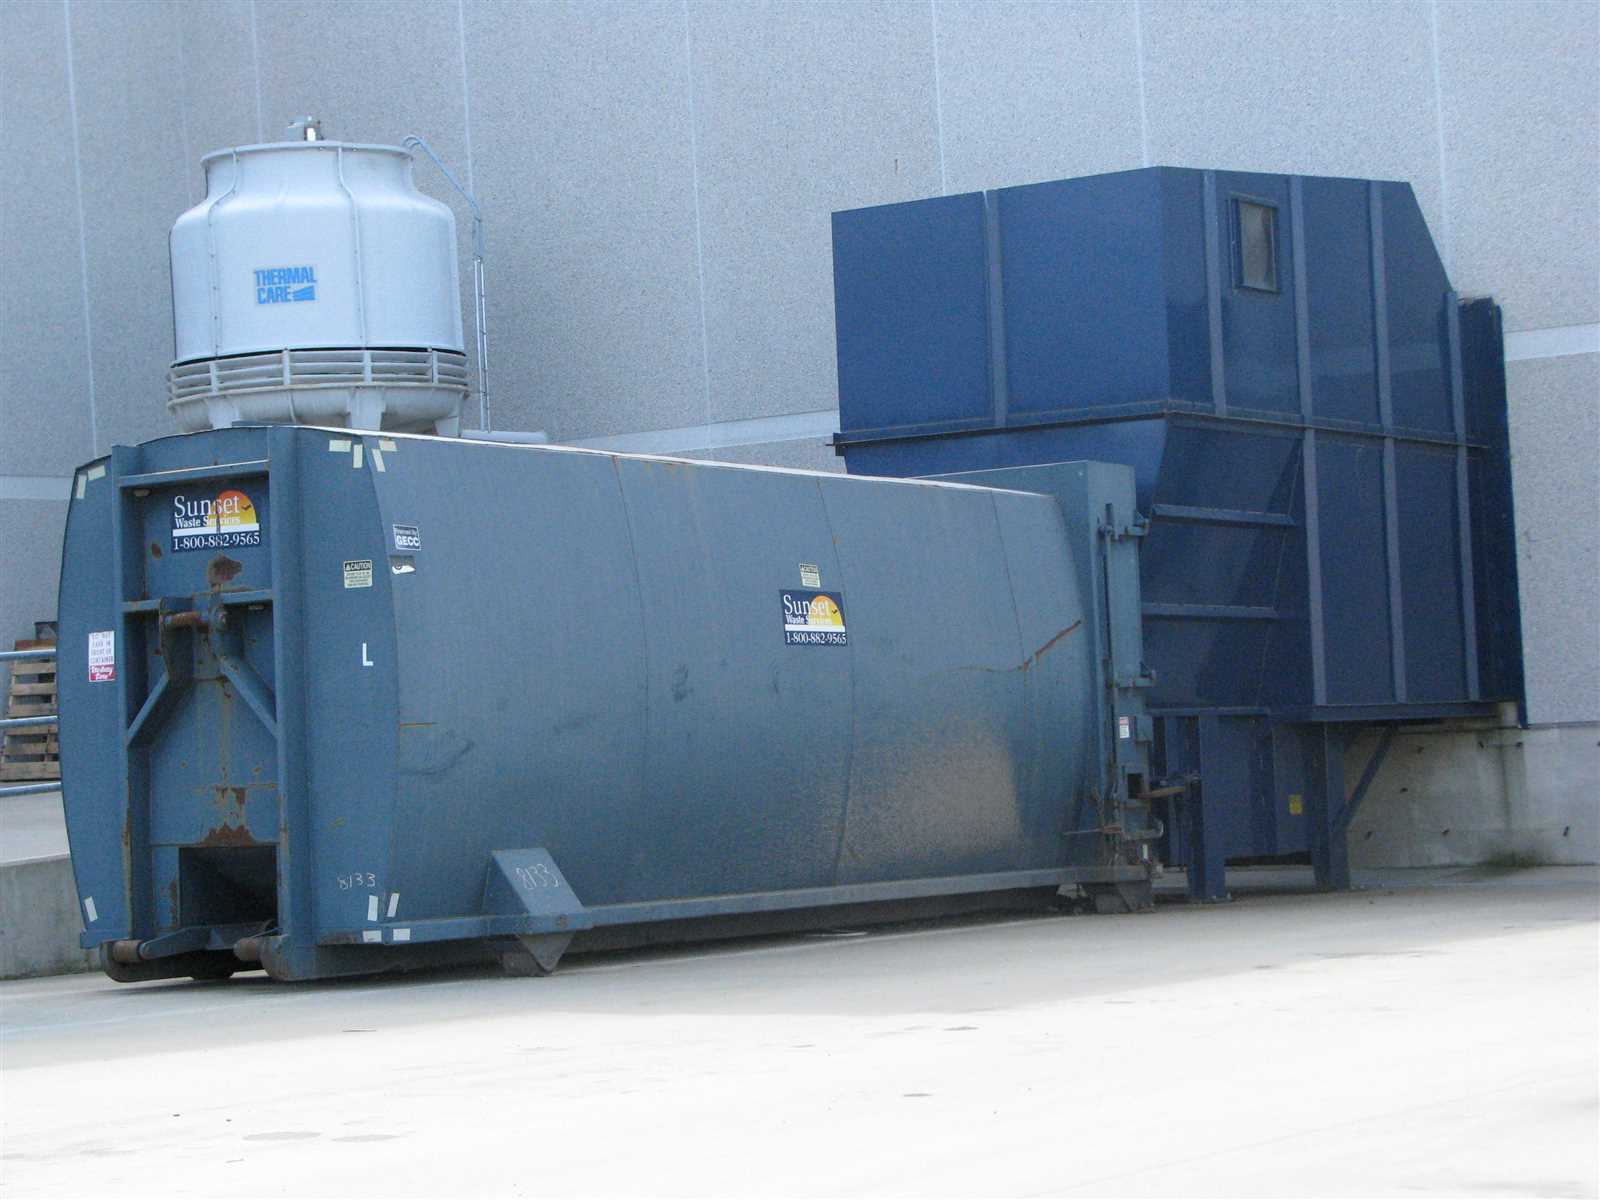
The wiring layout is designed to route power efficiently from the source to various functional components. Safety circuits are incorporated to prevent electrical overload, while control relays manage the activation and deactivation of the system. Understanding how these connections work helps in maintaining a well-functioning machine.
Fixing a Jammed Compactor Drawer
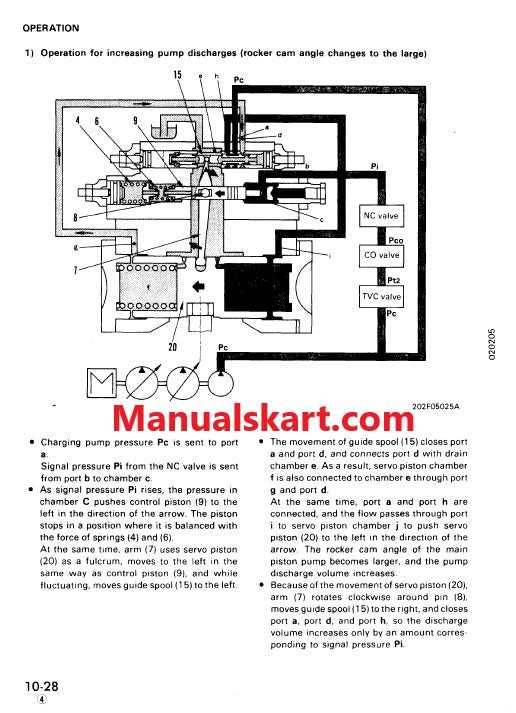
A stuck drawer can be frustrating, but with the right approach, it’s possible to resolve the issue without extensive tools or experience. The challenge often comes from misalignment, debris, or worn-out components, all of which can be addressed systematically to restore smooth functionality.
Assessing the Cause
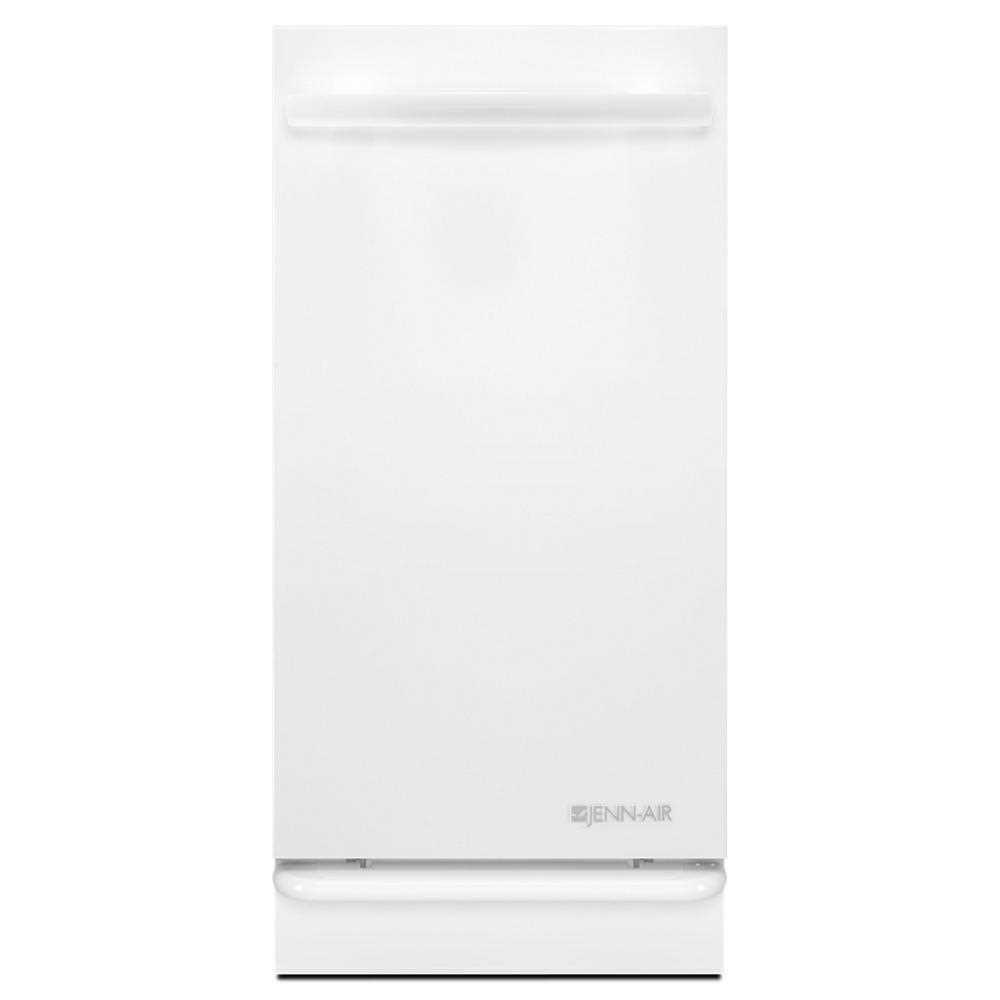
Begin by determining whether the obstruction is caused by something simple, such as foreign objects caught in the tracks or beneath the unit. Gently check the alignment, as drawers may shift slightly, preventing easy movement. If the mechanism feels stiff or irregular, this could indicate deeper issues within the sliding system.
Step-by-Step Solution
Start by disconnecting the power source to ensure safety. Once disconnected, carefully remove any visible debris or blockages. Inspect the rollers and rails for signs of damage or buildup. Applying lubricant to the moving parts may help restore smooth operation. If the problem persists, it may be necessary to realign or replace worn components, such as the drawer glides or rollers.
Troubleshooting a Compactor That Won’t Start
When your appliance refuses to start, several potential issues could be preventing normal operation. By following a logical troubleshooting approach, you can identify the root of the problem and determine the necessary steps to restore functionality.
- Check the power source: Ensure the unit is properly plugged in and that the outlet is functional. Verify that the circuit breaker has not been tripped.
- Inspect the door switch: If the door or lid isn’t securely closed, the unit may not start. Test the switch for continuity to confirm it’s working correctly.
- Examine the start button: A faulty start button can prevent activation. Ensure the button is not stuck or malfunctioning.
- Look at the motor: If the motor overheats or fails, it could stop the unit from turning on. Check for any signs of damage or overheating.
- Control panel issues: If the controls are unresponsive or showing error codes, it could point to a malfunction within the control system, which may require further diagnostics.
Addressing these common causes can often resolve startup issues and get your unit back to normal operation. If the problem persists, consider consulting a professional for further assistance.
Repairing the Compactor’s Ram Mechanism
The ram mechanism plays a critical role in ensuring the efficient functioning of the unit, making it essential to address any issues that may arise. Understanding how to inspect and fix the core components of the system will help restore its full capability and prevent further malfunctions.
Identifying Common Ram Issues
When the ram fails to operate smoothly or becomes stuck, the first step is to examine potential causes. These could range from mechanical obstructions to worn-out parts, such as gears or drive belts. Thoroughly inspecting these elements helps in diagnosing the root of the problem and determining the necessary solution.
Steps for Restoring the Ram Mechanism
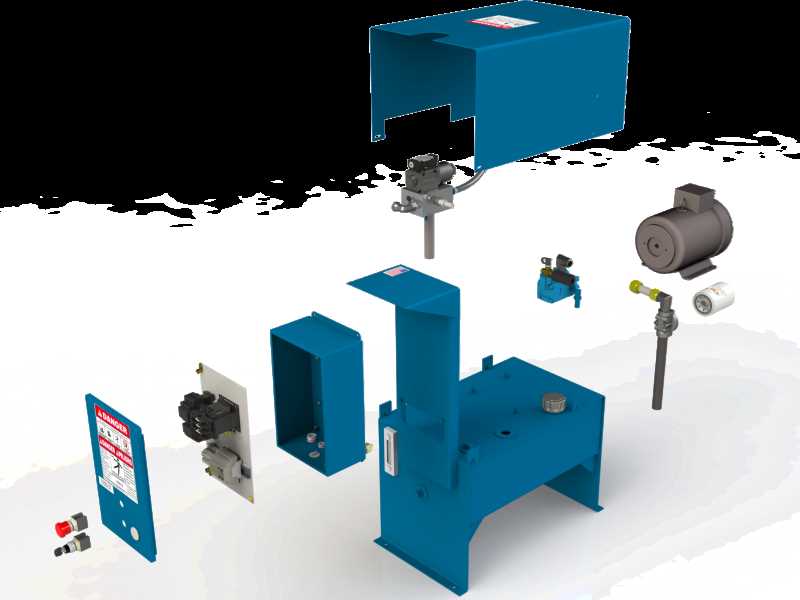
Once the issue has been identified, the next step involves disassembling the unit to access the faulty components. Whether it’s replacing damaged parts or lubricating moving sections, following a step-by-step approach ensures that the mechanism can return to its proper functioning state.
Symptom Potential Cause Solution Ram stuck in position Mechanical blockage Clear debris and obstructions Slow or uneven movement Worn drive belts Replace belts Grinding noise Damaged gears Replace gears Replacing Worn Out Drive Belts
Over time, the drive belts in your appliance may become worn and lose their effectiveness, leading to decreased performance. Replacing these components is essential for restoring optimal functionality and ensuring that the unit operates smoothly. In this section, we will guide you through the process of identifying signs of wear and the steps needed to replace the belts efficiently.
Identifying Worn Belts
Common indicators of worn-out drive belts include unusual noises during operation, a decrease in power, or even complete failure of the unit to function. Inspect the belts for cracks, fraying, or significant wear. If any of these signs are present, it’s time to replace the belts to prevent further damage to the appliance.
Steps for Replacement
Begin by disconnecting the power supply to the appliance for safety. Next, remove any covers or panels to access the drive belts. Carefully take note of the belt routing to ensure proper installation of the new belts. Remove the old belts and replace them with the new ones, making sure they are securely fitted in their designated grooves. Finally, reassemble any covers and reconnect the power supply to test the appliance’s functionality.
Regular maintenance and timely replacement of worn components will enhance the longevity and performance of your unit.
Maintaining the Compactor’s Hydraulic Components
Proper upkeep of hydraulic systems is essential for ensuring optimal performance and longevity. Regular attention to these components can prevent costly breakdowns and enhance efficiency. Understanding the key aspects of maintenance will help in achieving smoother operation and prolonging the lifespan of the equipment.
Regular Inspection
Conducting frequent inspections is vital for identifying potential issues before they escalate. Look for signs of leaks, corrosion, or wear on hoses and fittings. Additionally, ensure that hydraulic fluid levels are adequate and that the fluid is clean. Replacing dirty fluid is crucial for maintaining the system’s effectiveness.
Cleaning and Lubrication
Keeping hydraulic components clean is imperative for optimal function. Remove any debris that may accumulate around the system. Applying appropriate lubricants to moving parts will reduce friction and prevent premature wear. Using the correct lubricant as specified by the manufacturer is essential to avoid complications.
Identifying Electrical Issues in Compactors
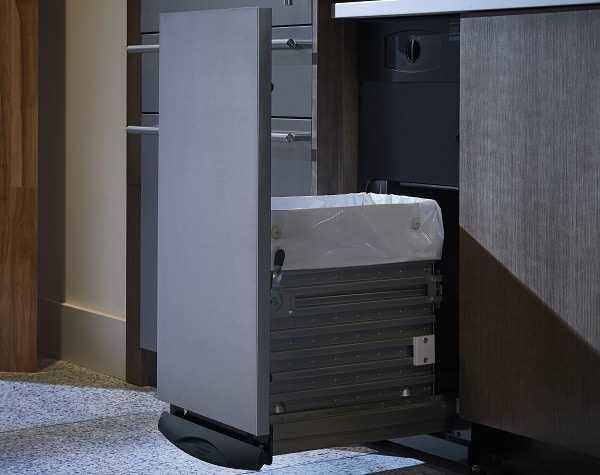
Understanding the electrical components of your waste compacting system is crucial for maintaining optimal performance. Electrical malfunctions can lead to inefficiencies, inconsistent operation, or complete failure. By recognizing common symptoms, you can troubleshoot effectively and determine when professional assistance is necessary.
Common Symptoms of Electrical Problems
- Unit does not power on.
- Intermittent operation or unexpected shutdowns.
- Unusual noises during operation.
- Burning smells or visible signs of damage.
- Inconsistent or erratic behavior when activated.
Troubleshooting Steps
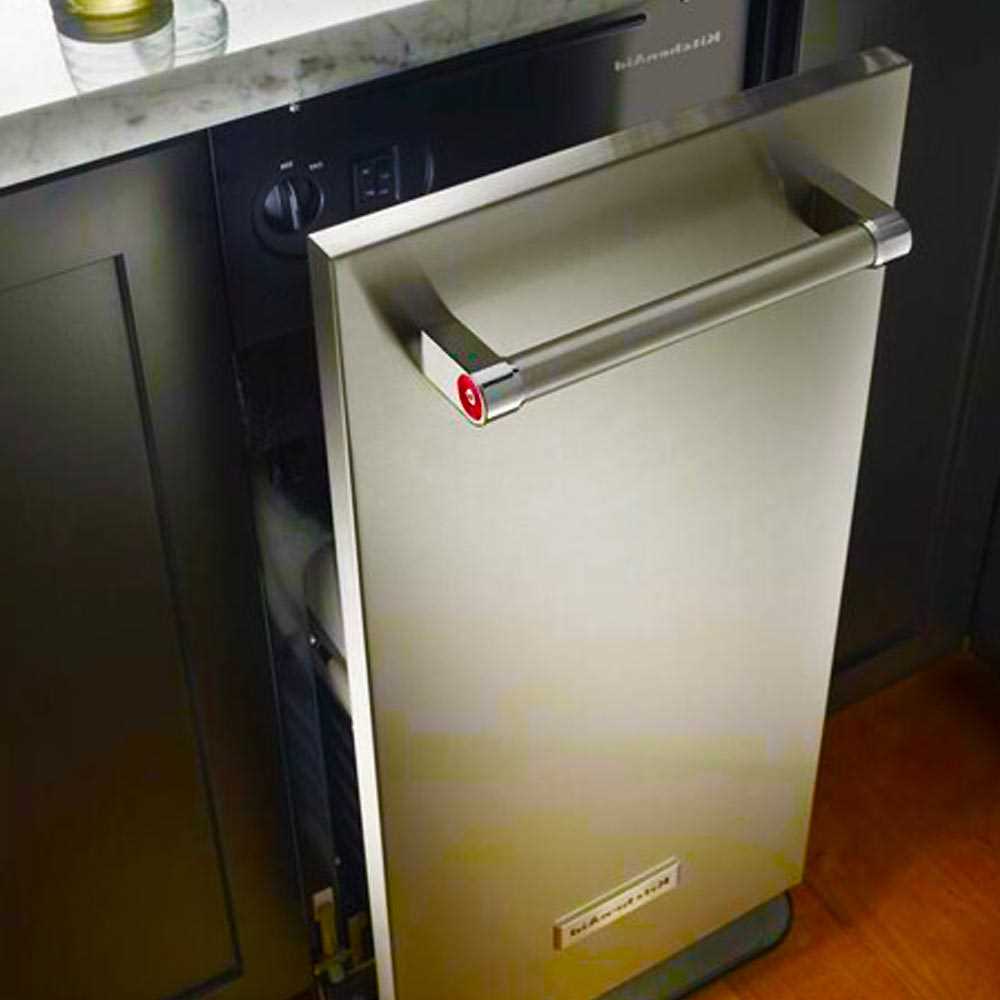
- Check Power Supply: Ensure the unit is plugged in and that the outlet is functioning. Test with another device if necessary.
- Inspect Wiring: Look for frayed or damaged wires that may cause shorts or disconnections.
- Examine Fuses and Breakers: Verify that the circuit breakers are not tripped and replace any blown fuses.
- Test Control Panel: Ensure all buttons and controls respond appropriately and check for any error codes displayed.
- Consult the User Guide: Refer to the manufacturer’s documentation for specific troubleshooting procedures and safety information.
Proper Lubrication for Compactor Longevity
Ensuring the durability of your waste management system requires regular attention to lubrication. Adequate application of suitable oils and greases can significantly enhance the performance and lifespan of moving components. By minimizing friction and wear, proper maintenance can prevent costly breakdowns and extend operational efficiency.
Selecting the right type of lubricant is crucial. Each part may require a specific formulation to function optimally. For instance, heavy-duty greases are ideal for gears and bearings, while lighter oils can be used for pivot points. Regularly checking and applying these substances will help maintain smooth operation.
Frequency of lubrication should align with the manufacturer’s recommendations, typically outlined in guidelines. It is advisable to inspect components periodically for signs of wear and to replenish lubricants as needed. A proactive approach will not only ensure consistent performance but also protect against potential malfunctions, fostering a reliable waste management system.