Ensuring the smooth operation of household appliances is essential for daily convenience. Over time, various issues can arise, ranging from minor glitches to more significant functional disruptions. This guide provides detailed insights to help you address common concerns, ensuring the longevity of your equipment.
From simple adjustments to more in-depth maintenance tasks, understanding how to handle technical difficulties can save both time and effort. This resource offers step-by-step instructions, tips, and practical advice for addressing different scenarios. By following these guidelines, you can restore optimal performance and enhance the reliability of your device.
Whether you’re dealing with persistent issues or occasional malfunctions, having a reliable source of information can make all the difference. Our goal is to equip you with the knowledge needed to navigate and resolve any challenges that may arise, so you can enjoy seamless operation once more.
Troubleshooting Common Washer Issues
Understanding how to address frequent problems with washing machines can help maintain their efficiency and longevity. Below are some typical issues users might face, along with straightforward solutions to keep the appliance running smoothly.
Noisy Operation
Unusual sounds during the washing cycle can indicate various underlying problems. Identifying the source of the noise is crucial for proper resolution.
- Loose Parts: Inspect for loose screws or components that might cause rattling.
- Imbalanced Load: Distribute clothes evenly to prevent banging or thumping sounds.
- Worn Bearings: Persistent grinding noises may point to worn-out bearings that need replacement.
Water Drainage Problems

Water not draining properly is a common issue that may arise, often disrupting the washing process. Addressing it promptly can prevent further complications.
- Check the Drain Hose: Ensure there are no kinks or blockages in the hose, which can obstruct water flow.
- Clean the Pump Filter: A clogged filter may restrict drainage; regular cleaning can prevent this.
- Inspect the Drain Pump: Listen for unusual sounds from the pump, which might indicate a malfunction.
Replacing Damaged Washer Components
Over time, certain parts of a washing machine may wear out or become damaged, affecting its overall performance. It is essential to replace these faulty components promptly to maintain the efficiency and functionality of the appliance.
When starting the replacement process, always make sure to disconnect the power supply and water connections. This will prevent any accidents during the work. Below are steps and tips for replacing some of the most commonly affected parts.
- Water Pump: If your machine is not draining properly, the water pump might need to be replaced. Start by removing the back panel to access the pump. Disconnect the hoses, unscrew the old pump, and install the new one securely.
- Drive Belt: A broken or worn drive belt can cause issues with spinning. To replace it, remove the rear panel and locate the belt around the motor and drum pulleys. Slide off the old belt and position the new one in place, ensuring it is properly aligned.
- Door Seal: A damaged door seal can lead to leaks. Remove the front panel and gently pull off the old seal. Align the new seal around the door frame and secure it using the retaining clips or screws.
Replacing these parts not only extends the lifespan of the machine but also improves its performance. Always use compatible parts and follow manufacturer guidelines for a seamless replacement process.
Diagnosing Electrical Problems in the Machine
Understanding how to identify electrical issues within the device is crucial for maintaining its functionality. When the equipment displays signs of malfunction, such as inconsistent performance or failure to start, it is essential to carefully investigate potential power-related causes. Addressing these problems effectively can prevent further complications and ensure the machine operates smoothly.
Begin by examining the power supply. Verify that the unit is properly connected to a functional power outlet, and check for any damage to the cord or plug. If there are visible signs of wear, consider replacing the damaged parts. Next, inspect the circuit breakers and fuses, as tripped breakers or blown fuses can often interrupt the device’s operation. Resetting or replacing them might restore normal function.
Internal components, like switches, sensors, and wiring, should also be reviewed. Faulty connections or damaged wires can lead to disruptions in electrical flow, causing the device to act unpredictably. Using a multimeter can help to detect issues by testing the continuity of various parts. Identifying which section has an electrical fault can simplify repairs and reduce downtime.
Proper Maintenance for Extended Lifespan
Ensuring the longevity of your appliance requires consistent care and attention. By following a few essential upkeep practices, you can enhance its performance and avoid frequent disruptions. Regular check-ups and simple cleaning routines can significantly contribute to a smoother operation and an extended service period.
Routine Cleaning and Inspection
One of the fundamental steps in maintaining your unit is regular cleaning. Make sure to wipe down the exterior and keep the interior free from debris. Check essential components periodically for any signs of wear or blockage. Addressing these small issues early prevents them from developing into major problems.
Ensuring Efficient Operation
For optimal performance, it is crucial to avoid overloading. Follow the recommended guidelines on capacity to reduce strain on internal parts. Additionally, using the appropriate settings for each task ensures that the appliance operates efficiently, minimizing unnecessary wear.
Tip: Always use compatible products for maintenance to safeguard the internal mechanisms and preserve peak functionality.
Step-by-Step Motor Replacement Guide
Replacing the motor of your appliance can seem daunting, but with the right instructions, the task becomes manageable. This section will walk you through the process, providing a clear and structured approach to ensure a smooth and successful replacement.
Before starting, make sure to disconnect the power source and gather the necessary tools. Safety is paramount, so take appropriate precautions to avoid any accidents during the procedure.
1. Access the Interior: Begin by removing the back panel or any protective casing that covers the internal components. This will expose the main parts, including the motor, and allow you to proceed with the replacement.
2. Detach the Old Motor: Carefully disconnect all wires connected to the motor. Note the arrangement of these connections, as you will need to reconnect them to the new motor in the same manner. Next, unscrew the mounting bolts or any other fixtures holding the motor in place. Gently pull out the old motor.
3. Install the New Motor: Position the new motor in the exact spot where the old one was located. Secure it by tightening the bolts and ensuring that it is properly aligned. Reattach all the wires, following the arrangement you noted earlier. Double-check that everything is securely connected.
4. Reassemble the Appliance: Once the new motor is in place, put back the protective panel or casing. Make sure all screws are tightened, and nothing is left loose.
5. Test
Understanding Washer Error Codes
Washing machines are equipped with diagnostic systems that communicate issues through specific codes. These codes serve as a language, enabling users to identify and understand potential problems with their appliances. By interpreting these signals, individuals can take appropriate steps to troubleshoot and resolve issues effectively.
Common Error Codes and Their Meanings
Error codes vary across different models and brands, but many share similar meanings. For instance, a code indicating an unbalanced load often suggests that the garments inside the drum are unevenly distributed. This can lead to excessive vibrations and noise during the spin cycle. On the other hand, a code associated with a drainage issue may indicate a clogged filter or a malfunctioning pump. Understanding these common codes allows users to address minor concerns before they escalate into major repairs.
Steps to Diagnose Issues
When encountering an error code, it’s essential to consult the documentation that comes with the appliance. This guide typically includes a list of codes along with their descriptions and suggested solutions. Additionally, users should check for simple fixes, such as ensuring the door is securely closed or that the water supply is turned on. By following these steps, users can often resolve problems quickly and maintain the efficiency of their washing machine.
Cleaning and Preventing Mold Buildup
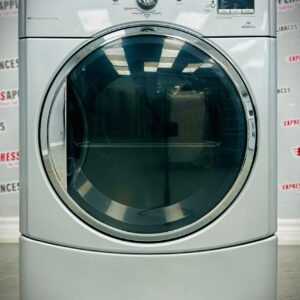
Maintaining a fresh and hygienic environment in household appliances is essential for their optimal performance. One common issue is the accumulation of mold, which can thrive in damp and warm conditions. Regular cleaning and proper maintenance practices can effectively reduce the risk of mold growth and ensure that your equipment operates efficiently.
Regular Cleaning Practices
To minimize the chances of mold formation, it is vital to clean the appliance regularly. Start by removing any debris or residues that might have accumulated. Use a mixture of water and a mild detergent to wipe down surfaces, ensuring that all areas, especially seals and gaskets, are thoroughly addressed. After cleaning, leave the door or lid open for a while to allow air circulation, helping to dry out any moisture that may have lingered.
Humidity Control and Environment

Controlling humidity levels is another effective strategy in mold prevention. Consider using a dehumidifier in spaces where the appliance is located to reduce excess moisture in the air. Additionally, make sure the surrounding area is well-ventilated to discourage mold spores from settling. By maintaining a dry and airy environment, you can significantly decrease the likelihood of mold and maintain the cleanliness of your appliance.
Adjusting Spin Cycle Efficiency
Optimizing the spin cycle performance of your washing appliance can significantly enhance its efficiency, leading to drier clothes and reduced drying time. This process involves a few straightforward adjustments that can ensure your device operates at its best.
Key Adjustments to Consider
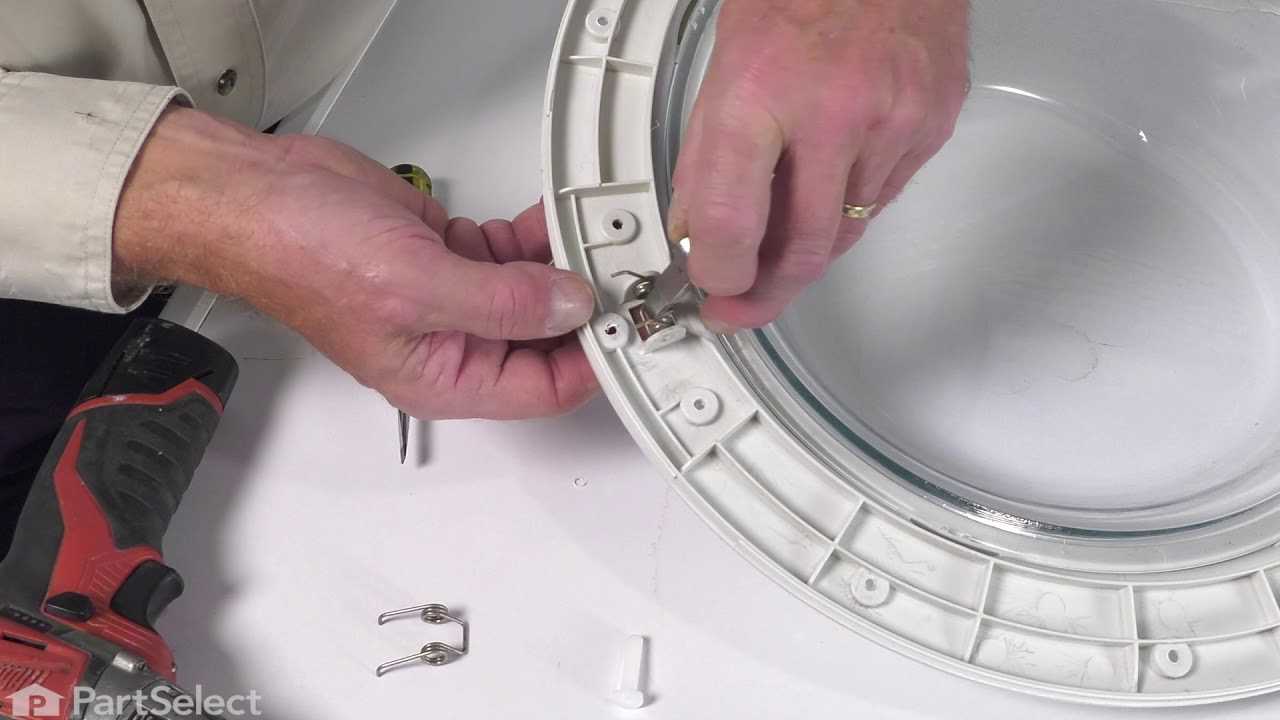
- Load Balancing: Ensure that the laundry is evenly distributed within the drum. An imbalanced load can cause excessive vibrations and reduce the effectiveness of the spin cycle.
- Spin Speed Settings: Select an appropriate spin speed based on the fabric type. Higher speeds are ideal for sturdier materials, while delicate items require gentler spins.
- Maintenance Checks: Regularly inspect and clean the drain pump filter and hoses to prevent clogs that could hinder performance.
Benefits of Efficient Spin Cycles
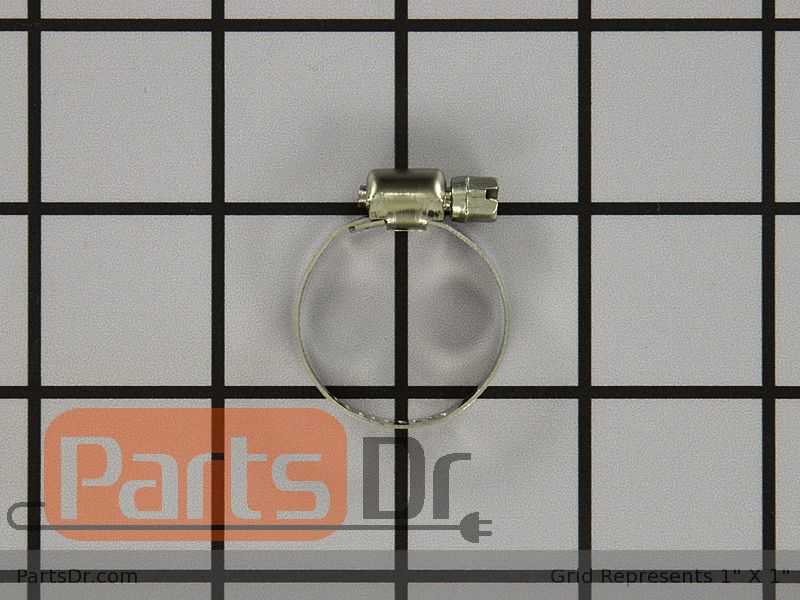
- Improved drying times, leading to energy savings.
- Enhanced garment care, minimizing wear and tear.
- Less water retention in fabrics, resulting in fresher laundry.
Tools Required for Washer Repairs
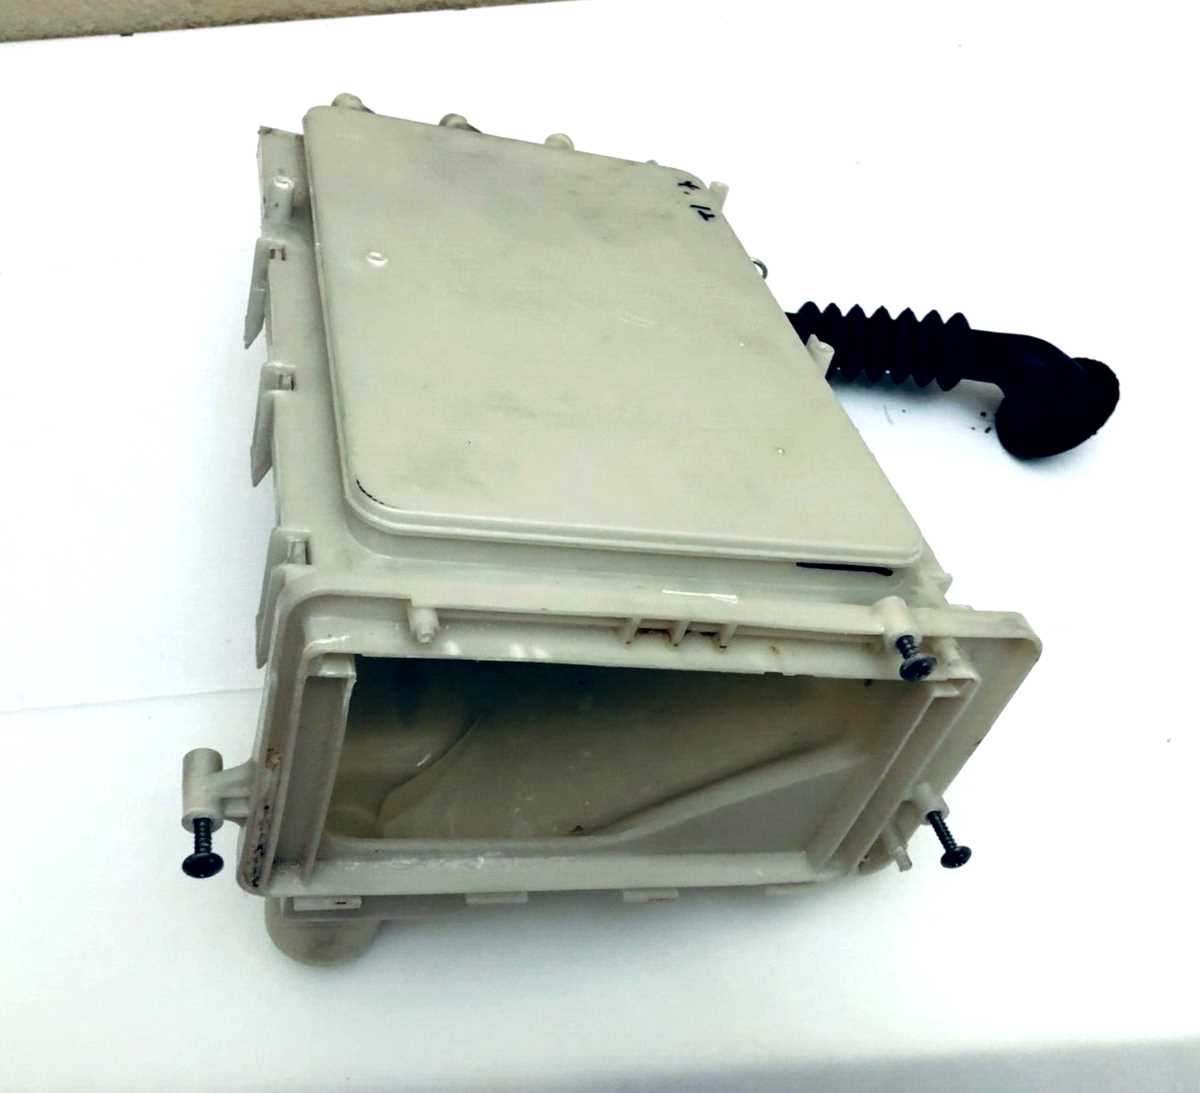
When tackling issues with a washing machine, having the right equipment is essential for effective troubleshooting and resolution. A well-equipped toolkit not only facilitates the process but also ensures safety and efficiency.
Basic Hand Tools: Fundamental items such as screwdrivers, wrenches, and pliers are crucial for accessing various components of the appliance. These tools allow you to remove panels, tighten connections, and perform adjustments with ease.
Specialty Tools: Certain tasks may require specific instruments like multimeters for electrical diagnostics or a hose clamp tool for securing hoses. Having these specialized tools can greatly enhance your ability to address particular problems.
Safety Gear: Always prioritize safety by using protective eyewear and gloves. This equipment helps prevent injuries while working on the machine and ensures a secure working environment.
Cleaning Supplies: Maintaining cleanliness is vital during repairs. Keep a set of cloths and cleaning solutions handy to remove dirt and debris from parts, allowing for better visibility and functionality.
In summary, possessing a well-rounded collection of tools not only simplifies the process of addressing issues but also contributes to a more efficient and safe working environment. Being prepared is key to successfully managing any challenges that may arise.
Water Leakage Solutions and Fixes
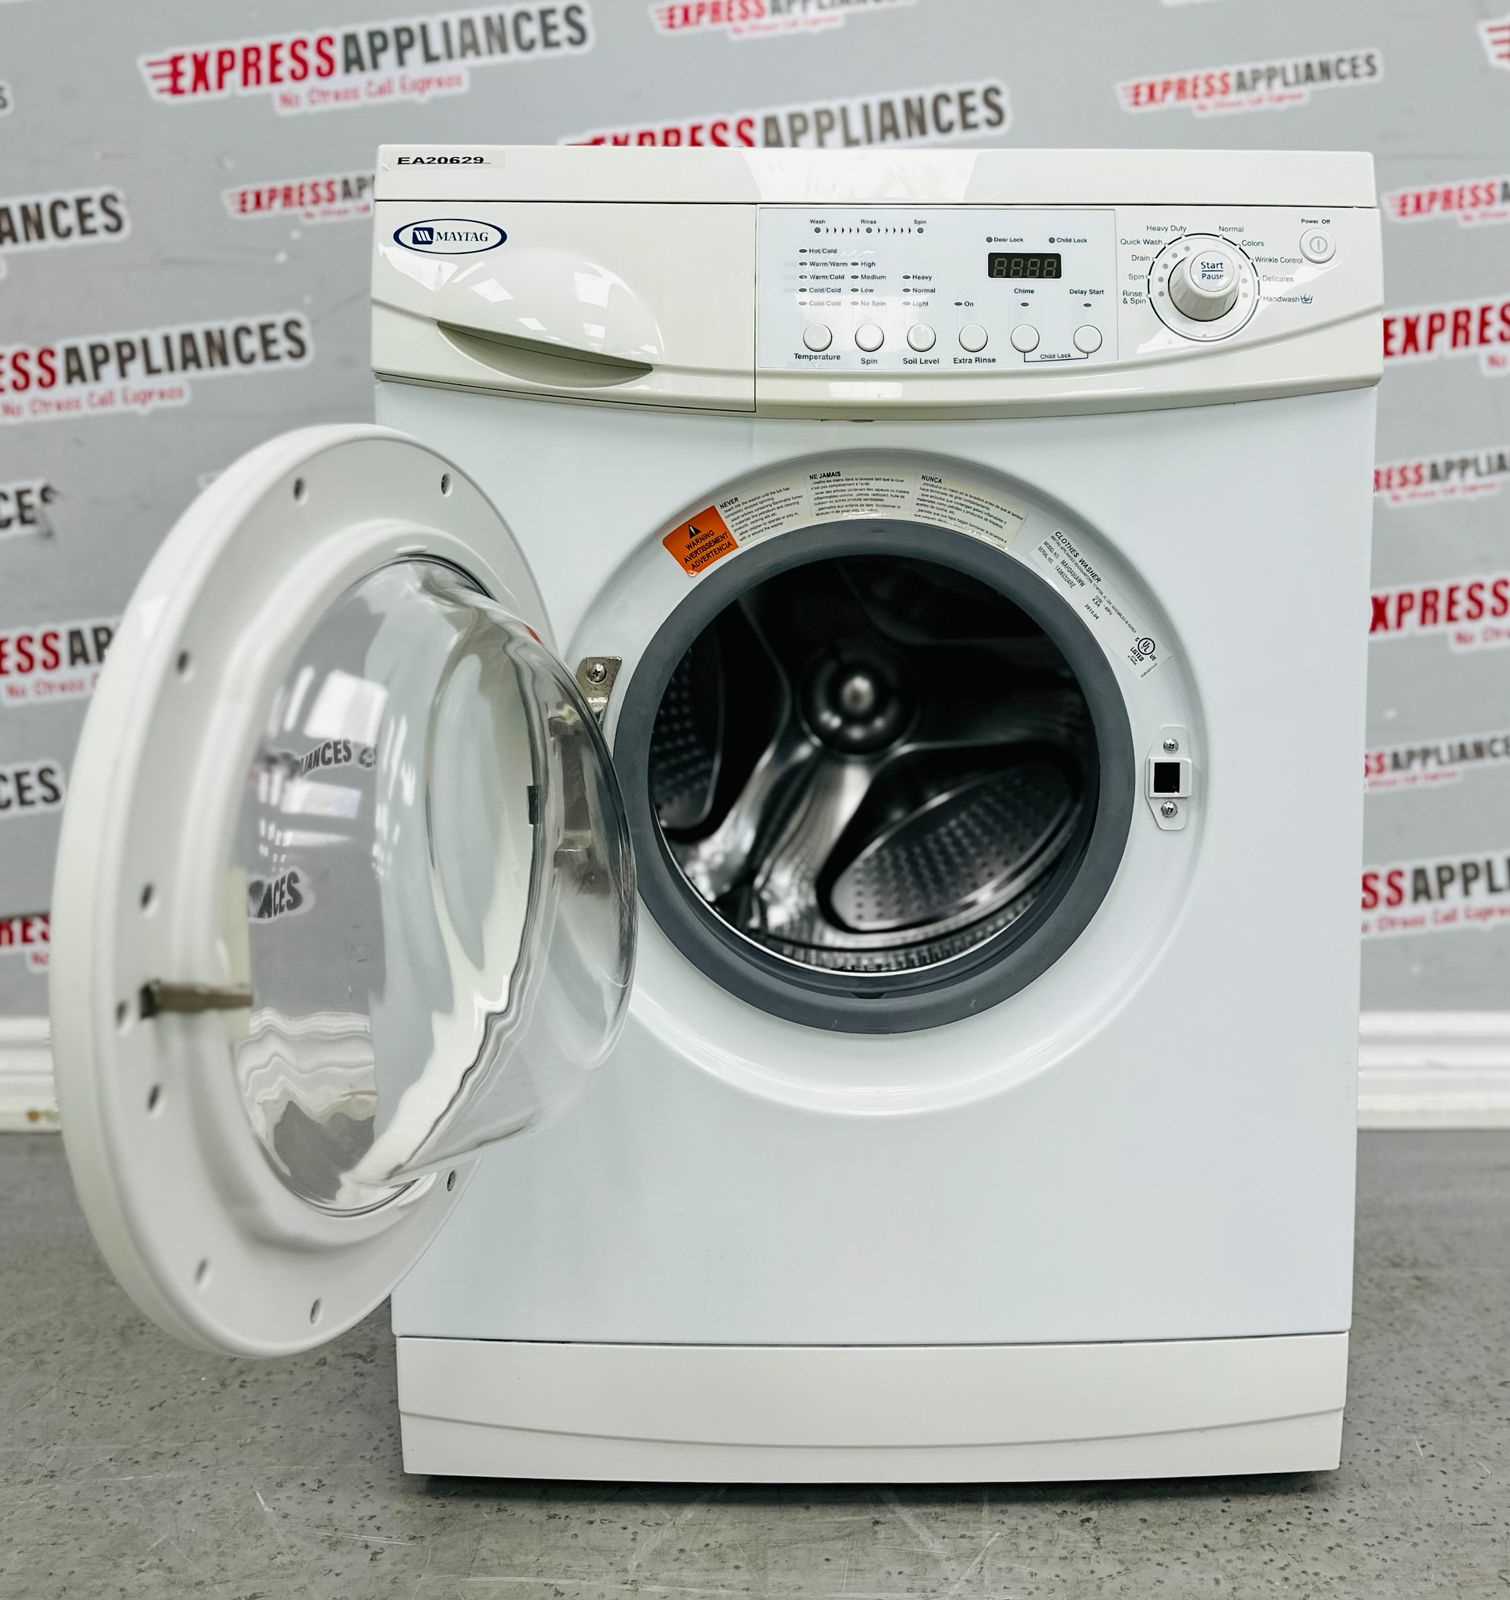
Addressing water leakage issues is crucial for maintaining the longevity and efficiency of your appliances. Identifying the source of the problem is the first step toward implementing effective remedies. Various factors can contribute to leaks, including worn seals, blocked hoses, or improper installation. Understanding these aspects will help you troubleshoot and resolve the situation effectively.
Identifying the Source of Leaks
Before applying any fixes, it is essential to locate where the water is coming from. Common areas to inspect include the door seals, hose connections, and drain systems. Look for signs of wear or damage, such as cracks or breaks, that could be causing the leakage. If any components appear faulty, they may need replacement to prevent further issues.
Effective Fixes for Water Leakage
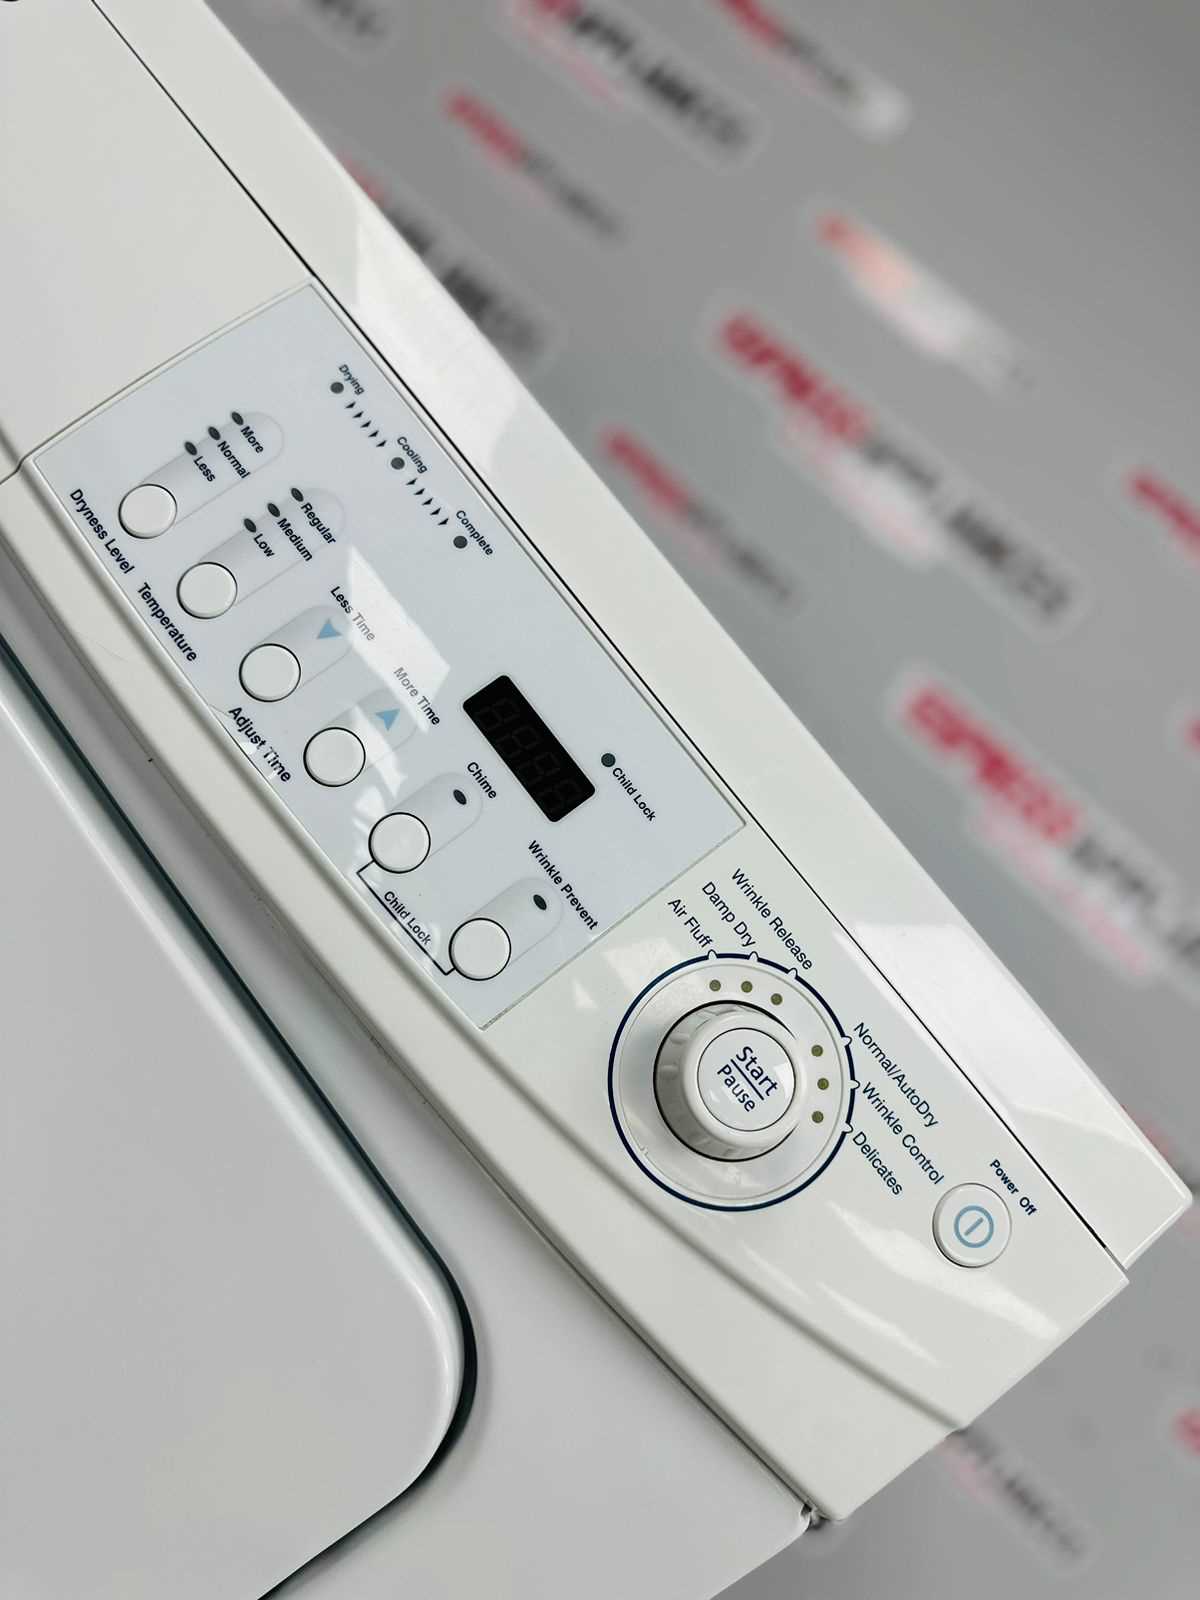
Once the source of the leakage has been identified, appropriate actions can be taken. For minor issues, such as a loose hose, tightening the connection may resolve the problem. In cases where seals are damaged, replacing them will create a watertight barrier. Regular maintenance checks can also help in catching potential issues before they escalate, ensuring your appliance operates smoothly.
Calibrating Drum Balance for Smooth Operation

Ensuring the proper alignment of the drum is crucial for achieving optimal functionality in laundry appliances. An imbalanced drum can lead to excessive vibrations, noise, and potential damage over time. This section outlines the necessary steps to achieve a well-balanced drum, contributing to the appliance’s longevity and performance.
Identifying Imbalance Issues
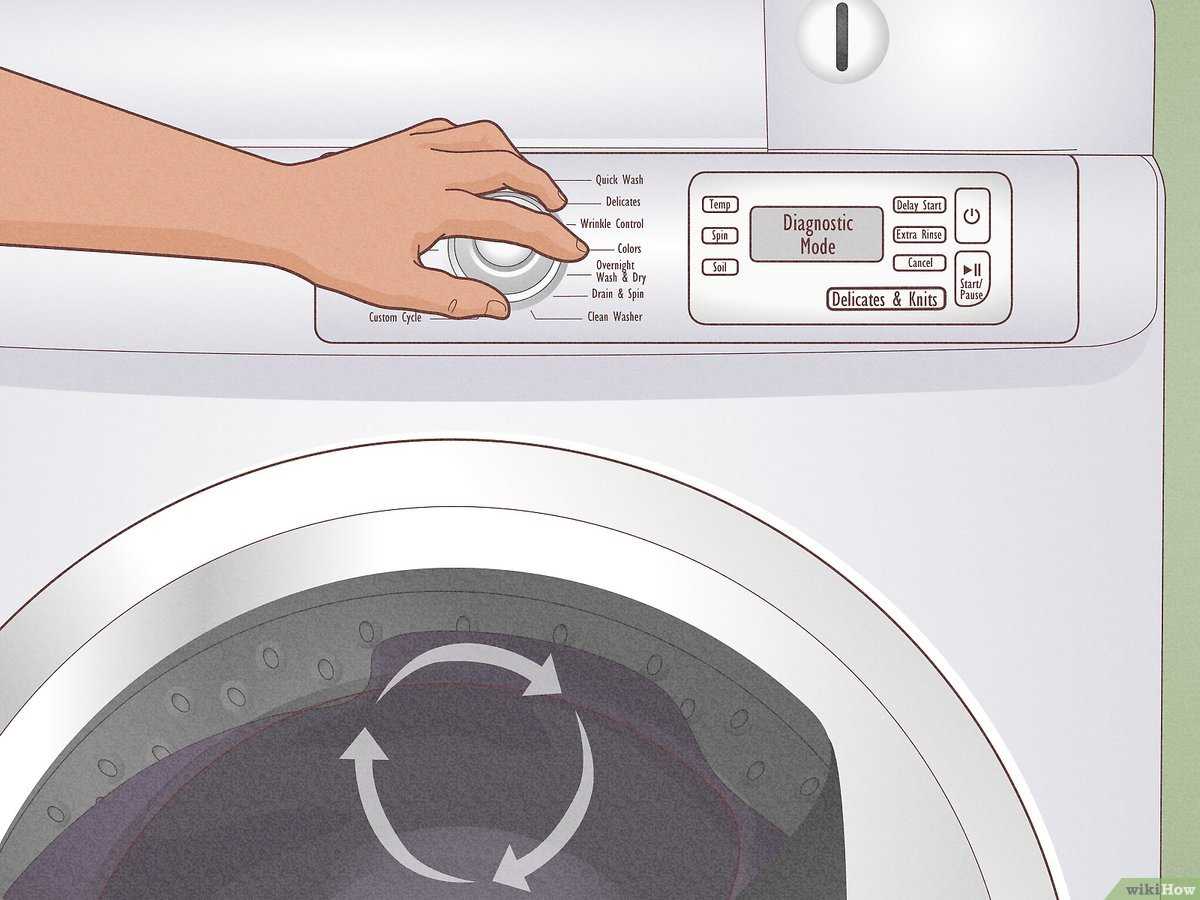
Before proceeding with calibration, it’s essential to recognize the signs of an unbalanced drum. Common indicators include unusual sounds during operation, uneven wear on components, or the device moving excessively during cycles. Addressing these issues promptly will prevent further complications.
Calibration Steps
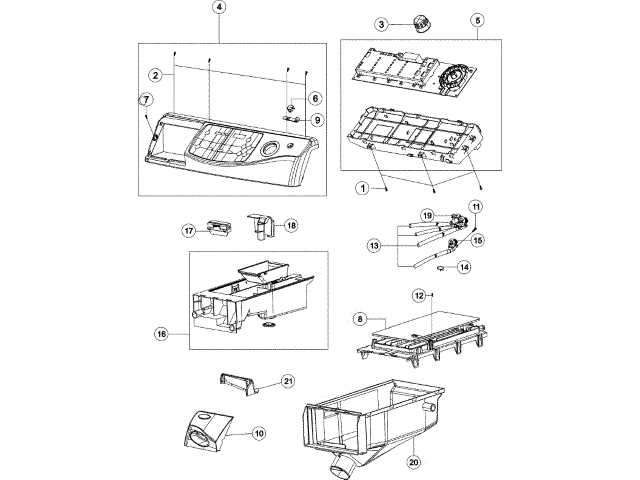
To balance the drum effectively, begin by unplugging the appliance and removing any clothing or items. Next, inspect the drum’s mounting points for any visible wear or obstruction. If necessary, adjust the springs or dampers to ensure they are properly aligned. Finally, plug in the device and run a short cycle without any load. Observe the operation for stability; if vibrations persist, repeat the adjustment process until balance is achieved.
Regular maintenance and calibration of the drum will enhance the efficiency of your laundry appliance, ensuring it operates smoothly for years to come.