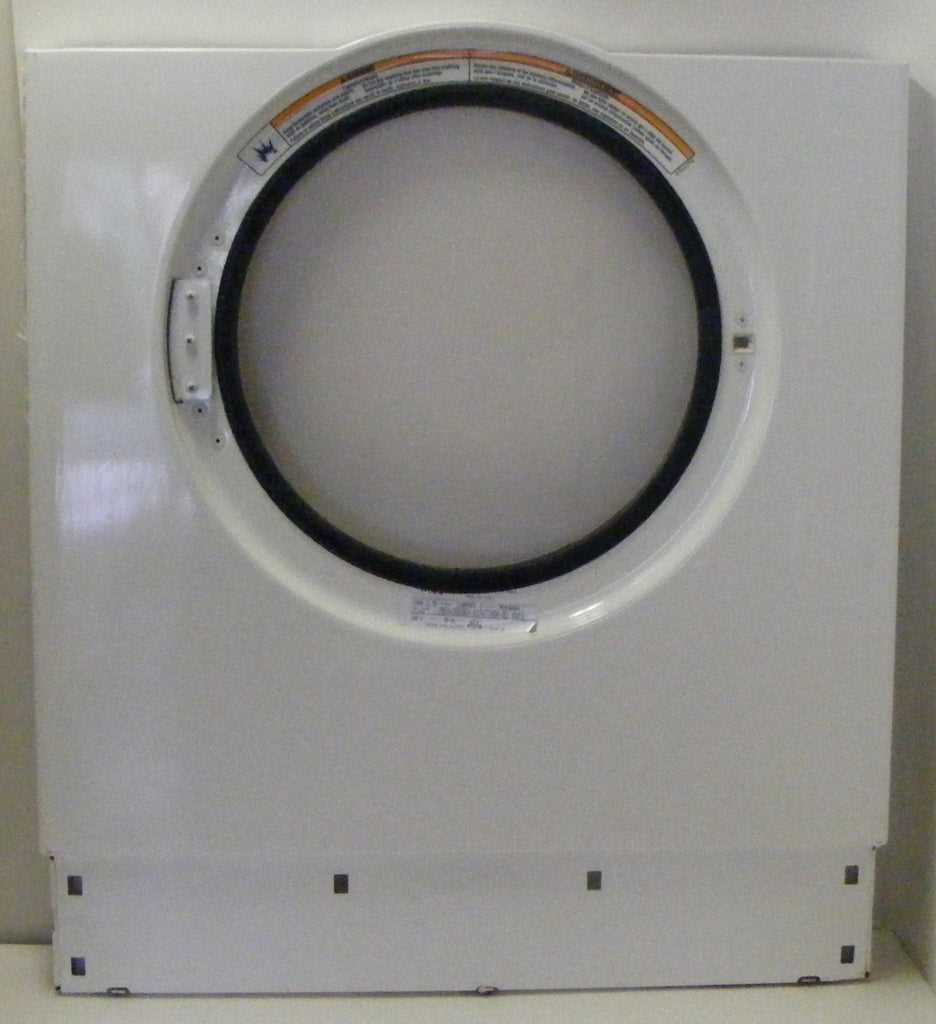
Ensuring the optimal functioning of your household drying equipment is essential for efficient laundry management. A well-maintained unit not only enhances performance but also prolongs its lifespan. This section provides valuable insights into the necessary steps and techniques to keep your drying machine in top shape.
In the following paragraphs, we will delve into various troubleshooting methods, including identifying common issues and implementing effective solutions. By understanding the mechanics behind your appliance, you can confidently tackle any challenges that may arise during its operation.
Additionally, this guide will highlight essential maintenance routines that can prevent problems before they occur. Regular checks and simple adjustments can make a significant difference in the efficiency and reliability of your equipment, ultimately leading to a smoother laundry experience.
Troubleshooting Dryer Performance Problems
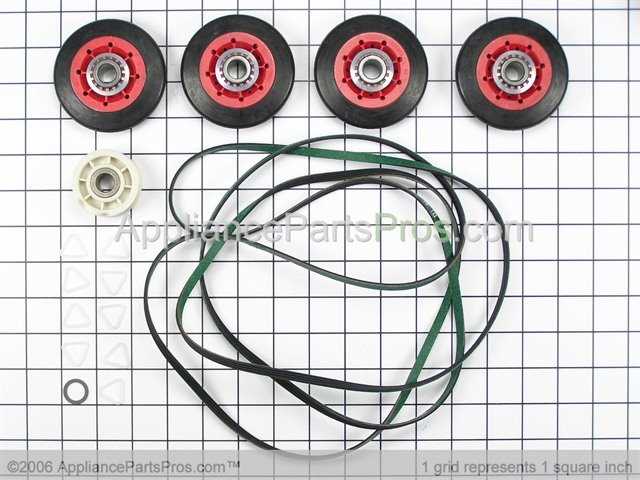
Addressing performance issues can be essential to ensure optimal operation of your appliance. Identifying common malfunctions and understanding their potential causes can help restore functionality and improve efficiency. The following guide will assist you in diagnosing prevalent performance challenges and implementing effective solutions.
Common Issues and Solutions
| Issue | Possible Causes | Recommended Actions |
|---|---|---|
| Insufficient Drying | Overloading, lint buildup, or incorrect settings | Reduce load size, clean lint filter, check cycle settings |
| Unusual Noises | Foreign objects, worn drum rollers, or faulty motor | Remove items, inspect drum rollers, consult technician if needed |
| No Heat | Faulty heating element, thermostat issues, or power supply problems | Test heating element, check thermostat, ensure proper power connection |
| Long Drying Times | Blocked vent, insufficient airflow, or damp clothing | Inspect and clear vent, check for obstructions, ensure clothes are not overly wet |
Steps for Further Investigation
If problems persist after basic troubleshooting, further investigation may be necessary. Ensure that the appliance is properly leveled and that all doors and vents are securely closed. Additionally, consulting the manufacturer’s guidelines can provide further insight into specific issues related to your model.
Understanding Error Codes
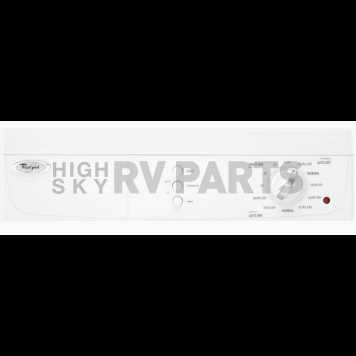
Error codes play a crucial role in identifying issues within household appliances. These alphanumeric indicators provide insights into operational problems, helping users diagnose and resolve malfunctions efficiently. Understanding these codes can save time and reduce the need for professional assistance.
Each error code corresponds to specific conditions or faults. By familiarizing yourself with these codes, you can better understand the appliance’s status and take appropriate action. Here are some common error codes and their meanings:
- E1: Indicates a moisture sensor issue, suggesting that the appliance may not be detecting humidity levels correctly.
- E2: Represents a door latch malfunction, signaling that the door may not be closing securely.
- E3: Indicates a heating element failure, which may prevent proper drying of clothes.
- E4: Suggests an over-temperature condition, meaning the appliance is getting too hot.
When an error code appears, consult the appliance’s documentation for troubleshooting steps. If the problem persists after attempting to resolve the issue, professional evaluation may be necessary.
Regular maintenance can also help prevent error codes from appearing. Keeping the appliance clean and ensuring proper ventilation are essential steps in maintaining optimal performance.
Replacing the Heating Element
Over time, the heating component in a clothes drying appliance may become faulty, leading to inadequate drying performance. Replacing this essential part can restore functionality and ensure that garments are dried efficiently. This section will guide you through the process of replacing the heating element safely and effectively.
Tools and Materials Needed
Before starting the replacement process, gather the necessary tools and materials. You will typically need a screwdriver set, a multimeter for testing, and the replacement heating element. Make sure to have safety gloves and a towel on hand to catch any potential debris during the replacement.
Step-by-Step Replacement Process
Begin by disconnecting the appliance from the power source to ensure safety. Open the access panel to locate the heating component. Use your multimeter to test the old element for continuity. If it shows no continuity, it is time for replacement. Remove the faulty element by unscrewing it from its position and disconnecting the wires attached to it. Install the new element by reversing the removal steps, securing it in place, and reattaching the wires. Finally, replace the access panel and reconnect the power supply.
Cleaning the Lint Filter
Maintaining the cleanliness of the lint filter is essential for optimal performance and safety. A clean filter ensures efficient airflow, preventing overheating and enhancing drying efficiency. Regular maintenance of this component not only extends the lifespan of the appliance but also contributes to energy savings.
Steps to Clean the Lint Filter
- Remove the lint filter from its compartment.
- Gently wipe off any lint and debris with your fingers.
- For a deeper clean, wash the filter with warm, soapy water.
- Rinse thoroughly and let it dry completely before reinserting.
Best Practices for Maintenance
- Clean the lint filter after every use to maintain optimal airflow.
- Inspect the filter for any damage or wear; replace it if necessary.
- Avoid using harsh chemicals that could damage the filter material.
How to Access the Drum
Gaining access to the drum of your appliance is essential for maintenance or troubleshooting tasks. This process involves a few key steps that allow you to reach the inner components safely and efficiently.
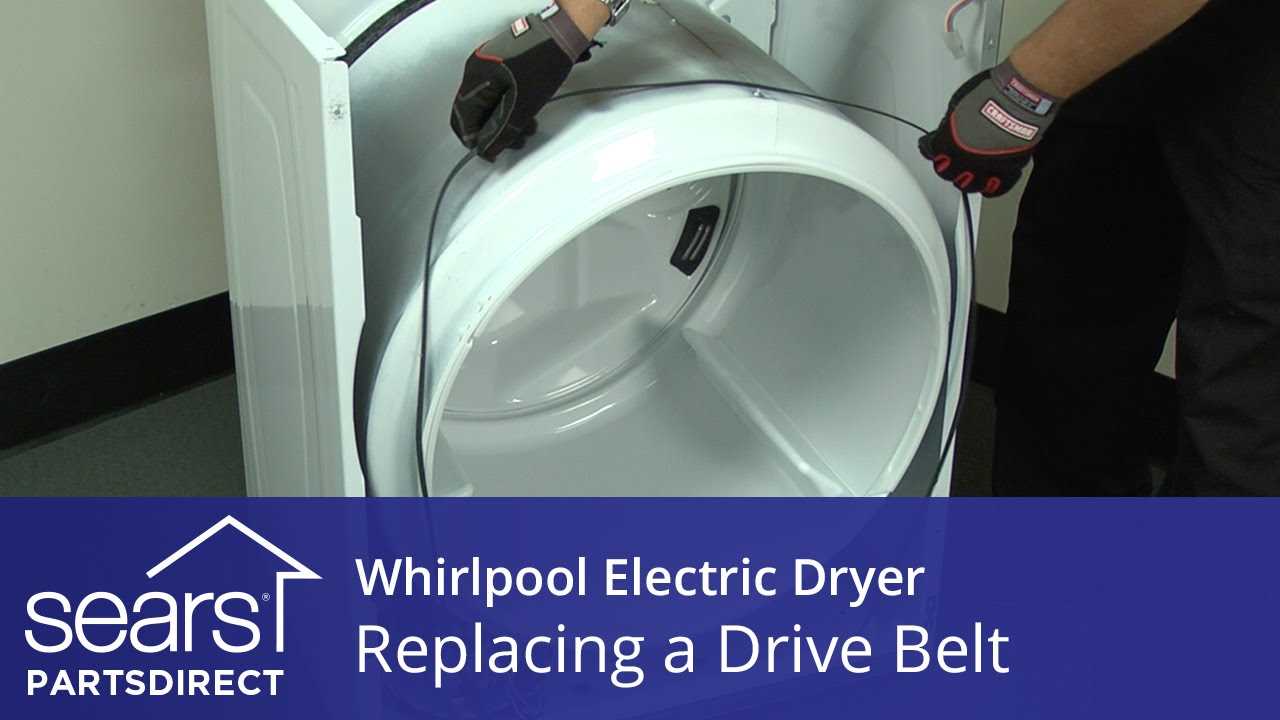
Begin by disconnecting the power supply to ensure safety during the procedure. Next, remove the front or top panel, depending on the design of your model. This typically requires unscrewing several screws and carefully lifting the panel away. Once the outer casing is removed, you should be able to see the drum and surrounding components clearly.
After exposing the drum, inspect the area for any obstructions or damages. If necessary, the drum can be lifted out by detaching it from its supports, which often involves unhooking belts or other securing mechanisms. Ensure you keep track of all removed parts for easier reassembly later.
Once you have completed your inspection or repairs, reverse the process to reassemble the unit. Reattach the panel and restore power to ensure everything functions correctly.
Checking Power Supply Connections
Ensuring a stable and reliable energy source is crucial for the proper operation of any appliance. Issues with power supply connections can lead to malfunction or failure to start. This section provides guidance on how to verify that the electrical connections are intact and functioning correctly.
First, inspect the power cord for any visible damage or wear. Look for frays, cuts, or exposed wires that could indicate a compromised connection. If any issues are found, the cord may need to be replaced to restore functionality.
Next, examine the outlet to which the device is connected. Ensure that it is securely plugged in and that the outlet is functioning. A simple way to test this is to plug in another appliance to see if it operates correctly.
Additionally, check the circuit breaker or fuse box. If the appliance is not receiving power, it might be due to a tripped breaker or blown fuse. Reset the breaker or replace the fuse if necessary to re-establish power supply.
Lastly, ensure that all connections are tight and free of corrosion. Loose or corroded connections can hinder electrical flow and lead to operational issues. Tightening any loose connections or cleaning corroded terminals can help improve performance.
Testing the Thermal Fuse
Verifying the functionality of the thermal fuse is crucial for ensuring the efficient operation of your appliance. This component plays a vital role in protecting the system from overheating by cutting off power when necessary. A faulty thermal fuse can prevent the device from functioning properly, leading to issues such as insufficient drying or complete inoperability.
To begin the testing process, first, ensure that the appliance is disconnected from the power source to prevent any electrical hazards. Use a multimeter set to the continuity setting to measure the thermal fuse’s functionality. Attach the multimeter probes to the terminals of the fuse. If the meter displays a reading of zero or shows continuity, the fuse is operational. Conversely, a lack of continuity indicates that the fuse has blown and requires replacement.
After conducting the test, if the thermal fuse is determined to be defective, it should be replaced with a new one that meets the manufacturer’s specifications. Ensure that all connections are secure and the appliance is properly reassembled before restoring power. Regular checks of this component can help maintain optimal performance and longevity of your appliance.
Inspecting the Door Switch
The door switch plays a crucial role in the operation of the appliance, ensuring that it functions correctly and safely. This component is designed to detect whether the door is closed, allowing the system to start or stop as necessary. Regular checks of this switch can help identify any issues that may prevent proper operation.
To assess the functionality of the door switch, begin by unplugging the appliance to ensure safety. Next, visually examine the switch for any signs of damage, such as cracks or wear. If the switch appears intact, use a multimeter to test for continuity. With the door closed, the switch should show continuity; if it does not, replacement may be necessary. Additionally, ensure that the door is properly aligned and closes securely, as misalignment can also affect the switch’s performance.
Maintenance Tips for Longevity
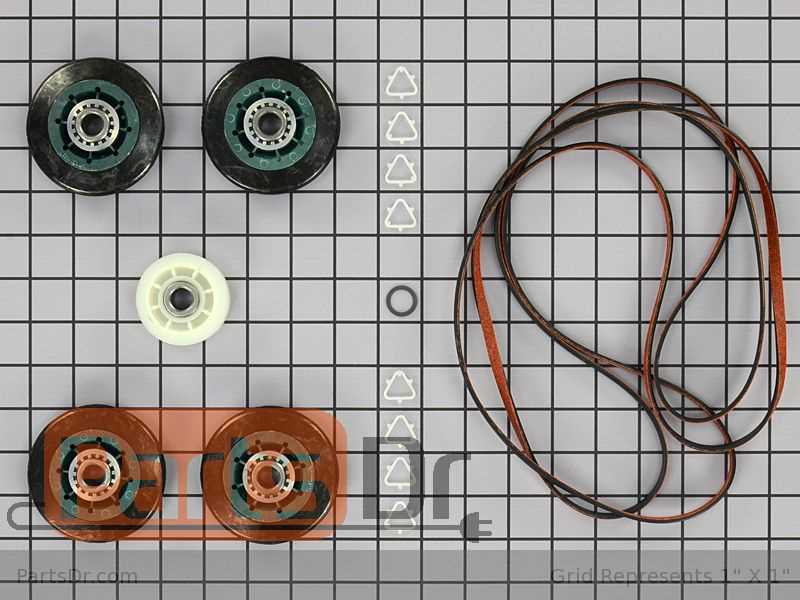
Ensuring the extended lifespan of your appliance involves a series of thoughtful practices that can enhance its efficiency and reduce the need for interventions. Regular attention to maintenance can significantly impact performance and reliability over time.
1. Regular Cleaning: Keeping the interior and exterior surfaces clean is crucial. Wipe down the drum, door, and exterior with a damp cloth to prevent lint buildup. Ensure that the lint filter is emptied after each use to promote airflow and efficiency.
2. Check Vents: Inspect the ventilation system frequently. A clogged vent can lead to overheating and poor performance. Ensure the exhaust duct is clear and free from obstructions to facilitate proper airflow.
3. Optimal Loading: Avoid overloading the appliance, as this can strain the motor and affect drying efficiency. Follow the manufacturer’s guidelines for load size to ensure optimal performance.
4. Temperature Settings: Use appropriate heat settings based on the fabric type being dried. Using higher temperatures for delicate fabrics can cause damage, while lower settings may result in inadequate drying.
5. Periodic Professional Inspections: Schedule regular check-ups with a qualified technician to identify and address potential issues before they escalate. A professional can perform detailed diagnostics and maintenance that may be challenging to handle independently.
By integrating these practices into your routine, you can help ensure the durability and optimal functioning of your appliance, ultimately saving you time and resources in the long run.