In the realm of household convenience, reliable equipment plays a crucial role in our daily routines. When these essential machines encounter issues, it can disrupt not only our schedules but also our peace of mind. Understanding how to address common challenges can empower users and restore functionality effectively.
Equipping yourself with knowledge about the intricacies of these devices is essential. Whether it’s an unexpected malfunction or a minor glitch, knowing the right steps to take can save time and money. This section will provide insights into typical problems, troubleshooting techniques, and maintenance tips to keep your appliance running smoothly.
Furthermore, being proactive in understanding your equipment can lead to more informed decisions when faced with operational difficulties. With a systematic approach to diagnosing issues, you can enhance the longevity of your device and ensure optimal performance. Let’s explore the key aspects that will aid in navigating potential challenges with confidence.
Common Issues with Hotpoint Washers
Appliances designed for laundry tasks can encounter a variety of challenges during their lifecycle. Understanding these frequent complications can help users troubleshoot effectively and maintain optimal performance. Below are some prevalent problems that owners may face.
- Draining Problems: One of the most common issues involves failure to drain properly, often caused by clogs or faulty components.
- Noisy Operation: Unusual sounds during cycles may indicate loose parts, worn bearings, or foreign objects trapped inside.
- Unbalanced Loads: An unbalanced load can lead to excessive vibration, which may disrupt the washing process and damage the appliance over time.
- Door Lock Issues: If the door fails to latch or unlock, it can prevent cycles from starting or completing.
- Water Leakage: Leaks can stem from damaged hoses, seals, or connections, requiring immediate attention to avoid water damage.
- Temperature Problems: Inconsistent water temperature may result from malfunctioning thermostats or heating elements, affecting washing efficiency.
Identifying and addressing these issues promptly can enhance the longevity and functionality of laundry appliances, ensuring a smoother laundry experience.
Troubleshooting Water Drain Problems
When faced with issues related to water drainage in your appliance, it’s essential to identify the root cause to restore functionality. Various factors may contribute to improper drainage, ranging from blockages to mechanical failures. This section will guide you through common issues and solutions to help resolve these problems effectively.
Common Causes of Drainage Issues
| Cause | Description |
|---|---|
| Clogged Hose | Obstructions in the drainage hose can prevent water from exiting properly. |
| Faulty Pump | A malfunctioning pump may not be able to remove water as intended. |
| Blocked Filter | Accumulated debris in the filter can impede water flow. |
| Poor Installation | Improperly positioned drainage hoses can lead to drainage complications. |
Steps to Resolve Drainage Problems
To address drainage issues, follow these troubleshooting steps:
- Inspect and clean the drainage hose for blockages.
- Check the filter and remove any debris that may be present.
- Test the pump for functionality; replace it if necessary.
- Ensure the drainage system is installed correctly, avoiding kinks or bends.
Understanding Error Codes and Messages
Error codes and messages serve as essential indicators of machine performance, guiding users toward identifying potential issues. By interpreting these signals, you can diagnose problems effectively, ensuring optimal functioning of your appliance. This section will help you comprehend the common codes and their meanings, facilitating prompt resolutions and preventive measures.
Each code is designed to communicate a specific malfunction or operational anomaly, often linked to components within the device. Understanding these signals can significantly enhance your troubleshooting efforts, enabling a more efficient response to various situations.
| Error Code | Meaning | Suggested Action |
|---|---|---|
| E01 | Water supply issue | Check the water inlet valve and hose for blockages. |
| E02 | Drainage failure | Inspect the drain hose for kinks or obstructions. |
| E03 | Door lock problem | Ensure the door is closed properly and check the lock mechanism. |
| E04 | Overloading | Reduce the load and redistribute items evenly. |
| E05 | Electrical fault | Reset the appliance and check the power supply. |
By familiarizing yourself with these indicators, you can take proactive steps to address and rectify issues, ensuring longevity and reliability of your appliance.
How to Reset Your Hotpoint Washer
Resetting your appliance can often resolve issues related to performance and functionality. This process typically involves a few simple steps, which can help restore normal operation without the need for professional assistance.
Steps to Follow
- Ensure the machine is plugged into a functioning outlet.
- Locate the power button or switch and turn the unit off.
- Unplug the appliance from the electrical outlet.
- Wait for approximately 5 to 10 minutes to allow the system to fully reset.
- Plug the unit back in and turn it on.
Troubleshooting Common Issues
If the reset does not resolve the problem, consider the following:
- Check for any error codes displayed on the control panel.
- Inspect the power cord for damage.
- Ensure the door or lid is securely closed, as many models will not operate if not properly sealed.
- Review the user guide for specific troubleshooting steps related to your model.
Replacing a Broken Door Lock
When the locking mechanism of your appliance fails, it can hinder its operation and compromise safety. Addressing this issue promptly is essential to restore functionality and prevent further complications.
Here’s a step-by-step guide to assist you in replacing the faulty locking system:
- Gather Necessary Tools:
- Screwdriver (Phillips and flathead)
- Replacement lock mechanism
- Pliers
- Tape measure
- Unplug the Appliance:
Safety first! Disconnect the unit from the power source to avoid any electrical hazards.
- Remove the Door:
Carefully detach the door from the hinges to access the locking mechanism. Make sure to note how it’s connected for reassembly.
- Locate the Lock Assembly:
Identify the screws or clips holding the lock in place. Remove them using the appropriate screwdriver.
- Detach the Old Lock:
Once the screws are removed, carefully take out the broken lock. Pay attention to any wiring that may be connected.
- Install the New Lock:
Position the new locking mechanism in place and secure it with the screws or clips you previously removed.
- Reattach the Door:
Carefully place the door back onto the hinges, ensuring it is aligned properly.
- Reconnect Power:
Plug the unit back into the electrical outlet. Check that everything is functioning correctly.
By following these steps, you can effectively replace a malfunctioning locking system, ensuring that your appliance operates safely and efficiently once more.
Maintaining Your Washer for Longevity
Ensuring the long-lasting performance of your appliance requires regular care and attention. By following a few simple practices, you can enhance its efficiency and extend its lifespan significantly. Regular maintenance not only prevents unexpected breakdowns but also optimizes energy consumption, making your routine tasks more efficient.
Routine Cleaning
Keeping the interior and exterior clean is crucial. Wipe down the surfaces regularly to prevent buildup of detergent residues and grime. Additionally, running a cleaning cycle with a specialized solution helps eliminate odors and maintain optimal functionality.
Checking Hoses and Connections
Inspecting the hoses and connections for wear and tear is essential. Look for cracks, leaks, or bulges that could lead to more serious issues over time. Replacing worn hoses promptly can prevent potential water damage and ensure your device operates smoothly.
Repairing a Faulty Control Panel
When an interface fails to function properly, it can disrupt the entire operation of the appliance. Understanding the underlying issues and knowing how to address them is essential for restoring normal functionality. This section provides a step-by-step approach to diagnosing and fixing common problems related to the control interface.
Identifying Common Issues
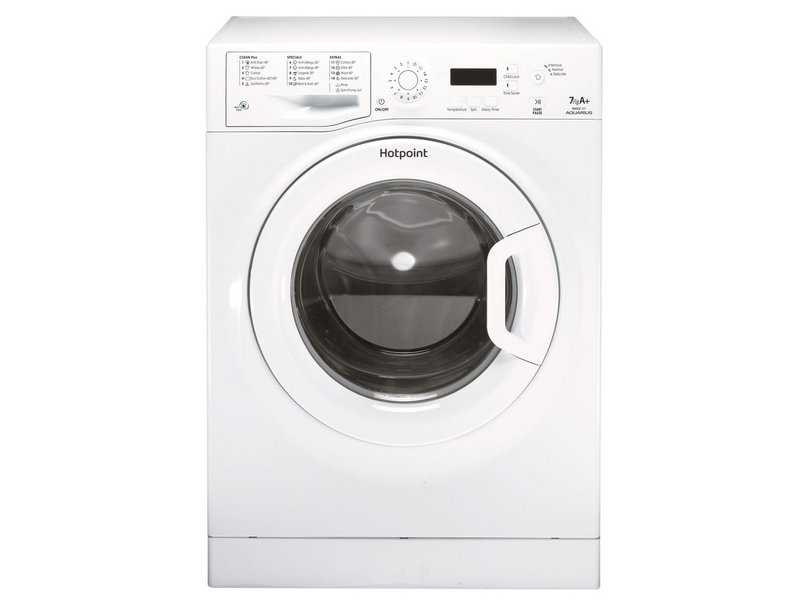
Several signs may indicate a malfunctioning control unit. Unresponsive buttons, erratic display behavior, or the inability to select settings can all point to underlying electrical or mechanical faults. Inspecting the connections and ensuring that all components are securely attached is crucial. In some cases, loose wiring or damaged connectors may be the root of the problem.
Steps to Resolve the Problem
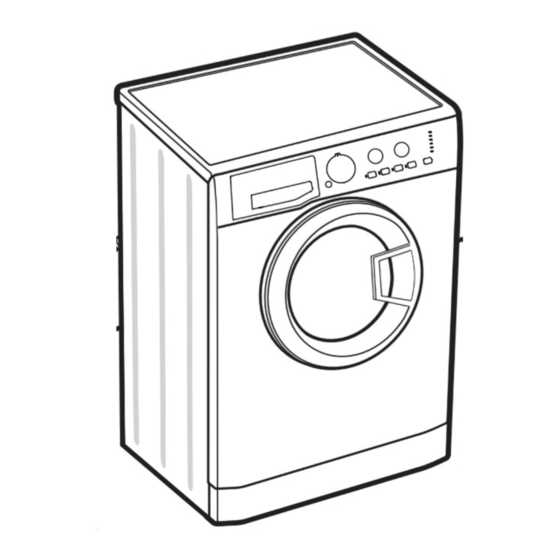
To begin troubleshooting, power down the appliance and disconnect it from the electrical source. Carefully remove the panel cover to gain access to the internal components. Check for any visible signs of wear, such as burned-out circuitry or corrosion. If necessary, clean any affected areas with a suitable solution. Once inspected, reassemble the panel, reconnect the power, and test the functionality. If issues persist, replacing the control board may be necessary to restore proper operation.
Dealing with Noisy Operation Issues
Unusual sounds during operation can be both alarming and disruptive. Identifying the source of these noises is essential for maintaining a peaceful environment and ensuring optimal performance. Common culprits often include loose components, foreign objects, or wear and tear on parts.
1. Identify the Type of Noise: Different sounds can indicate specific problems. For instance, a rattling noise may suggest loose items inside, while a grinding sound could indicate a malfunctioning motor or worn bearings.
2. Inspect for Foreign Objects: Check for any items that may have accidentally found their way into the appliance. Coins, buttons, or small pieces of clothing can create significant noise during cycles.
3. Examine Components: Regularly inspect the belts, pulleys, and other moving parts for signs of wear. Replacing worn components can drastically reduce noise levels and improve functionality.
4. Level the Appliance: Ensure that the unit is properly leveled. An unbalanced machine can lead to excessive vibrations and noise during operation. Adjust the feet of the appliance as necessary.
5. Seek Professional Assistance: If the noises persist after troubleshooting, consider consulting a qualified technician. They can provide insights and solutions that may not be apparent through basic checks.
Addressing noise issues promptly can enhance the longevity of your appliance and improve your overall experience. Regular maintenance and awareness of potential problems are key to a smoother operation.
Steps to Clean the Filter Properly
Regular maintenance of your appliance is essential to ensure optimal performance and longevity. One critical aspect of this upkeep involves cleaning the filter, which can become clogged with debris over time. This guide outlines the necessary steps to effectively remove and clean the filter, enhancing the efficiency of your unit.
Step 1: Gather Your Tools
Before you begin, collect the necessary tools, including a towel, a small bowl to catch water, and a soft brush for cleaning. These items will facilitate a smooth cleaning process.
Step 2: Locate the Filter
Identify the position of the filter in your device. Typically, it is found at the bottom front or back of the unit. Refer to the specific guidelines for your model to ensure accurate location.
Step 3: Prepare for Cleaning
Once located, place the towel on the floor to absorb any excess water. Position the bowl beneath the filter to catch any remaining water that may spill out during the cleaning process.
Step 4: Remove the Filter
Carefully unscrew or pull out the filter, depending on its design. Be cautious of any trapped water and debris that may escape during this step.
Step 5: Clean the Filter
Using the soft brush, gently scrub the filter to remove any buildup or particles. Rinse it under running water to ensure all residue is washed away. Allow it to dry completely before reinserting.
Step 6: Reinsert the Filter
Once the filter is dry, place it back into its designated area, ensuring it is securely fitted. Check for any loose connections to prevent leaks.
Step 7: Test the Appliance
After the filter has been reinserted, run a short cycle to ensure everything functions properly. Monitor for any unusual sounds or leaks, which may indicate further issues.
By following these straightforward steps, you can maintain the efficiency of your appliance, contributing to its longevity and effectiveness in daily use.
How to Replace a Defective Pump
Replacing a faulty drainage component is an essential task that ensures optimal performance of your appliance. This guide provides a step-by-step process for successfully completing the replacement, ensuring you can restore functionality with minimal hassle.
Before starting, gather the necessary tools and materials:
- Screwdriver set
- Replacement pump
- Pliers
- Towel or sponge
- Bucket
Follow these steps to replace the defective unit:
- Power Off the Unit: Disconnect the appliance from the electrical outlet to prevent any accidents.
- Access the Component: Remove the back or front panel, depending on your model, using the screwdriver.
- Drain Residual Water: Place a bucket under the unit to catch any leftover water. Use a towel or sponge to soak up excess liquid.
- Disconnect the Old Pump: Use pliers to detach the hoses connected to the malfunctioning unit. Take note of how they are positioned for easier reassembly.
- Remove Fasteners: Unscrew any bolts or clips securing the pump to the appliance.
- Install the New Component: Position the replacement pump and secure it with fasteners. Ensure it is tightly fitted.
- Reconnect Hoses: Attach the hoses in the same configuration as they were on the old pump. Ensure there are no leaks.
- Reassemble the Appliance: Replace the panel you removed earlier and secure it with screws.
- Power On the Unit: Plug the appliance back in and run a test cycle to ensure the new pump operates correctly.
Following these steps will help you effectively replace a faulty drainage component, restoring your appliance’s performance and functionality.
Inspecting Hoses for Leaks and Damage
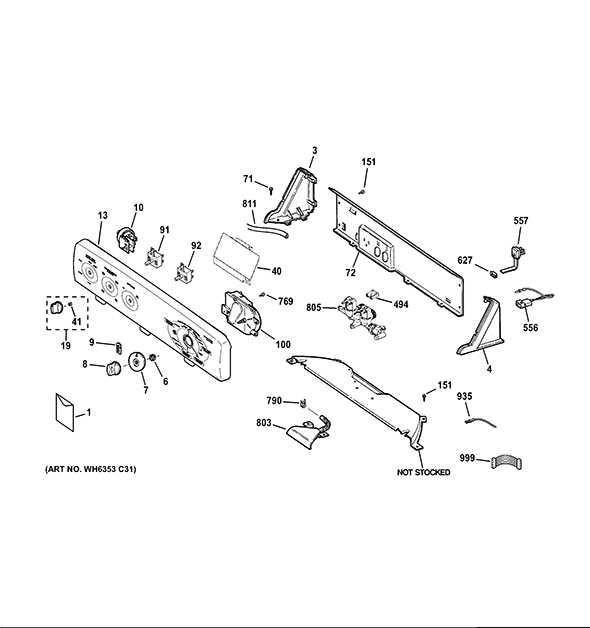
Ensuring the integrity of fluid conduits is crucial for optimal performance and to prevent potential issues. Regular examination of these components can help identify wear and tear, allowing for timely interventions and minimizing the risk of leaks that could lead to more serious complications.
Begin your inspection by checking for visible signs of damage. Look for cracks, bulges, or any wear on the surface. Additionally, pay attention to the connections at both ends, as these areas are often prone to leaks.
| Signs of Damage | Possible Causes | Recommended Actions |
|---|---|---|
| Cracks or splits | Age, pressure fluctuations | Replace the affected hose |
| Bulging sections | Clogged filters, internal blockages | Inspect and clear blockages; consider replacement |
| Loose connections | Improper installation, vibrations | Tighten or reseal connections |
| Leaks at joints | Worn seals, corrosion | Replace seals or fittings as needed |
Maintaining the health of these crucial components not only enhances efficiency but also prolongs the lifespan of the entire system. Regular inspections and prompt actions can save time and resources in the long run.
Essential Tools for Washer Repair
When it comes to maintaining and fixing household appliances, having the right tools at your disposal is crucial. A well-equipped toolkit not only streamlines the troubleshooting process but also enhances efficiency and safety. Below are some fundamental instruments that are indispensable for tackling common issues.
Basic Hand Tools
- Screwdrivers: A variety of screwdrivers, including Phillips and flathead, are essential for accessing different components.
- Wrenches: Both adjustable and socket wrenches help in loosening and tightening nuts and bolts.
- Pliers: These are useful for gripping, twisting, and cutting wires.
- Utility Knife: A sharp utility knife can assist in cutting through insulation or other materials.
Specialized Equipment
- Multimeter: This device measures voltage, current, and resistance, helping to diagnose electrical issues.
- Drain Snake: A handy tool for clearing blockages in hoses or drains.
- Level: Ensures that the appliance is properly aligned to avoid operational problems.
- Flashlight: A bright light source is necessary for illuminating dark areas during inspections.
When to Call a Professional Technician
There are moments when attempting to fix an appliance on your own can lead to further complications. Understanding when to seek the expertise of a trained technician is crucial for ensuring both safety and optimal functionality. Certain signs and symptoms may indicate that professional intervention is necessary.
Unusual Noises: If you hear grinding, banging, or any unfamiliar sounds during operation, this may point to underlying mechanical issues that require specialized knowledge to diagnose and resolve.
Persistent Leaks: Water pooling around the unit can signify serious problems. If you notice continuous leaking despite attempts to fix it, calling in an expert is wise to prevent water damage and ensure proper repairs.
Failure to Operate: When the appliance refuses to start or complete its cycle, it could stem from complex electrical or mechanical failures. In such cases, professional evaluation is often the safest route.
Unusual Smells: Strange odors, especially those resembling burning or gas, should never be ignored. These can indicate electrical issues or other hazards that need immediate attention from a qualified technician.
Repeated Issues: If you’ve repeatedly encountered the same problem despite your efforts to fix it, this may signal a deeper issue that requires specialized tools and knowledge to address effectively.
In summary, while DIY solutions can be effective for minor issues, knowing when to enlist professional help is key to maintaining the longevity and efficiency of your appliances.